smileyworld
-
Posts
69 -
Joined
-
Last visited
-
Days Won
1
Everything posted by smileyworld
-
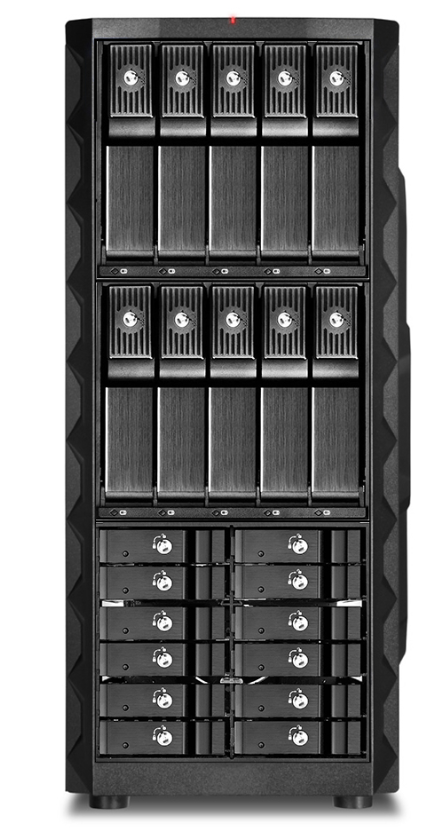
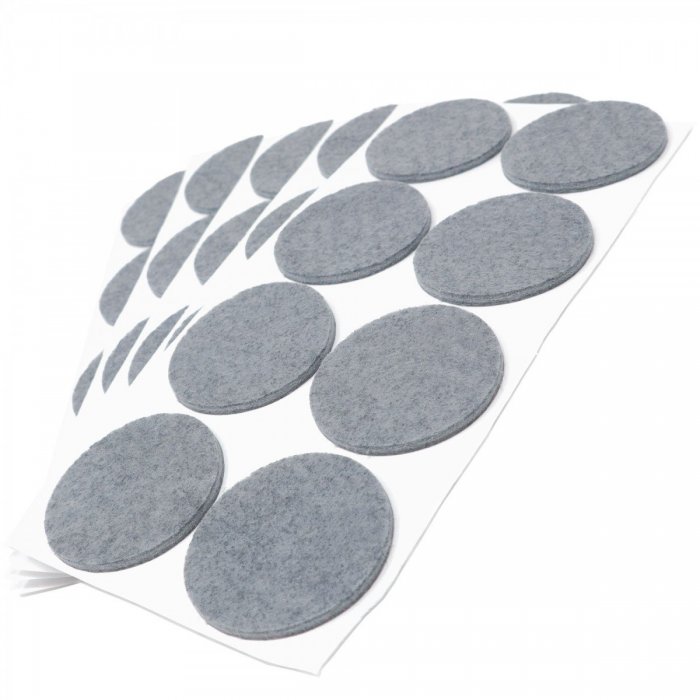
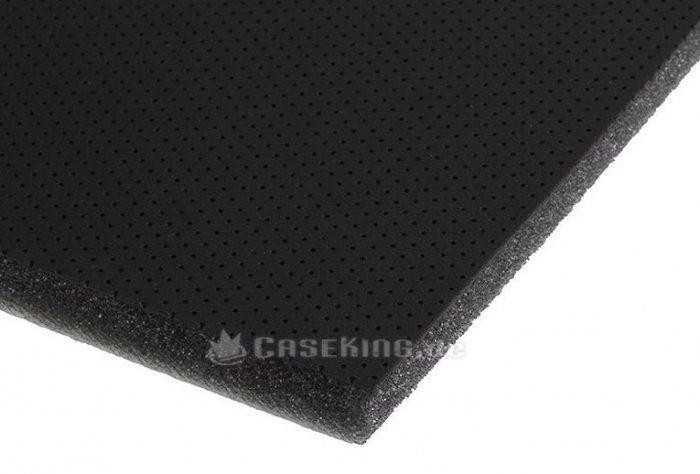
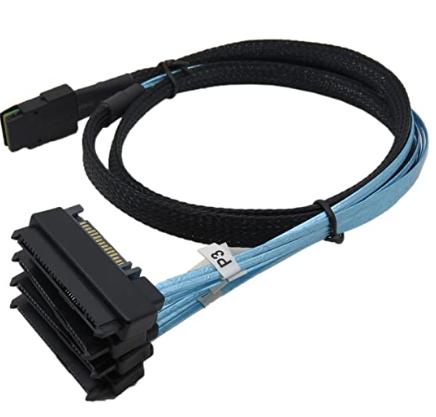
You can build your own cage. It is just a question of how much effort you want to put in this project. I used some screws, wood, hot glue, paint and two Mini SAS SFF-8087 to SFF-8482 cables. This allowed me to get my hot swap bay. Furthermore I did use some nops and sticked them on every surface where the HDDs have dircet contact with the drive cage (they reduce the vibration and therefore the vibration noise), the other material is from a shop in germany. Nevertheless, I like it completly silent in my home office and therefore I put my NAS in a different room. Also I switched the case recently because I wanted to be able to use more HDD and SSD slots. So i bought some hot swap cages and an used sharkoon rex 8 case and built this: However this is approach is much more expensive and you could go for a 19" server case instead, but I wanted my NAS to be as silent as possible and to fit in a regular case.

-
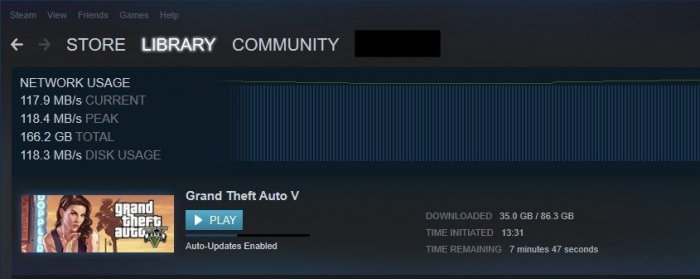
My curiosity to look for further applications for my Xpenology NAS led me to lancache, which enables content (such as games, windows and mac updates) that was downloaded once from the Internet to be available locally (via my NAS) the second time and save internet bandwidth. Further information regarding lancache can be found here: http://lancache.net However, since I already have a Pihole (tracking and advertising blocker) in use, I had to find a way to let them communicate with each other. In order to save resources, I decided against operating the Lancache in a virtual machine and using docker. Therefore, below I share my approach for those who are interested. ATTENTION, with this procedure the ports 80 and 443 in DSM are assigned to another port, since the two ports are required for the lancache. This means that if you host a website it will no longer be accessible via "yourdomain.com" but in the future via "yourdomain.com:81". Furthermore, I do not accept any liability for any data loss or damage caused by using this tutorial(s). So let's start. First, ports 80 and 443 must be released. Thanks to Tony Lawrence's instructions (see tonylawrence.com), this is relatively easy. Connect to the NAS via SSH. In macOS you can do this via the terminal app with this line for example ssh -p 22 tim@192.168.0.100 Check which applications are currently using the port with the command sudo netstat -lntup | grep ":80" sudo netstat -lntup | grep ":443" Now three files have to be edited. The vi editor is used for this purpose Enter the command sudo vi /usr/syno/share/nginx/server.mustache Press i once (for insert) and replace the values 80 and 443 with 81 and 444, respectively. It should look like this afterwards. listen 81{{#reuseport}} reuseport{{/reuseport}}; listen [::]:81{{#reuseport}} reuseport{{/reuseport}}; and listen 444 ssl{{#https.http2}} http2{{/https.http2}}{{#reuseport}} reuseport{{/reuseport}}; listen [::]:444 ssl{{#https.http2}} http2{{/https.http2}}{{#reuseport}} reuseport{{/reuseport}}; Then write :wq (for write and quit) and confirm with enter. Do the same with those two files: sudo vi /usr/syno/share/nginx/DSM.mustache sudo vi /usr/syno/share/nginx/WWWService.mustache Next, nginx must be restarted with the command: sudo -i synoservice --restart nginx Now you can check whether the ports are really no longer in use with sudo netstat -lntup | grep ":80" sudo netstat -lntup | grep ":443" If nothing shows up anymore, then we successfully freed the ports and this means the first of three steps is done. Then docker must be installed from the package center in DSM. Pihole has to be downloaded, adjusted and started as shown in the attached "Install-pihole.pdf" file. Thanks to Marius Bogdan Lixandru (see https://mariushosting.com ) for his instructions, which were slightly adapted for installing pihole with lancache. It is important that you create the following folder structure on your NAS. We need the folder /etc/dnsmasq.d later on to put some .conf files in there. Take the password from the protocol of the Docker container (as described in the pdf) and login as admin to Set the Interface listening behavior in Settings/DNS to IMPORTANT, DO NOT FORWARD THE PORTS 53 AND 80 FROM YOUR ROUTER TO YOUR NAS!!!! Now we have to download the domain lists, which should be cached afterwards. Download the folder from https://github.com/uklans/cache-domains and copy the folder to your NAS. (e.g. /volumes2/lancache) Then use ssh and change the directory to scripts cd /volumes2/lancache/cache-domain-master/scripts Run the script create-dnsmasq.sh which creates .config files for your pihole sudo ./create-dnsmasq.sh copy the created files from to your pihole dnsmasq.d-configs folder (which is in my case as follows) Finally, Lancache must be installed. The folder has to be downloaded from https://github.com/lancachenet/docker-compose and moved, for example, to on your NAS. Change to the /volume2/lancache/docker-compose-master folder via SSH cd /volume2/lancache/docker-compose-master Edit the .env file within the folder vi .env Set the three variables: Next login as root in SSH via sudo -i Change the directory to your docker-compose-master folder, which is in my case cd /volume2/lancache/docker-compose-master Run docker-compose up -d You will get two successfully installed docker container and one error. This is because the pihole already occupies the port 53. We can ignore this message and move on. exit exit Due to the fact that we use pihole as DNS service you can now delete the docker container lancache-dns. Now change the DNS server on your router to the IP address of your NAS. Flush DNS entries of running PCs or reboot them and you should get a decent lancache performance, depending on your xpenology / network setup. Feel free to correct me if I wrote something incorrectly or didn't explain it well enough. Install-pihole.pdf
-
I bought a Cooler Master MasterBox Q300L case and modified it, so it has now 8 hot-swap bays for HDDs. Total costs for case and the HDD cage 50€. My experience regarding noise is that you should look for extreme silent fans and HDDs. For example my NAS is very silent (my guess is about 14db) due to the fact that I put some sound-absorbing material on every surface that I could and chose silent fans and HDDs. Also keep an eye on vibration of the HDDs, which is also an annoying noise and can mess with the lifespan. Nonetheless you can hear it and so I placed it in another room where it doesn't bother me at all. https://geizhals.at/cooler-master-masterbox-q300l-mcb-q300l-kann-s00-a1752080.html?hloc=at
-
DSM 5.x/6.x/7.x CPU name & cores infomation Change tool
smileyworld replied to FOXBI's topic in Software Modding
Thanks for your effort! Now everything works -
DSM 5.x/6.x/7.x CPU name & cores infomation Change tool
smileyworld replied to FOXBI's topic in Software Modding
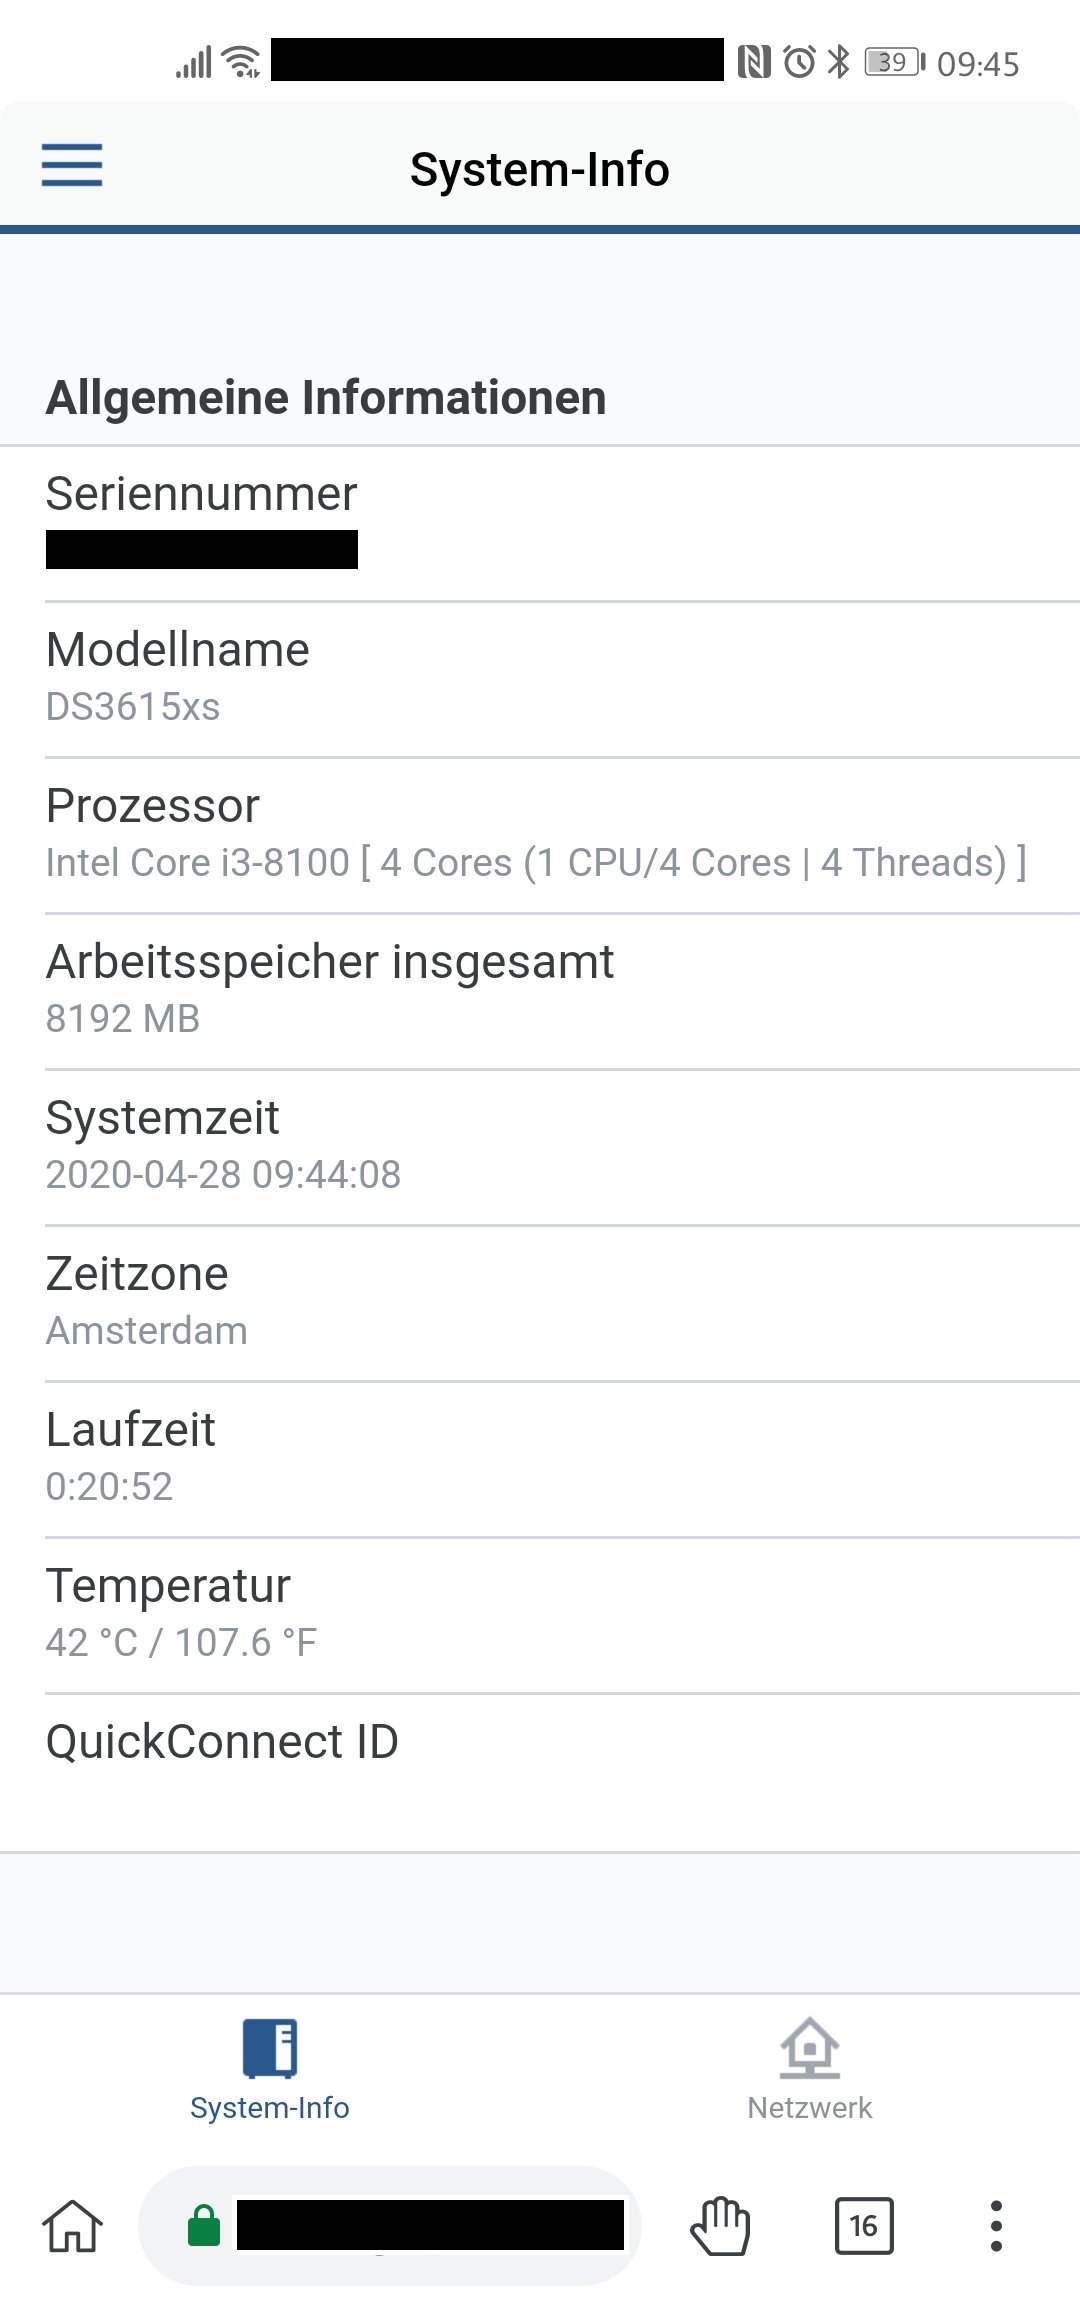
I also tried your "guide" from above, but it didn't work. The output (INTEL Core i3 -4130 undefined) is still the same for the webinterface. -
DSM 5.x/6.x/7.x CPU name & cores infomation Change tool
smileyworld replied to FOXBI's topic in Software Modding
I have the same issue.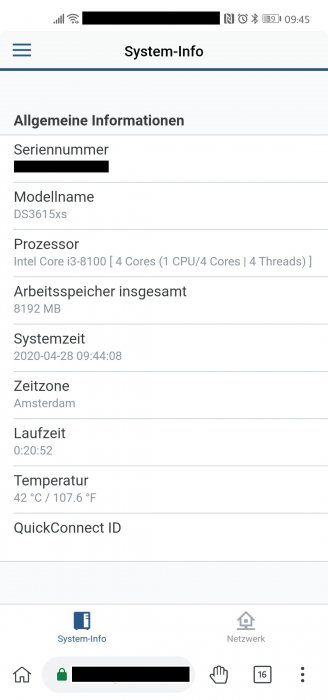
-
DSM 6.2.3-25423 - Recalled on May 13
smileyworld replied to gadreel's topic in DSM Updates Reporting
- Outcome of the update: SUCCESSFUL - DSM version prior update: DSM 6.2.2-24922 Update 4 - Loader version and model: Jun's Loader v1.03B 3615XS - Using custom extra.lzma: No - Installation type: BAREMETAL -
+1
-
I use an ASRock Z370M Pro4 motherboard (with 6 Sata Ports) and a LSI SAS 9211-8i (IT) host bus adapter (8 ports), which gives me 14 drives in total as well. You could go for two LSI SAS 9211-8i hba's in IT mode or search for another hba. Here's an extreme case you might want to look at
-
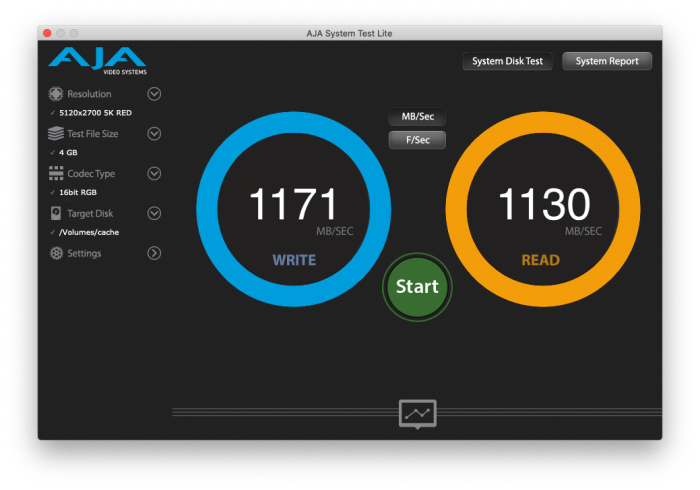
Thanks, My setup is as follows: Volume 1 in RAID 10 with 4 HDDs (and two SSDs for read-write cache) Volume 2 in RAID 0 with 3 SSDs (that’s the volume I took the screenshot from. This Volume gets replicated every hour to Volume 1) Volume 3 Is a single HDD for backup purpose of Volume 1 Volume 4 is for HyperBackup of another Synology NAS The RAID 10 Volume reaches currently about 240 mb/s read and 210 mb/s write speeds without SSD cache (The SSD cache is in my opinion overrated -> that’s the reason I created a RAID 0 Volume which gets replicated every hour). My guess is, that if you add 2 more HDDs you would get 360 mb/s read and 315 mb/s write speeds. Side note: Unfortunately, Synology has decided to use m.2 PCI SSDs only as SSD cache, which means that you can't get the maximum speed out of every file transfer, and you need to create a Volume with SATA SSDs to get these numbers permanently. I will send you the link later.
-
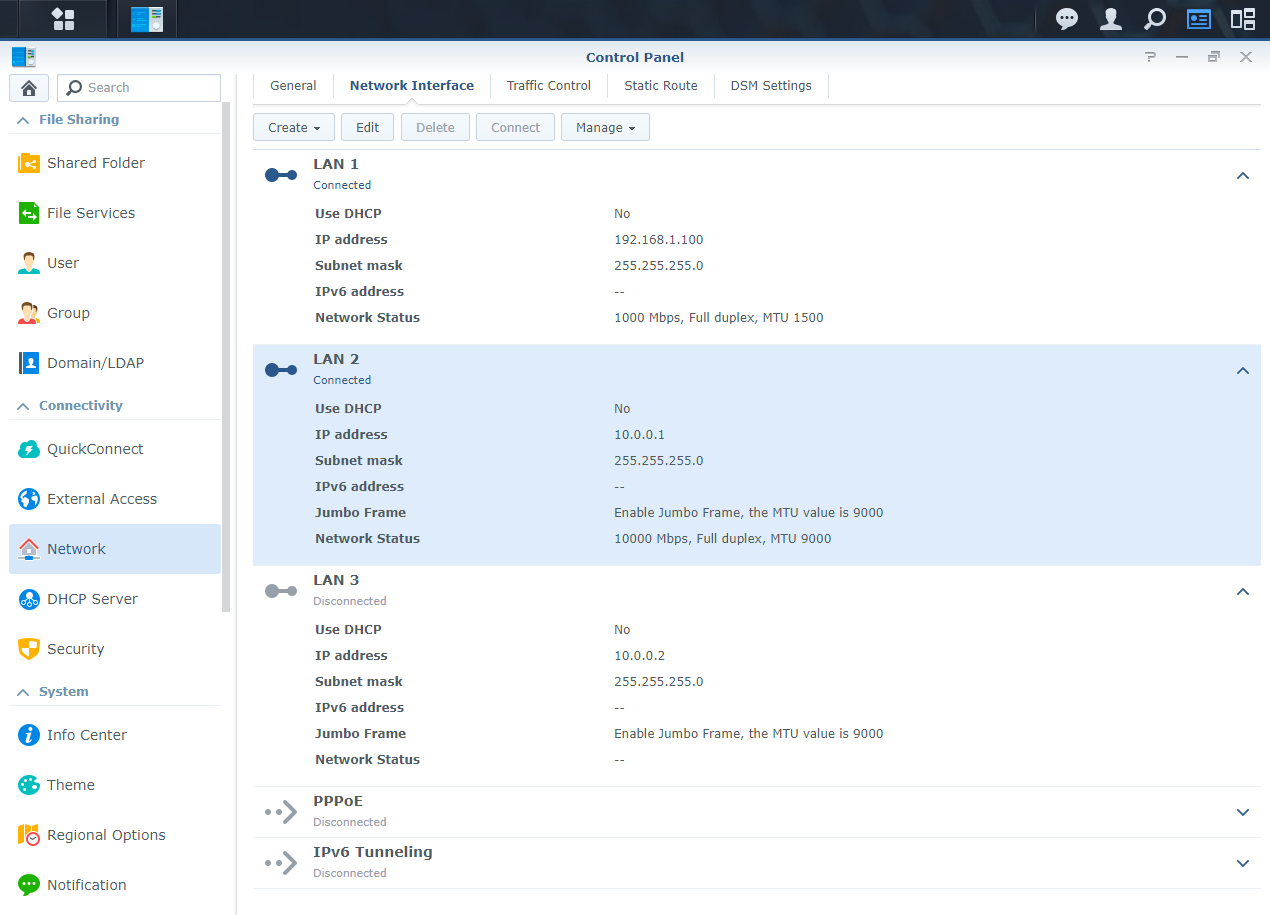
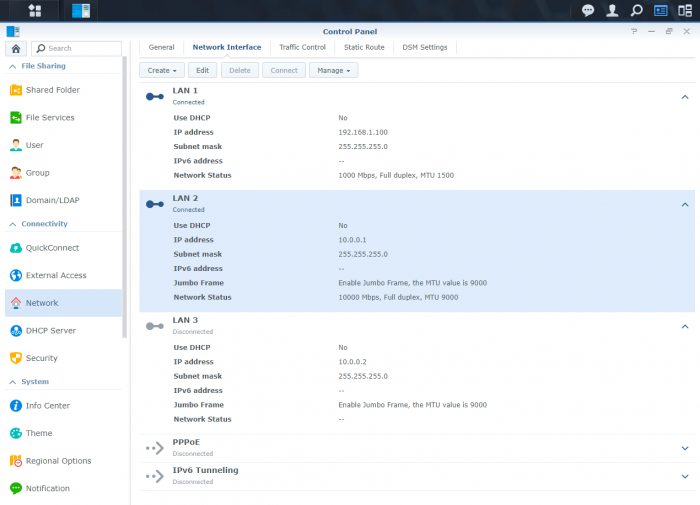
#1 I can't help you with that, but I would advise you to buy a NIC which is supported by Synology (E10G18-T1 for 1x 10 Gbit connection or Intel Ethernet Converged Network Adapter X540-T2 for 2x 10 Gbit connections) due to future update simplicty. With those cards it is just plug and play! #2 Yes it is possible. My current configuration is almost exactly as you described. 2 PCs with a direct connection to the Xpenology (2x 10 Gbit - X540-T2) and one (1 Gbit - i219V) connection from my NAS to my router. I set my IPs manually and followed Linus tech tips regarding 10 Gbit settings. Disable flow control, Jumbo 9000,... those are my network transfer speeds:
-
Outcome of the update: SUCCESSFUL - DSM version prior update: DSM 6.2.2-24922-update 3 - Loader version and model: JUN'S LOADER v1.03b - DS3615xs - Using custom extra.lzma: NO - Installation type: BAREMETAL - ASRock Z370M Pro4 / i3 8100 / LSI SAS 9211-8i (IT) / Intel X540-T2 dual 10 GBit NIC - Additional comments: REBOOT REQUIRED
-
I see. WOW, that's a great deal! Yeah you're right. I am also pleased with my Xpenology decision. Mine has so much more benefits (cheaper, more powerful, HOT-Swap of 8 drives, two 10Gbit ports, I am able to run it as gaming rig for LANs,...) compared to my previous Synology NAS. Nonetheless I am really appreciative for DSM which we only get from Synology.
-
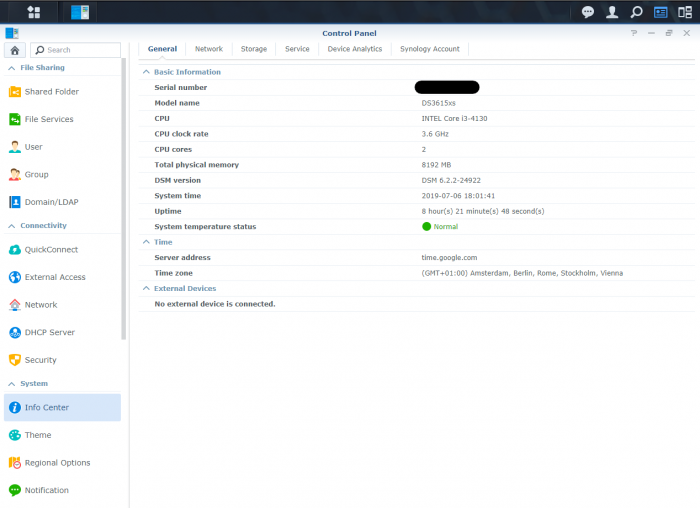
Hey Aydrian, why is a low profile nic a problem for you? I didn't face any install issues (It's just plug an play). There was only once a connection issue where DSM didn't recognise the connected client (Hackintosh1). I just rebootet the NAS and everything has worked fine again. I would only recommend the Intel X540 T2 if you can get it cheap and not for 300€+ Before you try anything you should however do a full backup (as you probably already know) and I even disconnected my HDDs and SSDs with my important data (Just in case). I cant speak for the realtek but the Intel I219-V is working flawlessly. Some screenshots for you:
-
Glad to hear that. You should be fine with the E10G18-T1. I had that card once in my NAS, but I returned it due to the cheap Intel card which has two 10Gbit ports.
-
Hello Aydrian, I got the Asus NIC working in 6.1.5 but never in 6.1.7. However I just bought a used Intel x540 T2 for 100€ which allows me to run DSM 6.2.1 without any problems. I would recommend you to switch your card to something Synology lists on their compatibly list, otherwise you always have to find a workaround for every (major) update. Cheers
-
Outcome of the installation/update: SUCCESSFUL - DSM version prior update: Fresh install DSM 6.2.2-24922 - DS3615xs - Loader version and model: JUN'S LOADER v1.03b - DS3615xs - Using custom extra.lzma: NO - Installation type: BAREMETAL - Asrock z370m PRO4 - Additional comments: Had to boot in legacy and edit the grub config before booting otherwise the NAS wouldn't show up in my network. Hardware: CPU i3-8100, InLine 76617G Sata controller, Intel X540-T2. Everything worked out of the box!
-
Same here
-
Hey IG-88, I am new to xpenology but already set up a perfectly working hackintosh. Now I am facing problems with the Asus C100C in my Xpenology build. Could you pls send me the aquantia x2.0.10.0 driver for 3615 you compiled a while ago? My Hardware: CPU: intel i3-8100 Mainboard: asrock x370m pro 4 RAM: G.Skill NT Series DIMM 8GB, DDR4-2400 Network card: Asus XG-C100C Cheers