Leaderboard


Popular Content
Showing content with the highest reputation on 01/27/2022 in all areas
-
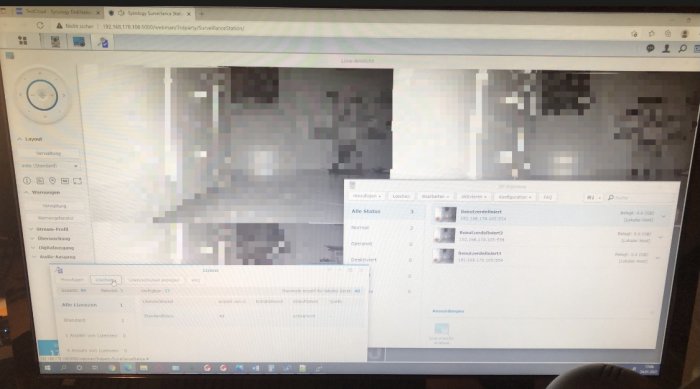
Hello Members ;) I am currently working on a patch for the latest SS version for DSM7. Unfortunately there have been some changes to the files. In addition, the applications can no longer be unpacked as .tar. Currently I have 40 licenses deposited as before. Now I still have to adjust the other routines that it does not check the number of licenses (time bomb). Are there still active users here who want to take care of this with me?
 2 points
 -
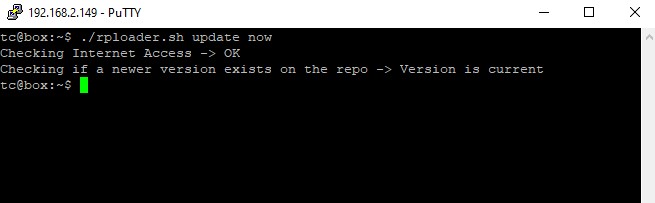
Hi all, A while ago I've started experimenting with a solution that would not require docker and/or a system running linux, but just a simple image that you can boot on your physical/virtual system and create the loader from there. I started with the plain disk image of 200MB size and tried to fit all in this image. As always first partition of the image is the synoboot1, second synoboot2 and third one (synoboot3) is tinycore. Tinycore is a simple linux distribution that can boot to a GUI so you can start creating the loader. Most network modules are included so you can verify also the extensions required on your system. A script will take care most of the actions that you would manually perform and just copy the loader contents to the 1st and 2nd partition. The loader is created from a pre-compiled redpill extension (should work) or you can compile it yourself (still testing). You can bring over and use the rp-helper configuration files so you dont have to do that again. To connect using ssh you will need first to reset the tc user password by typing # passwd tc The image can be found here: https://github.com/pocopico/tinycore-redpill Before starting the loader creation just run # ./rploader.sh update now and answer y I would appreciate any findings to improve the image.1 point
-
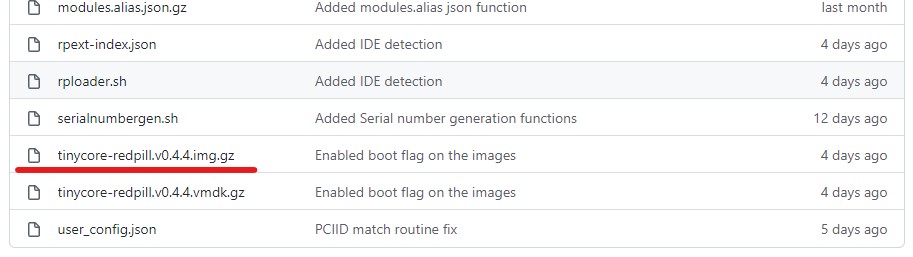
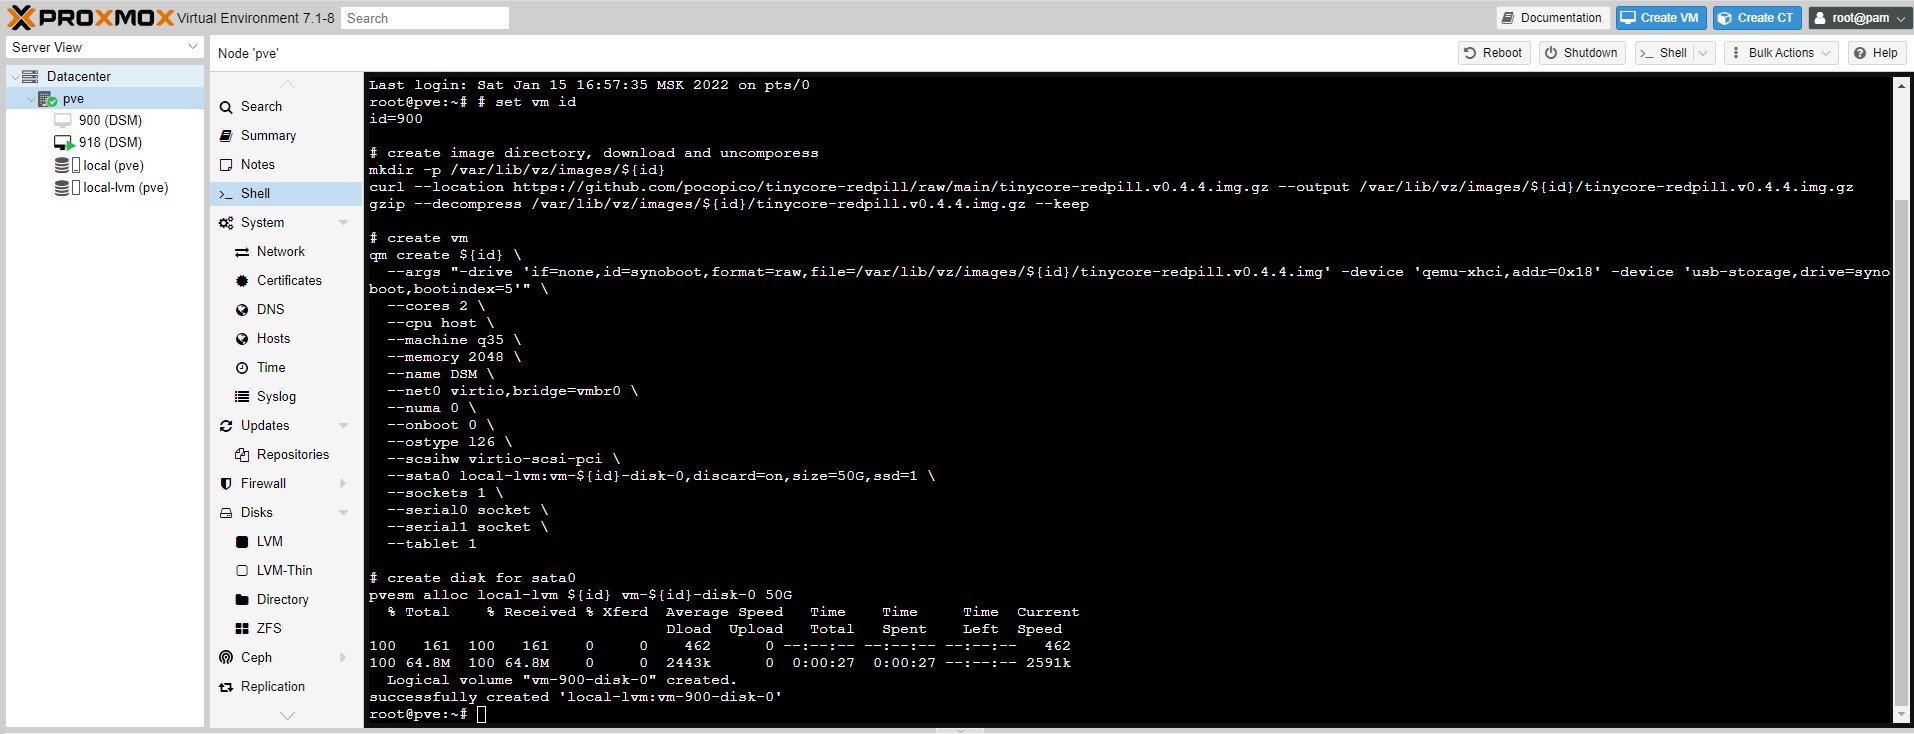
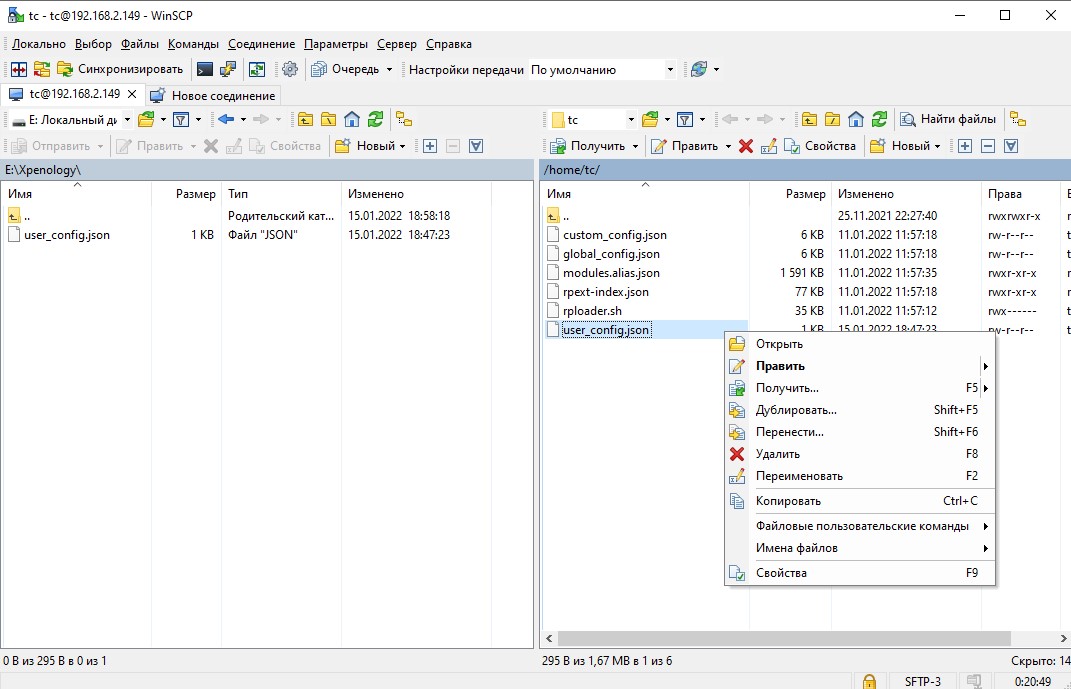
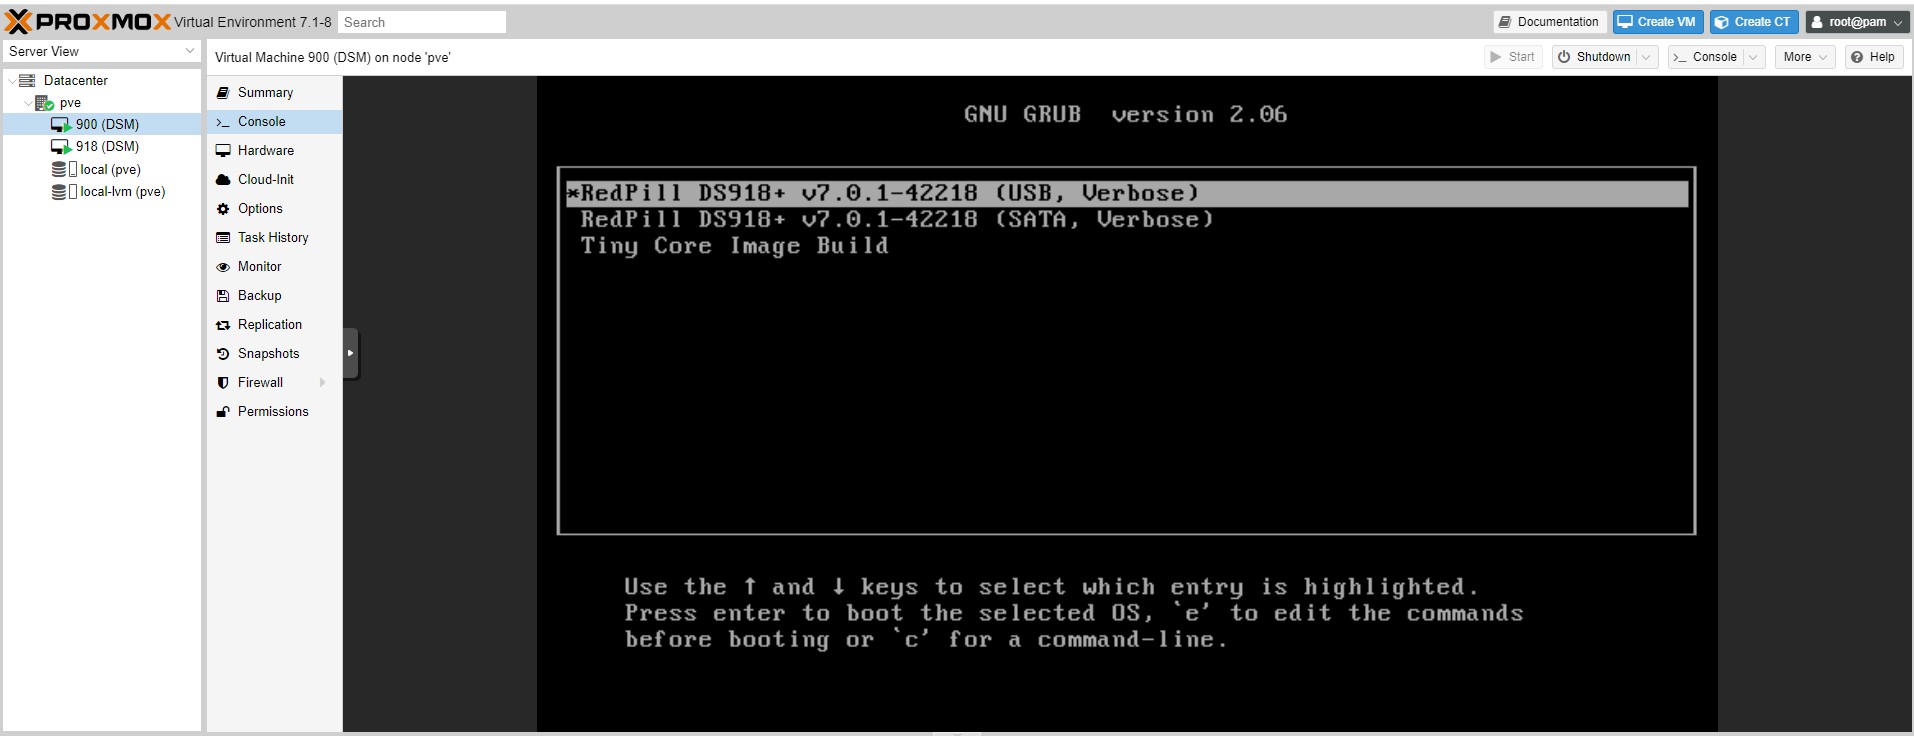
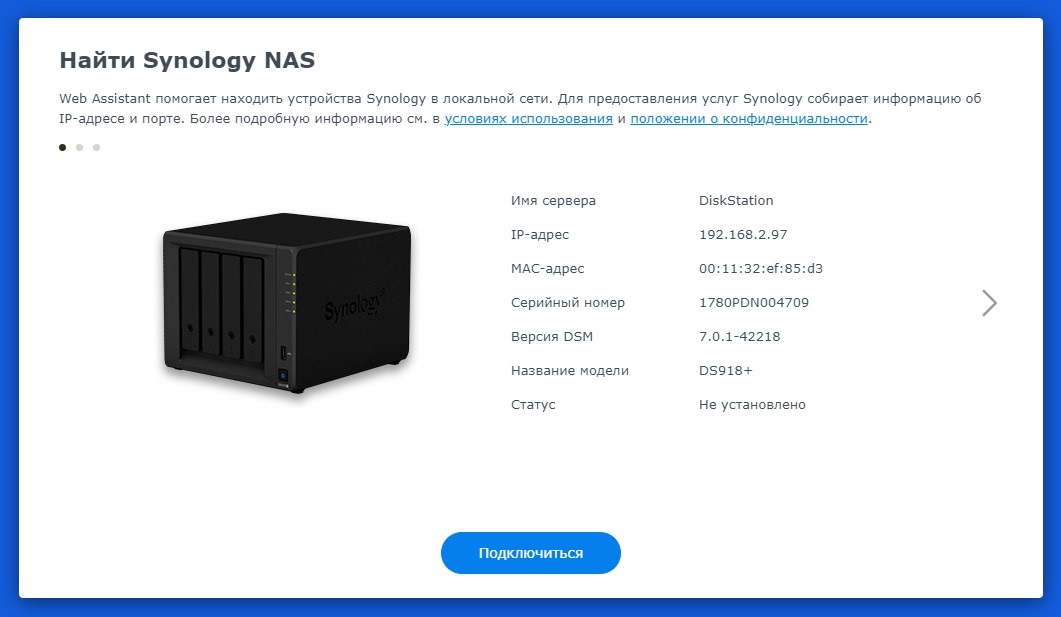
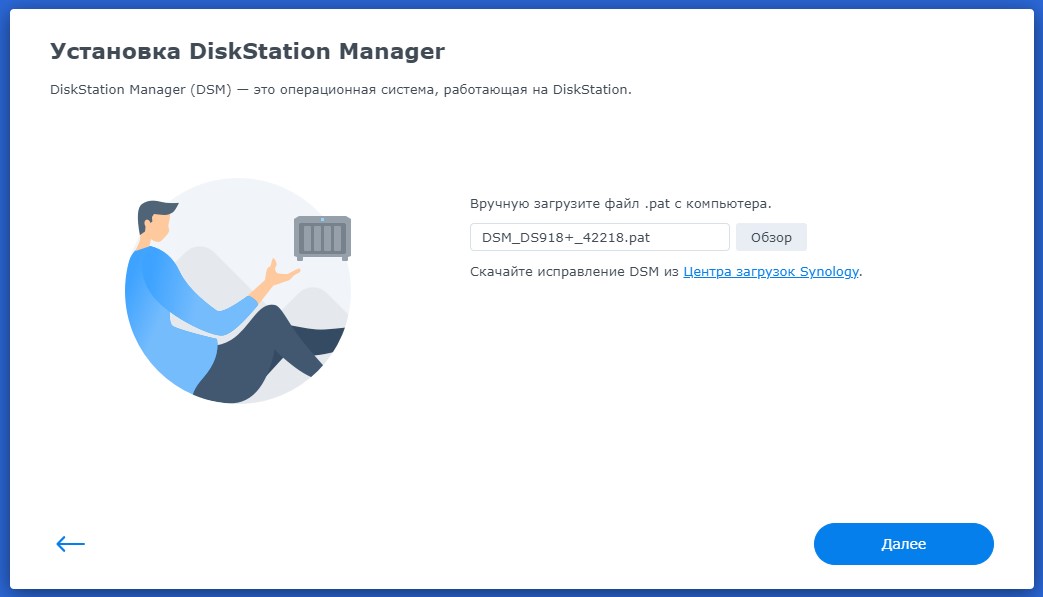
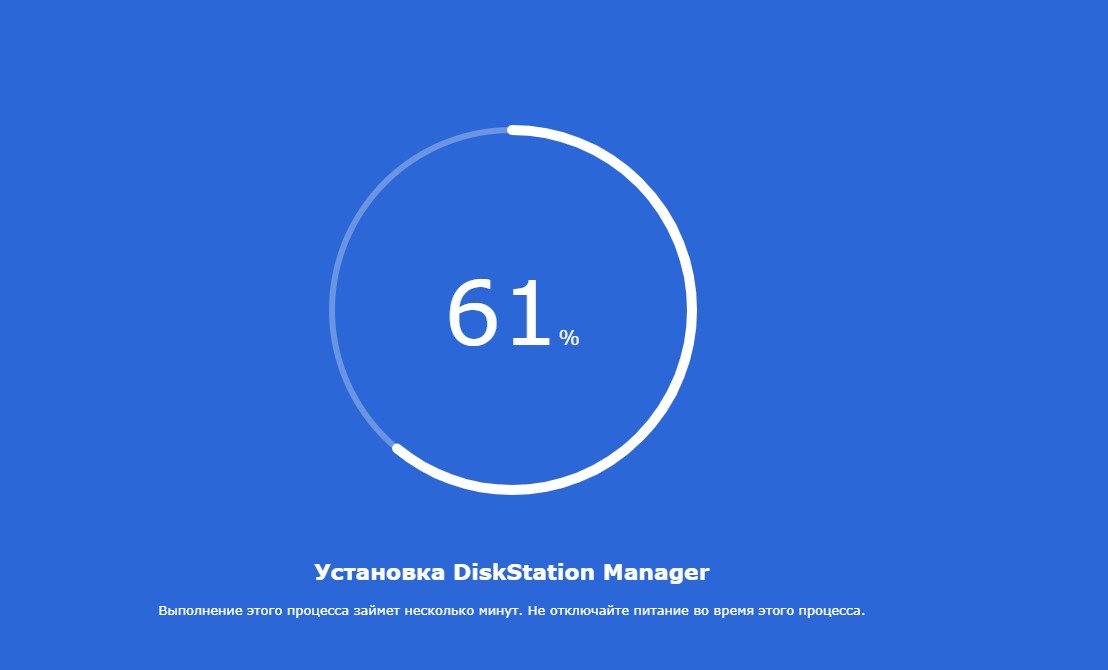
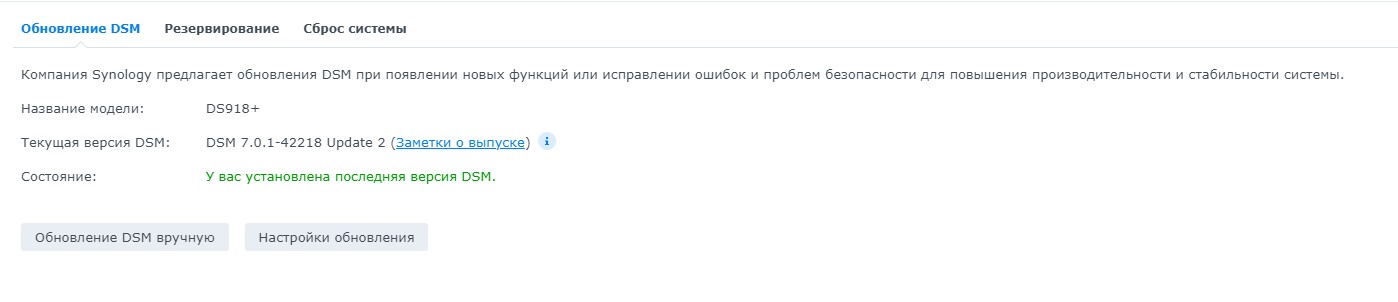
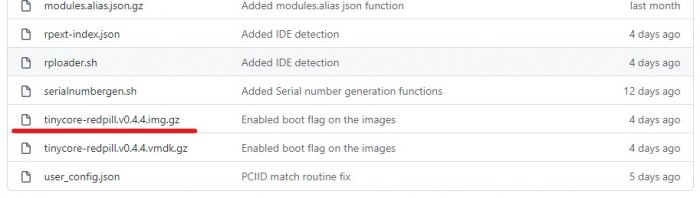
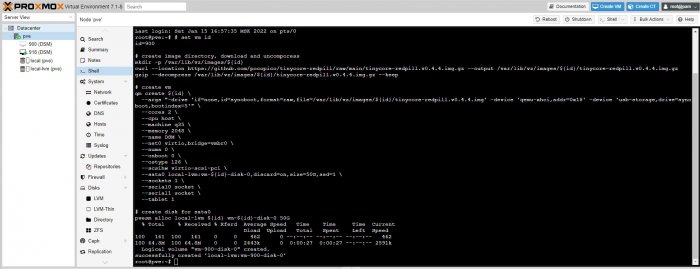
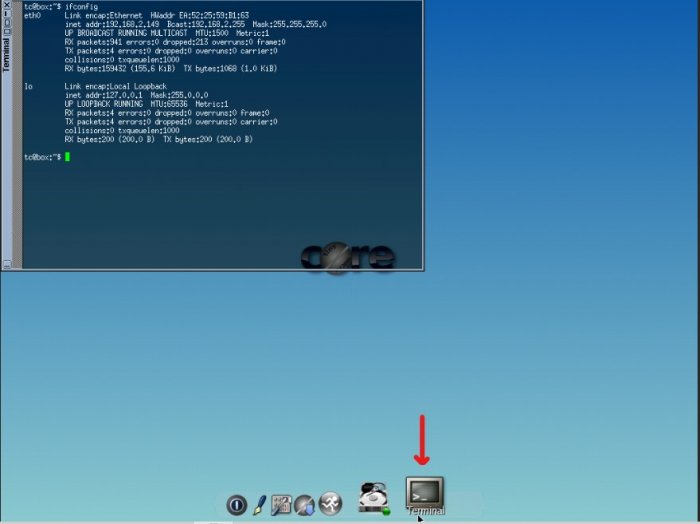
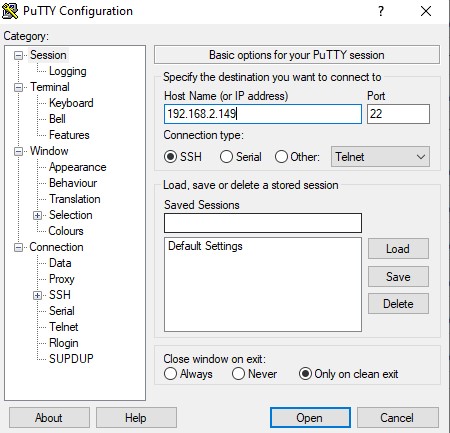
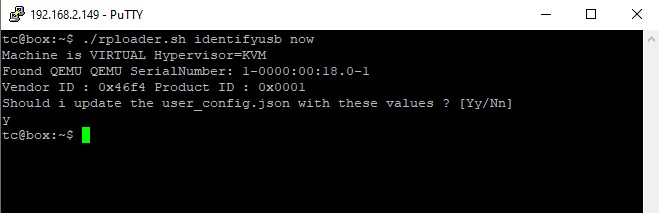
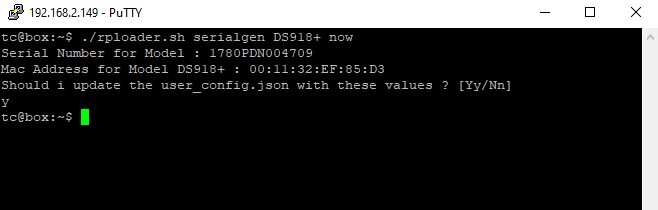
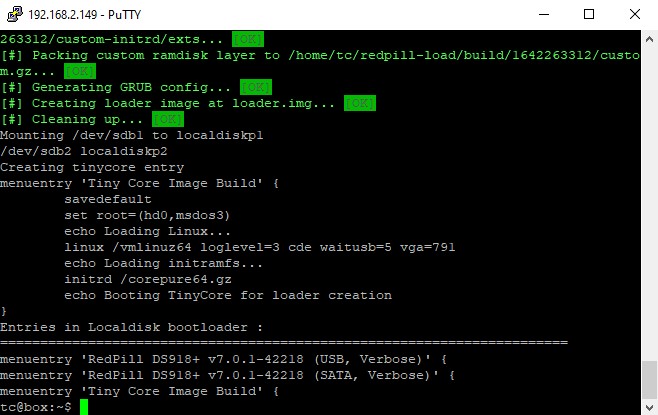
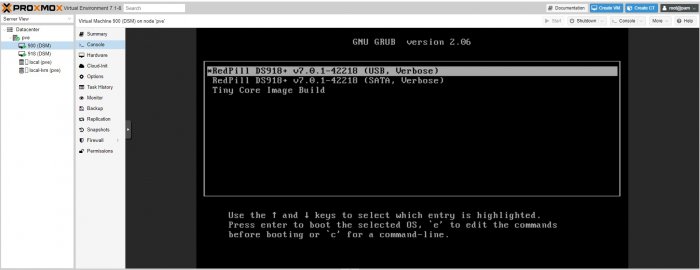
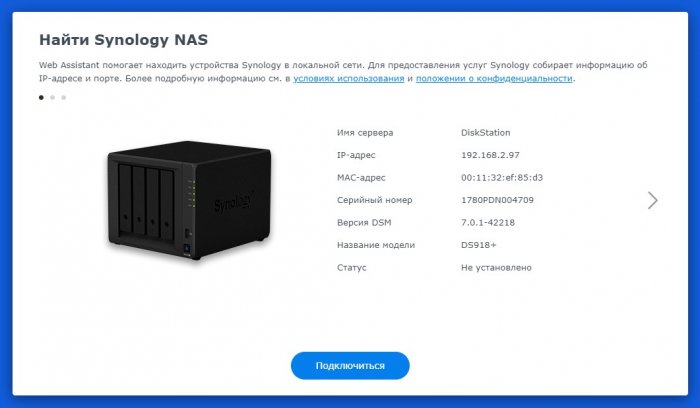
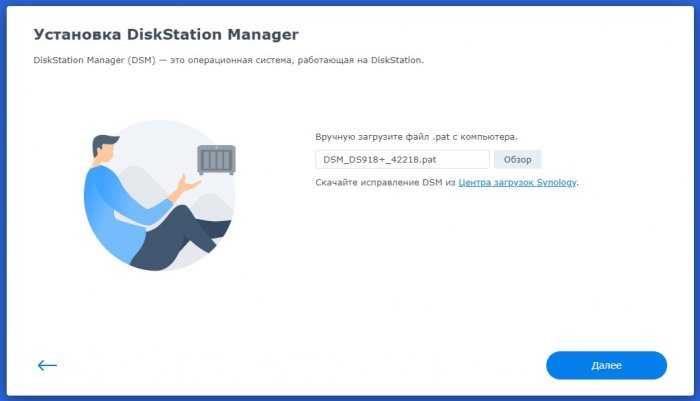
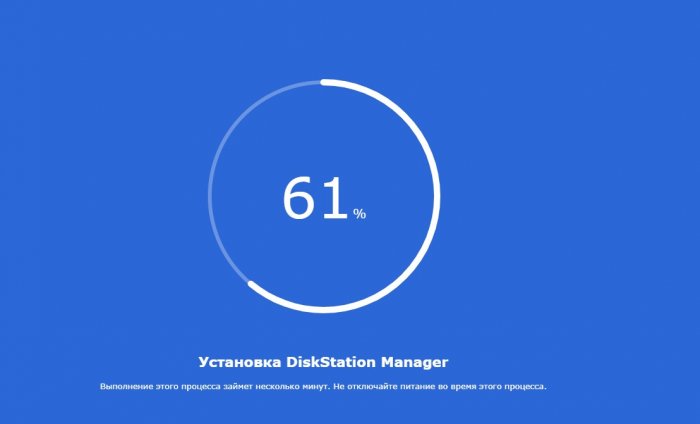
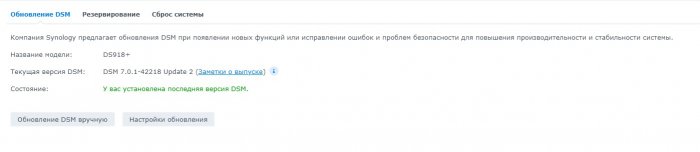
Решив пощупать Xpenology и покопавшись на форуме, то для теста остановил свой выбор на Proxmox, тем более что DSM 7 в этой виртуалке сейчас можно установить довольно просто. Для установки в полуавтоматическом режиме будем использовать RedPill Tinycore loader от pocopico и скрипт от haydibe. Создание виртуальной машины Для создания виртуальной машины я использовал шаблон скрипта от haydibe и использовал последний на данный момент имидж tinycore-redpill.v0.4.4 Под себя в скрипте можете исправить id для виртуальной машины, которую будете создавать и ресурсы, которые хотите выделить для NAS (cores, memory и в двух местах размер диска sata0) Обязательно проверьте в GitHub какая версия имиджа актуальна на данный момент и исправьте это в скрипте. # set vm id id=900 # create image directory, download and uncomporess mkdir -p /var/lib/vz/images/${id} curl --location https://github.com/pocopico/tinycore-redpill/raw/main/tinycore-redpill.v0.4.4.img.gz --output /var/lib/vz/images/${id}/tinycore-redpill.v0.4.4.img.gz gzip --decompress /var/lib/vz/images/${id}/tinycore-redpill.v0.4.4.img.gz --keep # create vm qm create ${id} \ --args "-drive 'if=none,id=synoboot,format=raw,file=/var/lib/vz/images/${id}/tinycore-redpill.v0.4.4.img' -device 'qemu-xhci,addr=0x18' -device 'usb-storage,drive=synoboot,bootindex=5'" \ --cores 2 \ --cpu host \ --machine q35 \ --memory 2048 \ --name DSM \ --net0 virtio,bridge=vmbr0 \ --numa 0 \ --onboot 0 \ --ostype l26 \ --scsihw virtio-scsi-pci \ --sata0 local-lvm:vm-${id}-disk-0,discard=on,size=50G,ssd=1 \ --sockets 1 \ --serial0 socket \ --serial1 socket \ --tablet 1 # create disk for sata0 pvesm alloc local-lvm ${id} vm-${id}-disk-0 50G В Proxmox В консоли вставляем и запускаем созданный скрипт. После создания виртуальной машины запускаем ее и дожидаемся загрузки. Все дальнейшие действия можно делать в веб интерфейсе консоли виртуальной машины, но это будет очень неудобно и довольно криво. Я использовал Putty и WinSCP. В виртуальной машине запускаем Terminal и командой ifconfig смотрим IP У меня это 192.168.2.149 Putty Подключаемся к виртуальной машине Login: tc Password: P@ssw0rd Последовательно выполняем несколько команд ./rploader.sh update now ./rploader.sh satamap now ./rploader.sh identifyusb now Далее нужно сгенерировать серийный номер и mac под нужную платформу (DS3615xs, DS3617xs или DS918+). Если вы используете свою связку sn+mac, то пропускаем этот пункт. Например, для DS918+ указываем: ./rploader.sh serialgen DS918+ now Переходим в WinSCP Подключаемся к виртуальной машине Нам нужно будет проверить и возможно отредактировать файл user_config.json Проверяем, что все пункты соответствуют тому, что были сгенерированы ранее. Иногда почем то скрипт не с первого раза записывает полученные данные в файл. Если используете свою связку sn+maс, то исправляем нужные пункты. "pid": "0x0001", "vid": "0x46f4", "sn": "1780PDN004709", "mac1": "001132EF85D3", "SataPortMap": "66", "DiskIdxMap": "0006" Возвращаемся в Putty В зависимости от выбранной ранее платформы выполняем команды: для DS918+ ./rploader.sh build apollolake-7.0.1-42218 static для DS3615xs ./rploader.sh build bromolow-7.0.1-42218 static для DS3617xs ./rploader.sh build broadwell-7.0.1-42218 static Перегружаем виртуальную машину sudo reboot Обратите внимание, что сейчас при загрузке виртуальной машины выбирать надо загрузку с USB Ждем пару минут и в браузере открываем http://find.synology.com/ или используем Synology Assistant Скачиваем с сайта Synology образ DSM_DS918+_42218.pat или другой под нужную вам платформу. Указываем загруженный файл для продолжения установки. После полной установки новый NAS уедет в очередную перезагрузку и порадует окном приветствия. Обновление 42218 Update 2 так же устанавливается без проблем.


 1 point
 -
beside the fact that i9 9th gen only has 8 cores (+ 8 HT = 16 threads), yes you could use the full potential of the cpu with 3617 neither nvme ssd nor hardware transcoding with 3617, in case of using 918+ you would disable HT and use the 8 cores without HT (~25% of a real core fot a HT thread, so performance of 2 cores, 8 x 0.25, lost in that scenario)1 point
-
I restored my /volume1 myself! Huray! Okay, so, after week of investigations I tried different tools to extract data. And here whats happened. 1) The only tool which states it can extract data from Synology LUNs is Reclaime and ReclamePro(which is 4 times more expensive). However, I tried and it failed. I was talking to their support and one of their senior developers started investigating, why its not working (and doing it still, they are very interested in this case). 2) What is funny, i actually could restore it a week ago if kept cold blooded :) (Actually no, i didn't know one command line option) So, previously I already disassembled my 2-disk RAID1 with ``` # Stop the RAID1 mdadm -S /dev/md2 # Recreate a RAID1 with just one disk keeping the data as is mdadm --create --assume-clean --level=1 --force --raid-devices=1 /dev/md2 /dev/sdd5 ``` At this point i stopped last time, since LVM couldnt find volume groups and volumes... Now to the happy finish: ``` #Stop the RAID1 again mdadm --stop /dev/md2 # Recreate RAID1 with new option "--metadata=1.2" mdadm --create --level=1 --force --raid-devices=1 /dev/md2 /dev/sdd5 --metadata=1.2 # Reload LVM configuration from backup, where vg1000 is the name of my volume group vgcfgrestore --test -f /etc/lvm/backup/vg1000 vg1000 # that was dry run, to check that its okay, now real run vgcfgrestore -f /etc/lvm/backup/vg1000 vg1000 #Output: Restored volume group vg1000 # check it is in the list now vgs -v # finally make it active. vgchange -ay vg1000 # after this my /volume1 is restored as RAID1 mirror with only one HDD. # but DSM is not picking it up properly - reboot is needed. ``` After reboot all work fine. Storage manager shows my raid, however is has 'Failed system partition'. Its an easy fix for me. Looking at the disks with lsblk its seen /dev/md0 (system raid1 ) doesnt include partition from my hdd ( /dev/sdd1 ). ``` mdadm --manage /dev/md0 --add /dev/sdd1 ``` And all is okay after few minutes.1 point
-
If anyone is interested, I have compiled this https://github.com/NeverEatYellowSwissSnow/synology-dsm-open-vm-tools open-vm-tools_apollolake-7.0_11.3.5-1.spk : https://1drv.ms/u/s!AgUdhaa0P0VhiZA11Xq7EQxETArbJg?e=ipifXb1 point
-
For information purpose and anybody that gives nights to solve the Puzzle: VMWare ESXi and TinyCore runs great if placed in the Hypervisor via SATA 0:0 Flawlessly. In my Case the Problem was the igbx Extension ( thanks @pocopico!) that gave a kernel Panic Imagine how long I’ve been looking at the Machine, the Drives, the NIC…even Cables… I don’t know how to remove an extension, since rploader.sh detects Hardware and places Extensions into the build. The trick was to boot only with minimum Hardware (VM) like VMNET3 NIC and TinyCore Volume, modify the Loader and…that solved my struggle. I can edit SataPortConfig and so on before Build, when I disconnect the passthrough devices…then build, shutdown and reboot with newly builded Settings. Great. Last step: Drive 1 is empty and my PortConfig seems to be complicated. I do have an 3rd controller besides my 2 HBA, but it won’t go to disk 17 behind the Port limit, even 13 (behind the physical attached Disks) doesn’t. Just cosmetics, it’s an Hot-Spare… Running now an I know how. Oh boy, these days were long an annoying. But informative! Thanks to all here, great to get this further, since @ThorGroup seems to be MIA and stay…1 point
-
- Outcome of the update: SUCCESSFUL - DSM version prior update: DSM 6.2.3-25426 Update 3 - Loader version and model: RedPill DS3615xs v7.0.1-42218 - Using custom extra.lzma: No idea, so gonna say NO - Installation type: BAREMETAL - HP Microserver Gen8 (Intel Xeon E3-1260L) Notes - used RedPill Tinycore loader.1 point
-
При добавлении новой папки нужно было указать что это папка с сериалами. Похоже что в библиотеке указано что папка с фильмами.1 point
-
Может кому пригодится HP iLO 4 2.73 fan hack - чтобы установить нужно буде разобрать сервер и выключить безопасность ilo. После установки модифицированного ilo можно будет управлять скоростью вентиляторов. Понизить скорость до устраиваемой Вас (по шуму и охлаждению) - так же рекомендовал бы поставить AMS там же постом ниже написано как его установить и настроить.1 point
-
Всем привет! Уже месяца 3 на 7.0.1-42214. Если кому интересно, то гарантированно работает на Asrock 4105 и Asrock 4125 - проверено лично. В глубокий продакшн наверное пока стремно, а вот для дома для семьи вполне. После обновления на 7.0.1.-42218 не входит в учетку (реальные SN&MAC). Видимо какая-то новая защита.1 point
-
Уже есть решение: 1) Use putty login to your console ( root ) 2) Run the following command: /sbin/modprobe usbserial /sbin/modprobe ftdi_sio /sbin/modprobe cdc-acm 3) Unplug z-wave stick and plug it back in . Пробовал, стик завелся в Home Assistant. Взято от сюда: Еще если у кого при установки будет проблема с невозможность отформатировать диск, то играйтесь с параметрами: "DiskIdxMap": "00", "SataPortMap": "4". У меня в такой конфигурации завелось.1 point
-
Мне собственно и интересны их сервисы, в частности транскодинг, который не будет работать без соответствующих значений серийника и макадресов. Иначе проще уйти на freenas, unraid, или omv наконец. Я бы с радостью купил лицензию их системы, чтобы поставить на свое железо, но это не возможно.1 point
-
Just a recap for those who'll want to try NVMe cache because all the thread is quite messy imho. The above shell script with DSM 6.2.3-25426 Update 2 (on DS918+ , indeed) does not work anymore. At least in my experience it leads in an incorrect state where the two NVMe are not recognised as the same and therefore they cannot be used for a necessary RAID 1 in case of R/W cache. The only thing is really working at the moment is a copy of the libsynonvme.so.1 to the right path. So put this file in a public zone of your volume (this is my case) or wherever you like and then with root's privileges (sudo -i) put the lib in the right place: cp /volume1/public/libsynonvme.so.1 /usr/lib64 cd /usr/lib64 chmod 777 libsynonvme.so.1 shutdown -r now and that's it. The Storage Manager should recognise correctly yours NVMe's and use them as cache.1 point
-
Please open the user_config.json in an editor and then look out for entries that have "add_extension": [] and simply add it to those entries that miss it.0 points