Search the Community
Showing results for tags 'mod'.
Found 3 results
-
 Hello! TL;DR: We've developed a new loader for v6.2.4/v7+ which contains a way to install custom extensions/drivers/mods. We're looking for feedback of the extension manager & kindly asking for drivers to be made compatible with it. First of all, let us thank you guys for all the driver packages you were always preparing - we used them ourselves. As some of you may be aware we are developing a new loader called RedPill. There's a long thread in the developer's section of the forum: Today we've added a long-awaited functionality of custom drivers. We've chosen to go with a more modular approach rather than offering a clone of Jun's loader functionality of extra.lzma archive. Our solution relies on a simple extension manager which is responsible for downloading and packing drivers automatically. This lets users install only the drivers they need while also mixing-and-matching multiple ones. With "extra.lzma" the limitation was that users either had to build their own packages or choose between having the HBA driver or VirtIO driver... that, in our opinion, was a poor experience. Additionally, the new format allows you to keep a single git repository containing both the metadata for RedPill extension manager and the build environment you use to compile drivers. We would like to collect your opinion on the new extension manager we created and ask you to port your drivers to the new format. We prepared two documents: https://github.com/RedPill-TTG/redpill-load/blob/master/docs/extensions-overview.md (summary of what the extension manager is capable of and how to use it manually) https://github.com/RedPill-TTG/redpill-load/blob/master/docs/extensions-for-devs.md (document intended for people creating extensions/compiling drivers detailing the architecture) In addition, we published two packages, which can serve as an example: https://github.com/RedPill-TTG/redpill-virtio (VirtIO driver) https://github.com/RedPill-TTG/redpill-boot-wait (shell-only package; this will be similar to how e.g. a CPU governor mod can be implemented) There's currently no central way to discover packages but is it planned. For now we're simply collecting links to indexes in a separate git repo - https://github.com/RedPill-TTG/redpill-extensions - you can just toss a link there from the GitHub web UI without cloning the repo. What do you all think? special cc @IG-88 p.s. We didn't post this in the driver's extensions subforum as this topic isn't intended for users. When some drivers are built and the official beta version of RedPill is published we will create a separate thread there.
- 41 replies
-
- 14
-

-

-
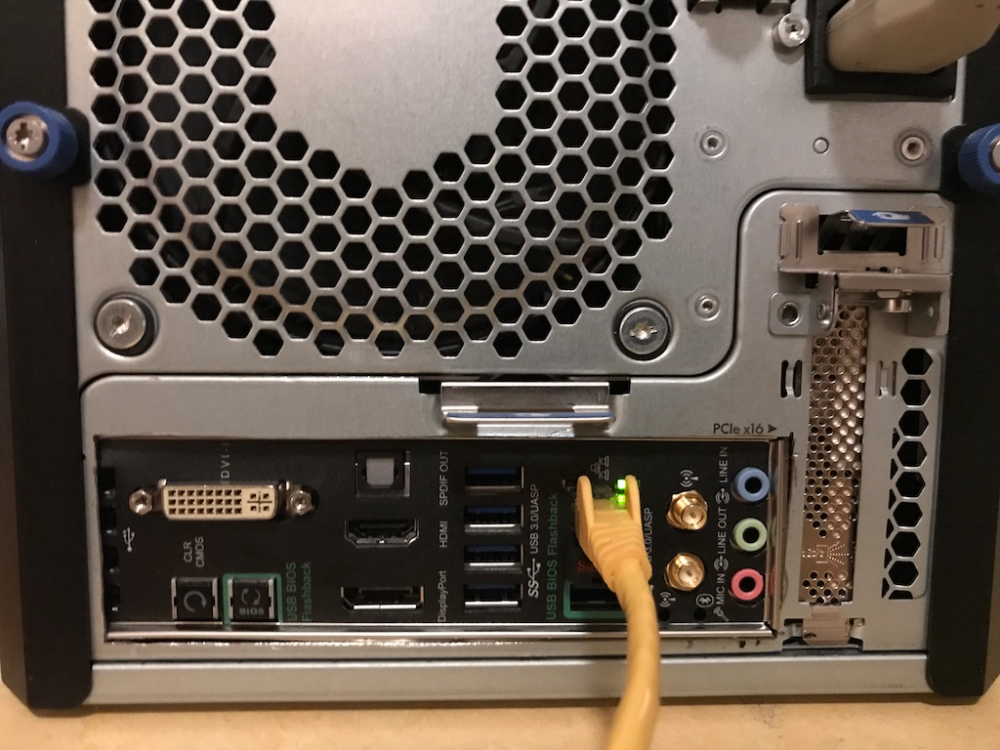
Had a HP Microserver G8 chassis with defunct MB collecting dust. Replacing the proprietary MB felt pointless, so I decided to cram in the leftovers from upgrading the gaming rig and install Xpenology. The list of odd bits available: i5-4670T Noctua NH-L9i ASUS Z87i Pro, mITX SilentWings 120mm PWM Fan I wanted better CPU than the anaemic G1610T and yet limit power usage. I also wanted something more quiet than the original HP system fan. The backplate of the MB-tray in the G8 is too small to fit an entire mITX MB I/O shield. I decided to stay within the edges of the Hp backplate, otherwise one needs to cut(yes, I used the dremel) through the edge of the MB tray and also into the top cover. Cutting through the edge would affect structural stability and usability. Here I sacrificed access to the leftmost ports of the replacement MB, but for use in a NAS they were not essential. To reposition the posts to screw down the MB on the tray, first use a big pair of pliers and give a good twist to remove. I then put in a PCI card to help find the correct position for the MB onto the tray using the expansion card opening as a guide. Then cut an opening for the I/O shield. "Measure twice, cut once" does still apply here, but be prepared to do some extra trimming to make things fit reasonably. Marked the positions for the mounting posts through the MB holes. Tapped and drilled new holes which I kept slightly undersized. Pushed the posts into the holes and pounded them in place. Use a piece of wood(with a hole for the post) as a counter. Reused the rubber studs/distances that the support the original MB onto the tray and repositioned holistically. The Noctua CPU cooler did slide in nicely underneath the drive cage. Then some soldering to extend the Molex power cable for the CPU-power and power connectors for additional disks. Also added a ATX-power extension cable to reach to the new position of the MB power connector. Another fun discovery is the proprietary nature of the HP top front USB ports/cables and the system panel connector(PWR/reset/LEDs). I removed the original front USB ports and glued a 2-port USB 3.0 Female Flat Cable with a 20 Pin Header in place. I also pried open the plastic housing of the power button and added(yes, more glue) a generic pushpin power switch and LEDs inside. It all looks stock from the outside and works just fine. Then my brother got involved and decided to sponsor my project with some storage: LSI 9271-8i 4 x ST6000NM0014 2 x Samsung MZ7GE480HMHP Yes, these are some luxury items and one could naturally have used any odd SATA HDD here. Also note that the original HP SATA harness mounted to the drive cage has a SFF-8087 header. Using the LSI card this snapped right in. Otherwise some rewiring would have had to be performed. Using the existing cabling/connectors to the the drive cages and an LSI-card also provided hot swappable disks and no 3Gbps limitation as imposed by HP onto some slots by the original onboard SATA/RAID controller. The LSI controller is configured to present the disks as JBOD, leaving DSM to apply soft RAID(5) to the volume(s). To work with the LSI command level interface when rebuilding a hardware RAID volume, one needs to possess superpowers that I don't. Configured the SSDs as R/W cache and the system feels very snappy. I have 16MB of DRAM installed which is probably overkill, as I don't have any plans to launch VMs. Installed Xpenology as DS3615xs, and for VideoStation the CPU architecture seems to play nice with transcoding. The access to video and fast forward while playing is almost instant. I'm not sharing any pics of the innards, as my wiring skills are not up to public scrutiny
-
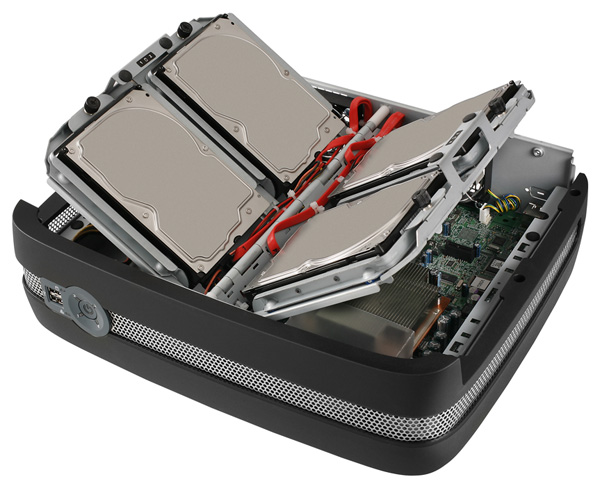
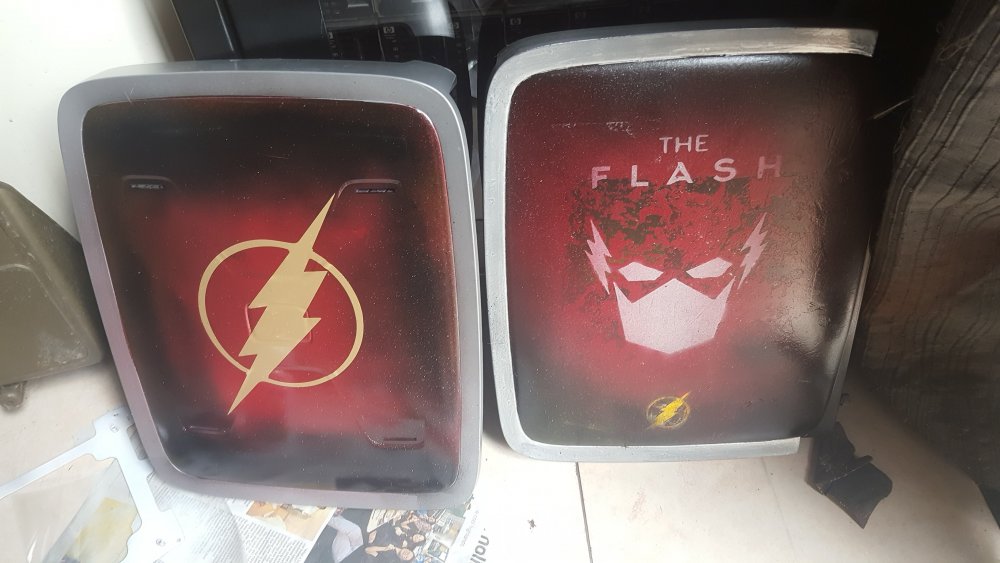
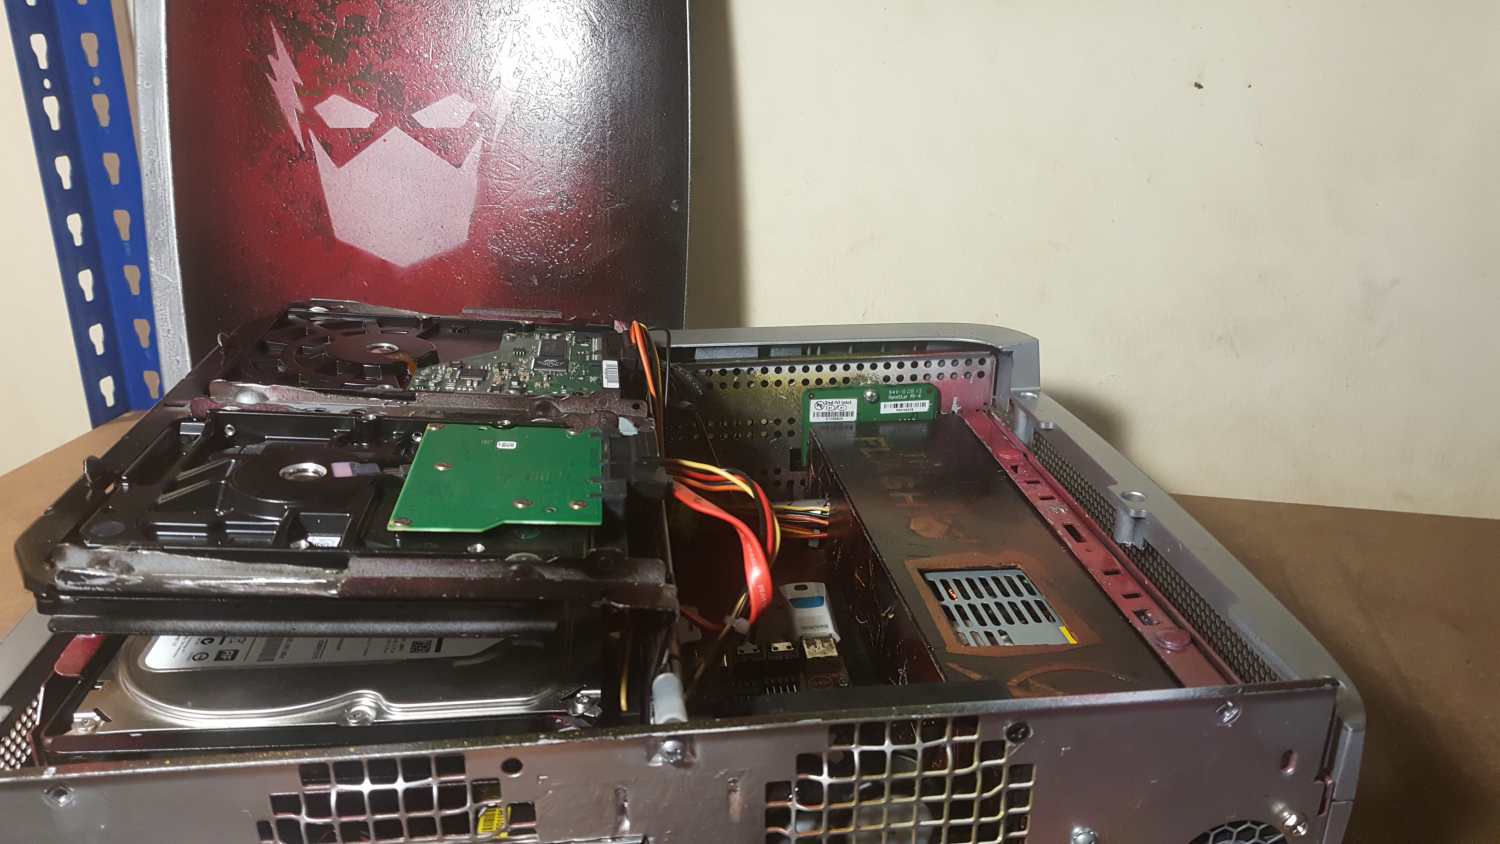
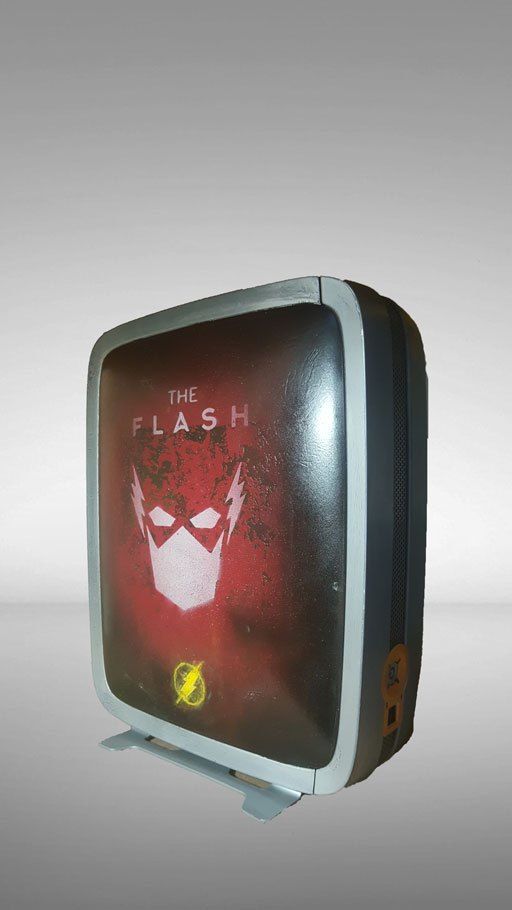
Hi Guys, wanted to share a small project i worked on... i managed to get an old SS4200-E which is a 4Bay Intel NAS of course it didnt work anymore also the CPU was an LGA775 procesor and with 1GB ram as well sata2... but a nice casing that just looked a bit colorless......and boring.... but the cool thing is it can be used either vertical or horizontal, you just need to remove the "feets" and mount them in teh secondary position. as mention looked boring.. so not that im a big Flash fan but somehow it was fitting... but i waned a dirtier look not the clean polished one but the darker side of flash. after painting..... Inside View... custom cover for teh power supply, also i added an internal USB slot, i had to cut the back open to fit the new mini ITX board with 4 x sata3 connectos and i added 8GB RAM. need to change the cpu from a celeron to at least an i3 or i5 but did not ahve a spare one... also the RGB LED are missing here in this shots still.. currently programming them with arduino for special effects. any feedback is welcome cheers... dottoremoe // www.dottoremoe.com