Leaderboard


Popular Content
Showing content with the highest reputation on 04/15/2018 in all areas
-
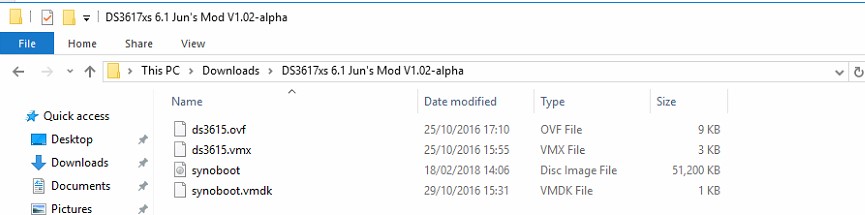
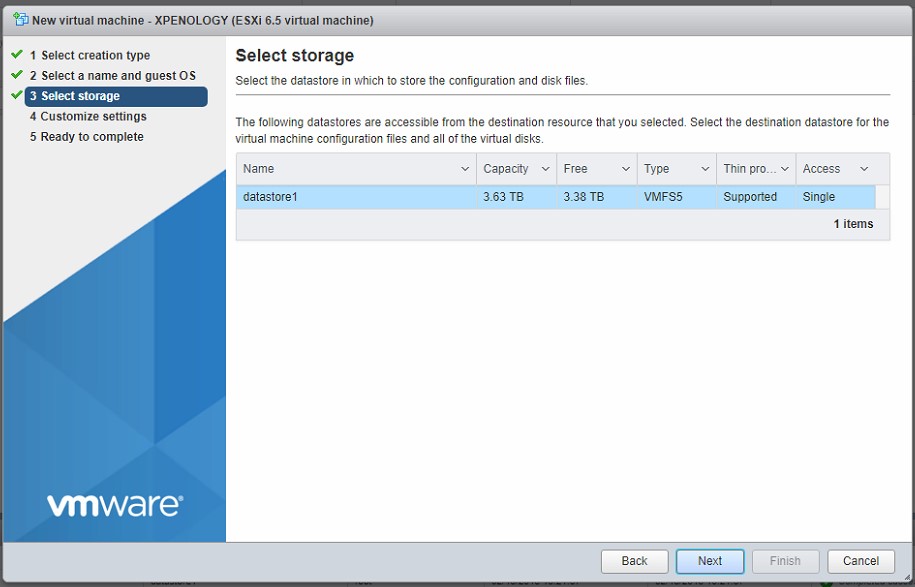
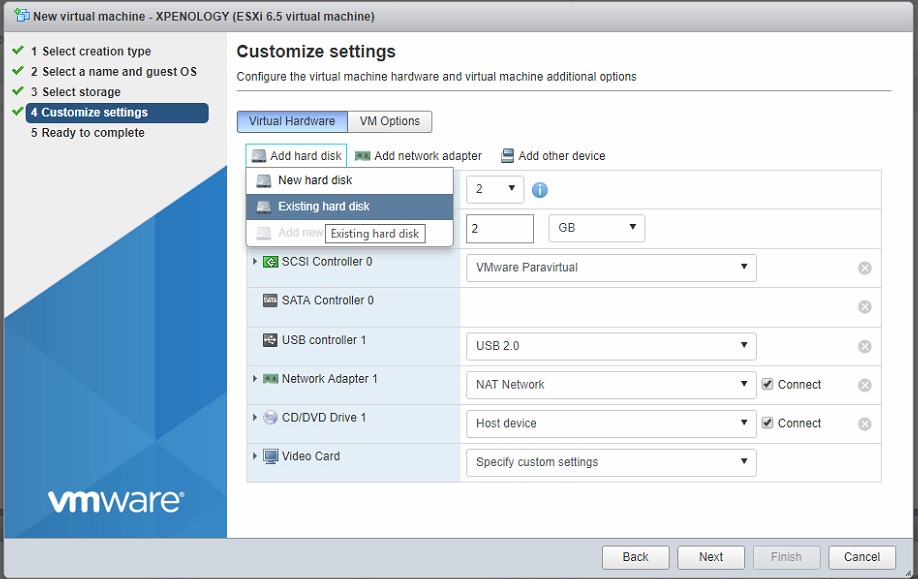
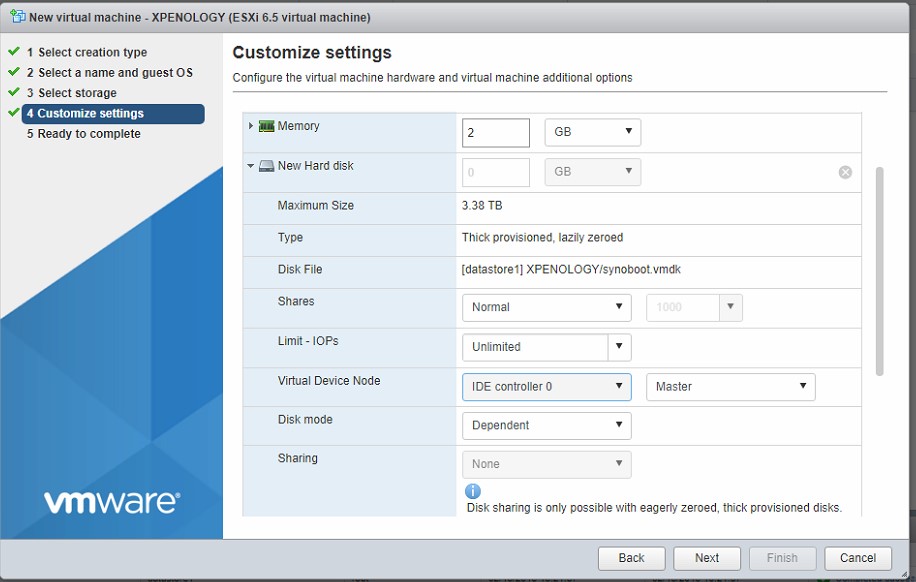
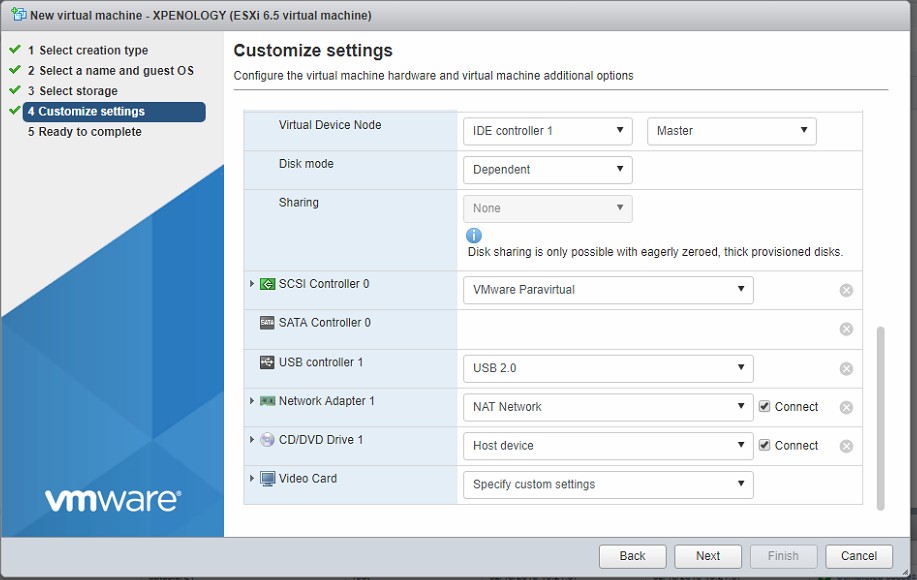
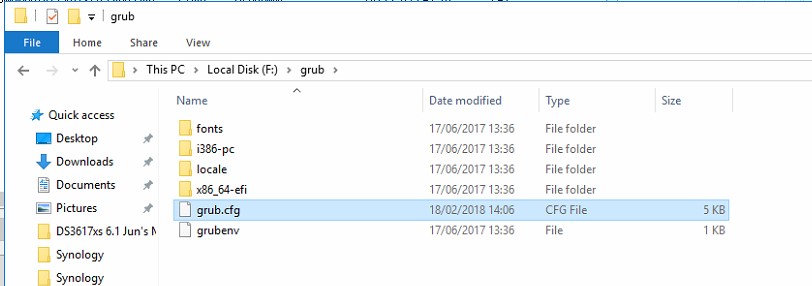
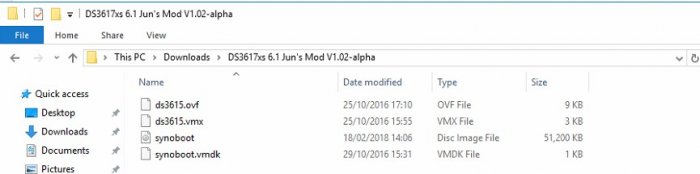
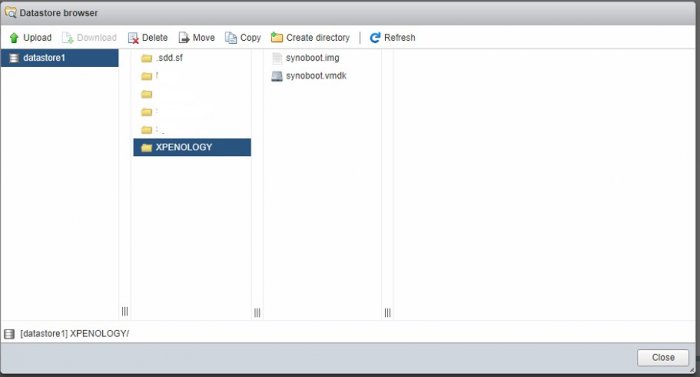
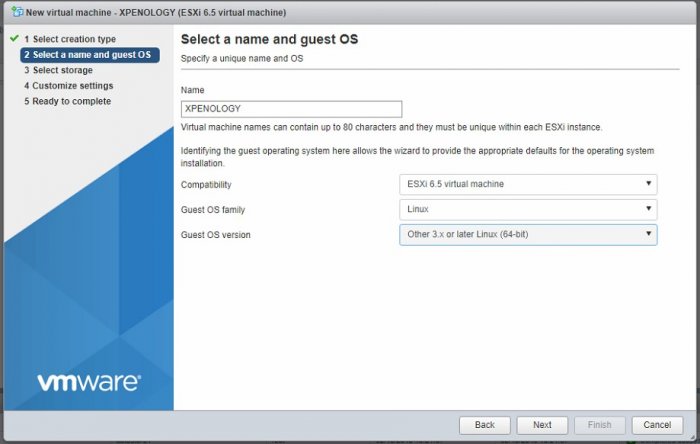
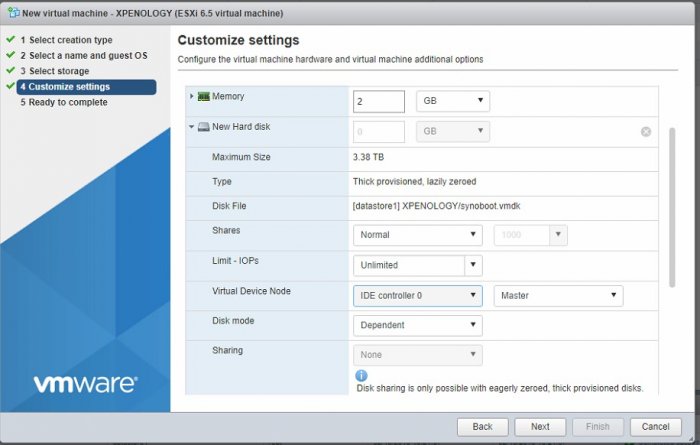
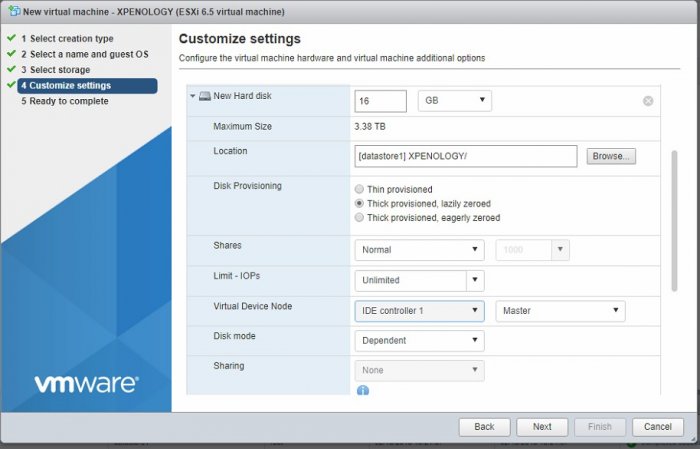
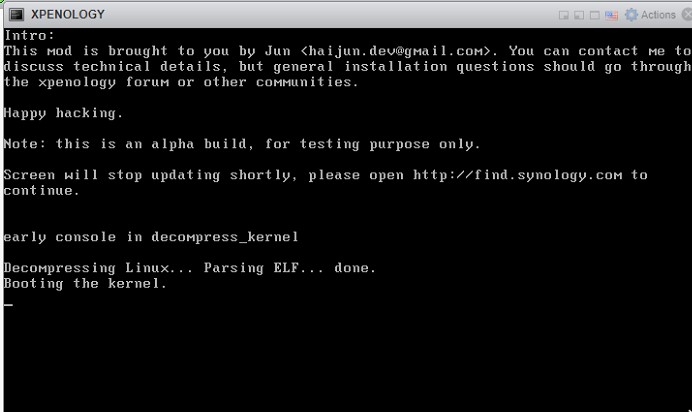
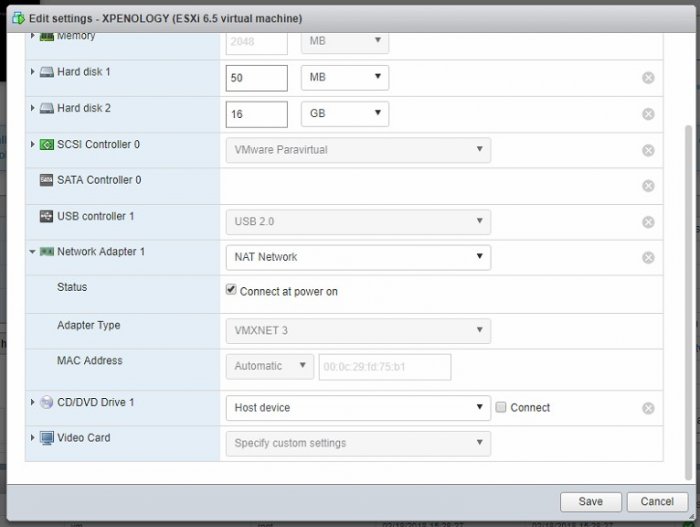
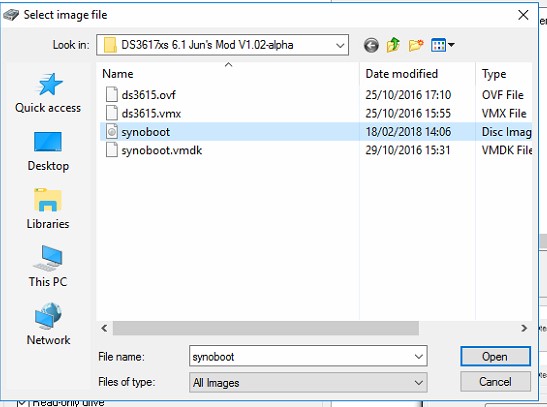
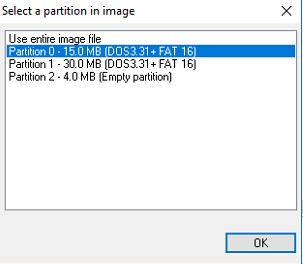
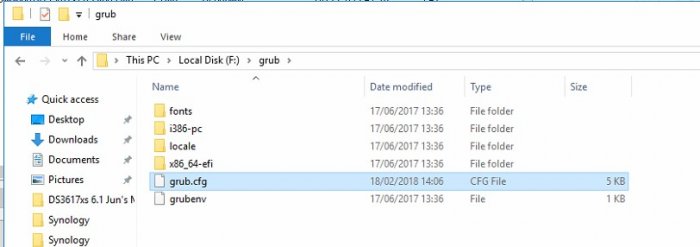
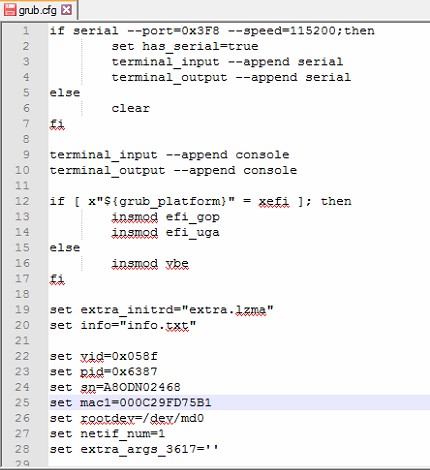
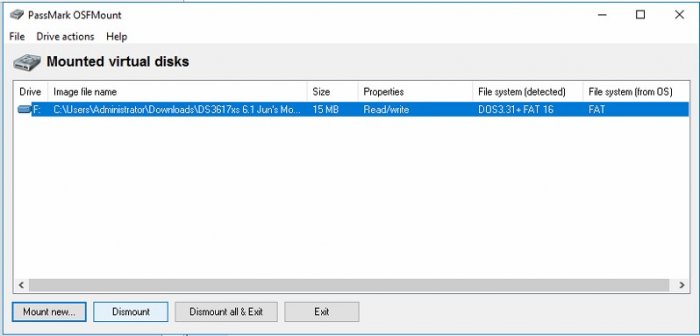
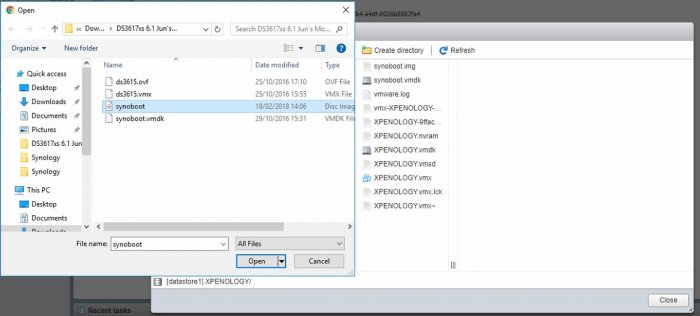
Hi everyone, This is a quick tutorial about installing DSM 6.1.5 on ESXi 6.5. I spent quite some time trying to make it work and I had to use different tutorials to find the match working on my system. That is why I uploaded this tutorial. One of the main problem I got was making my virtual interface getting an IP from my DHCP, I realised it was because of a mismatch between the mac address in the grub.cfg and the mac address of the virtual interface. The second issue, during the install, no disks were shown, it is because they were tagged to a scsi controller and it only work in IDE or SATA. (I choose IDE) The third issue was an error message I was getting during the installation of DSM: ”Failed to install the file. The file is probably corrupted. (13)”. This one because I was using the vmdk of V1.01 for DSM 6.0.2 from this link: ” https://mega.nz/#F!yQpw0YTI!DQqIzUCG2RbBtQ6YieScWg!LAZmSagJ” The tutorial: First, we need to download these 3 files: 1. DS3617xs 6.1 Jun’s Mod V1.02-alpha.zip https://mega.nz/#F!BtFQ2DgC!JgomNP3X8V9EuwxL4TXbng!5kcjyJ7R 2. synoboot.img https://mega.nz/#F!BtFQ2DgC!JgomNP3X8V9EuwxL4TXbng!R4VmQbaC 3. DSM_DS3617xs_15254 (Last DSM version) https://archive.synology.com/download/DSM/release/6.1.5/15254/ ------------------------------------------------------------------------------ Unzip DS3617xs 6.1 Jun’s Mod V1.02-alpha.zip and open the folder. Then, replace the file synoboot.img with the specifically downloaded before (It is 1.02b version) Remove the files DS3615.ovf and ds3615.vmx as we don’t need them. Upload the two files synoboot.img and synoboot.vmdk to the esxi. Create a new VM. The setting are : 2 CPU 2 GB Remove the default HDD and add an existing Hard Drive And select the synoboot.vmdk previously uploaded and put it as IDE Controller 0 and as Master Add a new Hard Drive, 16 GB, IDE Controller 1 as Master and with Thick provisioned, Eargerly zeroed (For better performances) Make sure your Network Adapter is mapped to your network. Click Next and finish. Wait for the VM to be created as it needs to setup a Thick HDD. We will need to power on the VM to get an IP and Mac Address. From now, you shouldn’t have a network working on the VM, the reason is because the mac address in your grub.cfg doesn’t match the one from your interface. We will need to edit this file. Go to the options after powered on and check the Mac address of the adapter. In our case: 000C29FD75B1 Shutdown the VM, go to your windows and install OSFMount: https://www.osforensics.com/tools/mount-disk-images.html Mount new, select the synoboot.img from the folder used before on the windows. Mount Partition 0, 15MB Make sure to uncheck Read-only drive Go to the mounted drive, Grub folder and edit grub.cfg with notepad++ We will need to input the mac1 address with the interface we got previously. Save Dismount the virtual disk and upload the new edited version of your synoboot.img to the esxi. Power on the VM. From your windows, open http://find.synology.com or install the synology assistant. https://www.synology.com/en-us/support/download/DS3617xs#utilities You should be able to find your DSM and process the installation. Select manual install and use the .pat previously downloaded. And that’s it. Your Synology should restart once and you should be able to setup your personal settings. The tutorial is finished. I hope it was enough clear for you and it will help. Kind regards, Digital


 1 point
 -
Таки хрень встала и загрузилась на 6.1? Если да, тообновляйтесь.1 point
-
А когда обновлялись загрузчик на 6.1 поменяли? Если не меняли, то делайте флешку с загрузчиком для 6.1 версии 1.01b и пробуйте установить заново, если будут траблы, то есть еще один метод. Делаете загрузчик от 3617, мигрируете на нее, а дальше, либо снова мигрируете на 3615 или остаетесь на 3617.1 point
-
это важно... (нет) 8-пин питание нужно только для мощных процессоров и для разгонных энтузиастов. на 4-пин будет работать без проблем1 point
-
Ага и еще запаса ватт 70-80, может когда-нибудь воткну в корзину четвертый диск и sdd для виртуалок повешу.1 point
-
под железо автортопика 300-350 w вполне более чем достаточно типа be quiet! Pure Power 10 300W моя материнка вообще с бп 65W DC-in 19V 3.42A за каждый дополнительный винт накидываем 6W1 point
-
Раскрути, замени сам пропеллер, должна поменяться ситуация, там работы на 5 мин... Если БП нормальный. По размерам главное правильно подбери, чтобы на теже крепления сел... Я бы так сделал, но это я. ;-)))1 point
-
не ломайте голову по поводу блока питания, воспользуйтесь калькулятором - откровенный трэш брать не стоит (как и во всём остальном) - шанс выхода из строя таких бп довольно велик и есть вероятность зацепить остальные детали - при сборке тихих систем я бы посоветовал брать бесшумные блоки в целом хоронилки не дают большую нагрузку на БП, самый пик - при раскрутке дисков (если их много) и при 100% загрузке CPU, которую без WMM сложно достичь1 point
-
в биосе компа на который дсм будет ставится, контролер видать и диски? и вывод команды в студию: lspci -k | grep 'Kernel driver'1 point