
HeartofGold
-
Posts
10 -
Joined
-
Last visited
Posts posted by HeartofGold
-
-
On 9/27/2021 at 12:20 PM, HeartofGold said:
Same result here with Asrock H510M-ITX/ac with Giga PHY Intel® I219V. As this in an mITX and I'm using the PCI slot for my LSI-controller, may need to go the Virtual Box/VMware route...
pciconf -lv gives:
none5@pci0:0:31:6: class=0x020000 card=0x15fa1849 chip=0x15fa8086 rev=0x11 hdr=0x00
vendor = 'Intel Corporation'
device = 'Ethernet Connection (14) I219-V
class = network
subclass = ethernet
-
Same result here with Asrock H510M-ITX/ac with Giga PHY Intel® I219V. As this in an mITX and I'm using the PCI slot for my LSI-controller, may need to go the Virtual Box/VMware route...
-
She's still purring under the desk 😎 Using it mainly for backups(Time Machine, rsync and Hyper Backup Vault) and file storage. For video I have a small EliteDesk G4 running as as DS918+
-
- Outcome of the installation/update: SUCCESSFUL
- DSM version prior update: DSM 6.2.1-23824 - Update 4
- Loader version and model: JUN'S LOADER v1.04b - DS918+
- Using custom extra.lzma: NO
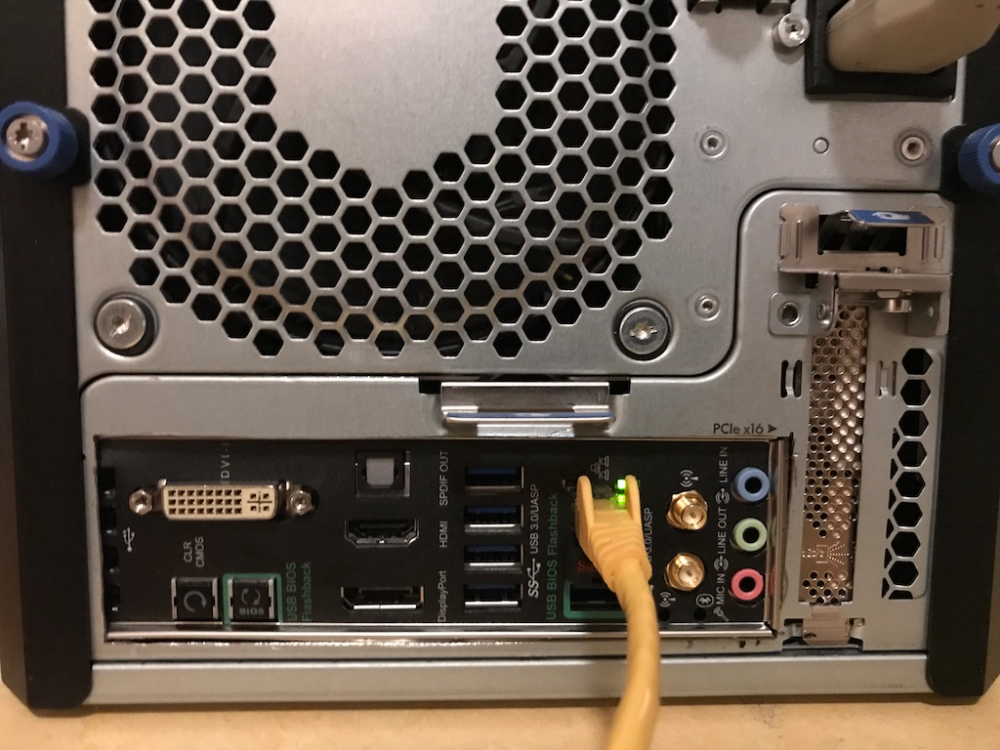
- Installation type: BAREMETAL - HP EliteDesk 800 G2 Mini i5 6500t 8GB ddr4
- Additional comments: reboot needed
-
- Outcome of the installation/update: SUCCESSFUL
- DSM version prior update: DSM 6.2.1-23824 - Update 2
- Loader version and model: JUN'S LOADER v1.04b - DS918+
- Using custom extra.lzma: NO
- Installation type: BAREMETAL - HP EliteDesk 800 G2 Mini i5 6500t 8GB ddr4
-
- Outcome of the installation/update: SUCCESSFUL
- DSM version prior update: DSM 6.2.1-23824 - Update 1
- Loader version and model: JUN'S LOADER v1.04b - DS918+
- Using custom extra.lzma: NO
- Installation type: BAREMETAL - HP EliteDesk 800 G2 Mini i5 6500t 8GB ddr4
-
Thanks @jun for all your time and effort supporting the community!
-
Thanks @jun for Your time and effort in supporting us!
-
Had a HP Microserver G8 chassis with defunct MB collecting dust. Replacing the proprietary MB felt pointless, so I decided to cram in the leftovers from upgrading the gaming rig and install Xpenology.
The list of odd bits available:
i5-4670T
Noctua NH-L9i
ASUS Z87i Pro, mITX
SilentWings 120mm PWM FanI wanted better CPU than the anaemic G1610T and yet limit power usage. I also wanted something more quiet than the original HP system fan.
The backplate of the MB-tray in the G8 is too small to fit an entire mITX MB I/O shield. I decided to stay within the edges of the Hp backplate, otherwise one needs to cut(yes, I used the dremel) through the edge of the MB tray and also into the top cover. Cutting through the edge would affect structural stability and usability. Here I sacrificed access to the leftmost ports of the replacement MB, but for use in a NAS they were not essential.
To reposition the posts to screw down the MB on the tray, first use a big pair of pliers and give a good twist to remove. I then put in a PCI card to help find the correct position for the MB onto the tray using the expansion card opening as a guide. Then cut an opening for the I/O shield. "Measure twice, cut once" does still apply here, but be prepared to do some extra trimming to make things fit reasonably.
Marked the positions for the mounting posts through the MB holes. Tapped and drilled new holes which I kept slightly undersized. Pushed the posts into the holes and pounded them in place. Use a piece of wood(with a hole for the post) as a counter. Reused the rubber studs/distances that the support the original MB onto the tray and repositioned holistically.
The Noctua CPU cooler did slide in nicely underneath the drive cage.
")
Then some soldering to extend the Molex power cable for the CPU-power and power connectors for additional disks. Also added a ATX-power extension cable to reach to the new position of the MB power connector.
Another fun discovery is the proprietary nature of the HP top front USB ports/cables and the system panel connector(PWR/reset/LEDs).
I removed the original front USB ports and glued a 2-port USB 3.0 Female Flat Cable with a 20 Pin Header in place. I also pried open the plastic housing of the power button and added(yes, more glue) a generic pushpin power switch and LEDs inside. It all looks stock from the outside and works just fine.
Then my brother got involved and decided to sponsor my project with some storage:
LSI 9271-8i
4 x ST6000NM0014
2 x Samsung MZ7GE480HMHPYes, these are some luxury items and one could naturally have used any odd SATA HDD here. Also note that the original HP SATA harness mounted to the drive cage has a SFF-8087 header. Using the LSI card this snapped right in. Otherwise some rewiring would have had to be performed. Using the existing cabling/connectors to the the drive cages and an LSI-card also provided hot swappable disks and no 3Gbps limitation as imposed by HP onto some slots by the original onboard SATA/RAID controller.
The LSI controller is configured to present the disks as JBOD, leaving DSM to apply soft RAID(5) to the volume(s). To work with the LSI command level interface when rebuilding a hardware RAID volume, one needs to possess superpowers that I don't.
Configured the SSDs as R/W cache and the system feels very snappy. I have 16MB of DRAM installed which is probably overkill, as I don't have any plans to launch VMs.
Installed Xpenology as DS3615xs, and for VideoStation the CPU architecture seems to play nice with transcoding. The access to video and fast forward while playing is almost instant.
I'm not sharing any pics of the innards, as my wiring skills are not up to public scrutiny

Drivers requests for DSM 6.2
in User Reported Compatibility Thread & Drivers Requests
Posted · Edited by HeartofGold
Team,
here's a driver request for Intel NIC I219-V, and more specifically I219-V14 (0x15FA).
My Asrock H510M-ITX/ac with Giga PHY Intel® I219-V Is not detected.
pciconf -lv gives:
none5@pci0:0:31:6: class=0x020000 card=0x15fa1849 chip=0x15fa8086 rev=0x11 hdr=0x00
vendor = 'Intel Corporation'
device = 'Ethernet Connection (14) I219-V
class = network
subclass = ethernet
@flyride kindly pointed to the updated driver package from Intel:
https://downloadcenter.intel.com/download/15817 ...where support is included for the following:
The DS918+ extra.lzma/extra2.lzma 0.13.3 driver compilation includes PCIe IDs up to the older 0x15e3.
Where support ends at "Ethernet Connection (9) I219-V" /w PCI ID 0x15e2.