

mb51running
-
Posts
21 -
Joined
-
Last visited
-
Days Won
1
Posts posted by mb51running
-
-
1 hour ago, bm1555 said:
I keep getting error 13?
During the installation process?
Did you set the correct VID and PID of your USB Stick?
-
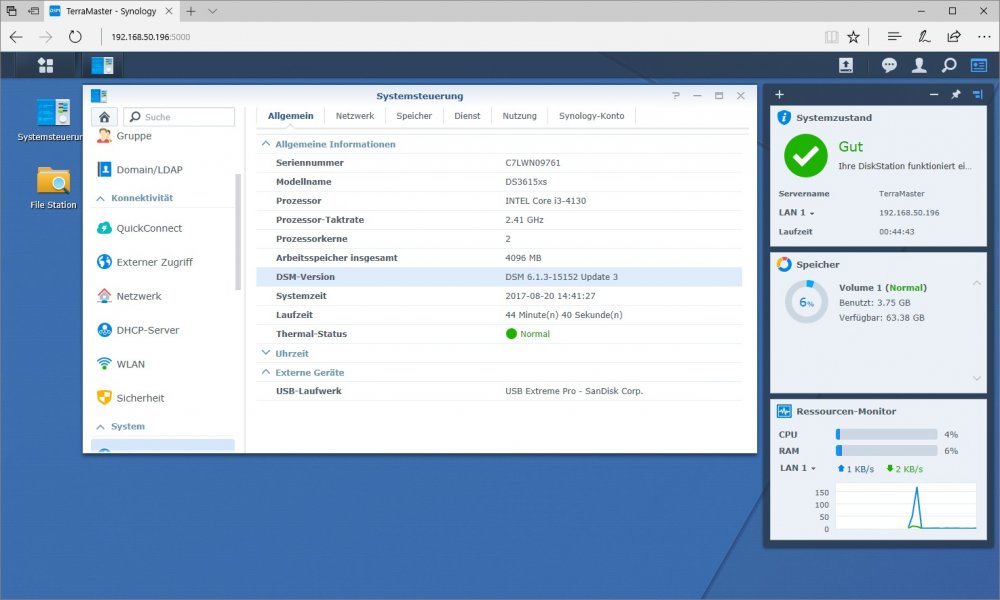
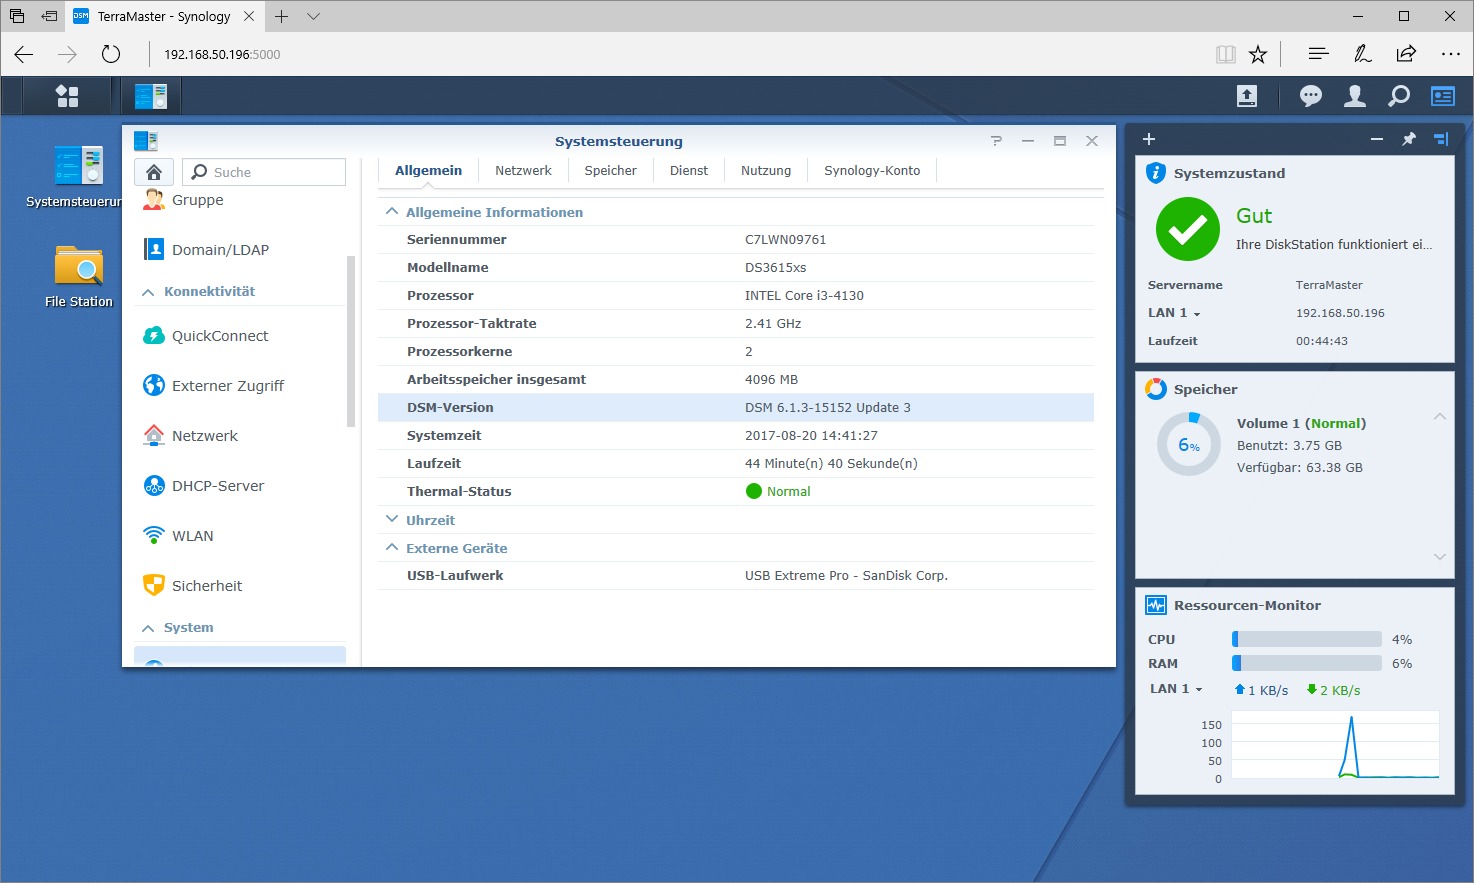
This is a great new NAS Box for running XPEnology.
- TerraMaster F2-220 2-Bay NAS
- Intel J1800 Dual-Core Celeron with 2.41GHz
- 2GB RAM (upgradable to 4GB)- 20TB Storage (max. 2x 10TB)
- 1x Gigabit Ethernet- 1x USB 2.0
- 1x USB 3.0
upgraded to 4GB RAM
- 2GB Transcend TS256MSK64W3N SO-DIMM, DDR3L, 1333, CL9, 1.35VInstallation is straightforward as usual. Replace the internal USB-Stick with yours. Everything is working out of the box. (Gigabit Ethernet, SATA, USB 3.0)
I used DS3615xs 6.1 Jun's Loader 1.02b with DSM_DS3615xs_15152.pat file.
-
 1
1
-
 2
2
-
-
Das update 9 wurde erfolgreich installiert. (DSM unter VMware Workstation mit Jun's Mod V1.0)
Nach einem reboot konnte das System aber nicht mehr erreicht werden, kein IP vom DHCP Server, kein Netzerk!
Die Lösung war das ändern der Netzwerkkarte in der .vmx Datei von e1000 auf e1000e!
ethernet0.virtualDev = "e1000e"
-
Update 9 was installed successfully. (DSM on VMware Workstation with Jun's Mod V1.0)
The only problem was that no IP was assigned via DHCP after the update! I also tried several hard resets without success.
My solution was to change the Network Device in the .vmx file from e1000 to e1000e!
ethernet0.virtualDev = "e1000e"
-
The instructions from don389 is working fine on my physical hardware with DSM 5. thx

But I'm not shure if this will be a real advantage. For testing purpose a big deal but your're most flexible with a thumb drive.
-
Got the same "Boot Error" issue on a physical machine.
On a virtual VMware machine it works as described!
(Tried with DSM 5.0 by the way.)
-
Hello all,
I tested DSM 4.2 Build 3202 on Virtualbox and I'm enthusiastic of the great functionality. Now I want to build my own NAS. The specifications should be similar to the following:
Intel Atom Dual-Core (D2500) - I doesn't want to use a bigger CPU (Pentium, Celeron, i3...) because of the power consumption.
2GB RAM
2x Gigabit LAN (for example Intel D2500CCE, with NM10 chipset)
But I can't find good informations in this forum if this hardware is compatible with the mainboard (maybe because of the two NICs). I doesn't want to buy the hardware and the result could be that it's not runable.
Has somebody a good answer?
Thank you!!!
Hi,
I am running DSM 5.0 Beta on a Intel D2500CCE Board without any issues so far!
2GB RAM / 250GB 2,5" SATA Harddrive. (Just for playing around ...)
-
SUCCESS!
Updated my ESXi XPEnology build from 3810 to 3810 update 4 without any problems using this method. Thx

-
Gibt es eine möglichkeit bei der version DS3612xs - DSM 4.2 build 3202 ? die mac zu ändern von mir aus mache ich auch ein reinstall , wenn nötig
Hab diese Version auf einem HP Microserver N54L laufen und die Variante mit dem editieren der grub menu.lst hat hier einwandfrei funktioniert. MAC und SN geändert.
-
Hallo mb51running,
habe noch kurz eine Frage zu dem Board Asus P8H67-I
Funktioniert WOL wirklich?
Funktioniert automatic Shutdown & Startup?
Auch mit DSM 4.2?
Bei meinem Board Asus P5Q-EM funktioniert der Shutdown, aber bei automatischen Starten bekomme ich BIOS Checksum Fehler... bleibt einfach stehen... unschön... aus diesem Grund überlege ich ein Asus P8H67-I zu kaufen...
Gruss
Habe folgende Hardware getestet:# Asus P8H67-I -> OK
http://www.asus.com/Motherboard/P8H67I/
Chipsatz: Intel® H67
Netzwerkkarte: Realtek® 8111E
# HP NC360T PCI Express x4 Dual Port Gigabit NIC -> OK
http://h18004.www1.hp.com/products/serv ... index.html
Chipsatz: Intel 82571EB
Hallo clode,
- WOL hab ich nie ausprobiert.
- Startup und Shutdown funktioniert ohne Probleme mit DSM 4.1
- DMS 4.2 hab ich auf dem Board nicht mehr getestet.
* Das Board wurde mittlerweile anderweitig eingesetzt, kann da momentan nichts mehr mit testen!
-
Hi, I just discovered Synology products a few days ago. I am really interested in those products, so I looked for an emulated version, where I found this forum. I installed XPEnology on Virtualbox with success and it works like a charm, but my goal was to try the replication between two NAS, before selling Synology products to our customers.
Unfortunately, two XPEnology doesn't works on the same subnet, I think it's because of the mac address, wich are identical. I was wondering why we couldn't change it, and if some of you have tried to make two XPEnology work together ?
Thanks, and sorry for the english.
Yes, it's possible if you edit grub menu.lst. Take a look at this post -> http://xpenology.com/forum/viewtopic.php?f=6&t=50#p796
-
YES, it runs on VMware ESXi 5.1 and VMware Workstation 9
For me the following workaround did the trick:
- install DSM 4.1-2668++ as described in VirtualBox (in my case a mac)
- import synoboot.vdi as disk1 for boot (IDE)
- create the second disk, disk2.vmdk, in vmware vmdk format (SATA)
- after the VirtualBox install is done and your DSM is running, shut down the vm.
- convert the synoboot.vdi to synoboot.vmdk
vboxmanage clonehd synoboot.vdi synoboot.vmdk --format VMDK
- copy both vmdk files to your VMware DataStore
- create a new VMware Virtual Machine (same settings as for VirtualBox)
- import synoboot.vmdk (which is imported as ide)
- import disk2.vmdk (which is also imported as ide)
- fire up your vm and start to dance ...
I did it several times that way without any problems.
Hi,
I've tried this but all I get is no 2nd HD connected, can you provide more detailed steps?
I assume the installation under VirtualBox went fine and DSM is up and running. There are two important things to check:
- use DSM 4.1-2668++ (IDE support)
- is your second disk in VMware after your import IDE or SCSI? It MUST be IDE.
You may also check viewtopic.php?f=2&t=514#p755 for VMware related stuff.
-
Hallo Zusammen
Ich habe bei meiner XPenology Installation auf meinem HP Microserver N40L das Problem, dass ich nach jedem Reboot eine andere MAC Adresse habe. Dardurch kann ich leider auch kein Wake on LAN nutzen. Über die hier beschriebene Methode komme ich leider nicht an das menu.lst File.
Das Mounten schlägt jedes mal fehl (No such device), Ich verstrehe auch nicht wo er sich nach jedem Neustart diese MAC Adressen her nimmt.
Da ich gerne das Wake on LAN Feature nutzen möcte wäre ich euch für eure Hilfe sehr dankbar.
Viele Grüße
Dann hast du die 4.2 BETA installiert!?
Die Variante mit der menu.lst funktioniert nur mit der 4.1-2668++, bei der 4.2-3161 BETA bekomme ich den gleiche Fehler.
-
Mein vorheriger Post führte leider nicht zum Erfolg. (Als generelle Info aber vielleicht doch zu gebrauchen.)
Mit folgender Änderung kann die MAC und SN geändert werden. (Funktioniert mit der DSM 4.1 build 2668++ build.)
Per SSH auf die Konsole des DSM, als root einloggen, und die erste Partition des SynoBoot Images mounten.
syno> mnt /dev/sda1 /mnt
Wir passen jetzt die grub Menüoptionen an.
syno> vi /mnt/boot/grub/menu.lst
Entweder einen neuen Menüeintrag erstellen oder einen bestehenden einfach abändern.
title SYNOLOGY_3
       root (hd0,1)
       kernel /zImage root=/dev/md0 ihd_num=0 netif_num=2 syno_hw_version=DS3612xs mac1=0050562E3E36 mac2=0050562E3E37 sn=B5JDN00005
       initrd /rd.gz
Nach einem Neustart ist die MAC und SN geändert.
-
YES, it runs on VMware ESXi 5.1 and VMware Workstation 9
For me the following workaround did the trick:
- install DSM 4.1-2668++ as described in VirtualBox (in my case a mac)
- import synoboot.vdi as disk1 for boot (IDE)
- create the second disk, disk2.vmdk, in vmware vmdk format (SATA)
- after the VirtualBox install is done and your DSM is running, shut down the vm.
- convert the synoboot.vdi to synoboot.vmdk
vboxmanage clonehd synoboot.vdi synoboot.vmdk --format VMDK
- copy both vmdk files to your VMware DataStore
- create a new VMware Virtual Machine (same settings as for VirtualBox)
- import synoboot.vmdk (which is imported as ide)
- import disk2.vmdk (which is also imported as ide)
- fire up your vm and start to dance ...
I did it several times that way without any problems.
-
Die MAC Adresse finden wir mit einem HEX-Editor in der Datei vender.
Nachdem wir vom SynoBoot.img das System gebootet haben finden wir in der zweiten Partition die Datei.
per SSH als root (sonst haben wir keine Berechtigungen) auf die Konsole der DS und die zweite Partition des SynoBoot.img mounten.
XPEnology> mount /dev/sda2 /mnt/
dort finden wir die besagte Datei
XPEnology> ls -la /mnt/vender
-rw-r--r--    1 root     root         65536 Jan 24 17:29 vender
Die Datei kopieren wir uns jetzt dorthin wo wir sie mit einem HEX-Editor editieren können. (z.B.)
XPEnology> cp /mnt/vender /volume1/public/
Mit dem HxD - Freeware Hex-Editor öffnen wir die Datei und ändern sie auf die gewünschte MAC Adresse ab.
-
Habe folgende Hardware getestet:
# Asus P8H67-I -> OK
http://www.asus.com/Motherboard/P8H67I/
Chipsatz: Intel® H67
Netzwerkkarte: Realtek® 8111E
# HP NC360T PCI Express x4 Dual Port Gigabit NIC -> OK
http://h18004.www1.hp.com/products/serv ... index.html
Chipsatz: Intel 82571EB
-
-
I found this very detailed tutorial installing XPEnology in Virtual Box.
-
XPEnology DS3612xs DSM 4.1 build 2668++ erfolgreich unter VMware ESXi 5.1 und VMware Workstation 9
Mit folgendem Workaround hab ich DSM unter VMware zum laufen gebracht:
- DSM 4.1 build 2668++ wie beschrieben unter Virtual Box installieren (bei mir Mac mini)
- beide disks in vmdk files konvertieren
$ vboxmanage clonehd /pfad-zum/SynoBoot_3612xs_4.1++.vdi /pfad-zum/SynoBoot.vmdk --format VMDK
$ vboxmanage clonehd /pfad-zum/VirtualBoxDisk1.vdi /pfad-zum/Disk1.vmdk --format VMDK
- beide files in den VMware DataStore kopieren
- neue Virtuelle Maschine erstellen und "import existing virtual disks" auswählen (beide vmdk files werden als IDE drives importiert)
- gleiche Einstellungen wie unter Virtual Box vornehmen. (Linux 2.6 x64, MAC Adresse setzen, Bridged Networking, etc.)
- die neue VM starten und ..... sie läuft!!!
Problemchen:
- der Versuch einer normalen Installation schlug bisher fehl. Es kann zwar gebooted werden aber die Installation des pat files bricht ab.
- maximal 4 virtuelle IDE drives, SCSI drives werden nicht erkannt, auch kein PVSCSI
- die konvertierten VDI files werden als 2GB Spare files importiert, seit ESXi 5.1 aber wohl nicht mehr empfohlen
* können aber in normale vmdk files geclont werden
$ vmkfstools -i Disk1.vmdk Disk1-new.vmdk
TerraMaster F2-220
in Hardware Modding
Posted
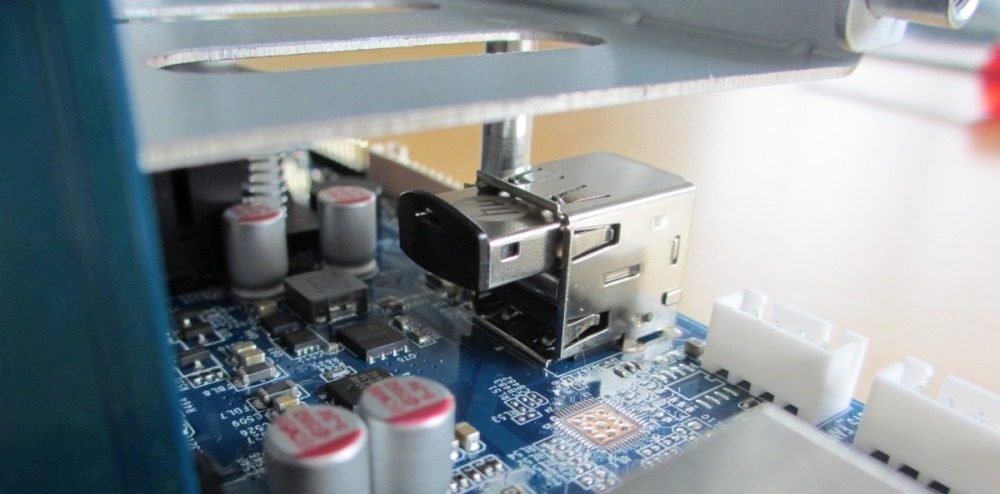
Nope! I did a standard install. (create stick, adjust grub.cfg, power on, go ahead with the webinstaller,)
I highly recommend the VGA to 12pin ribbon cable connector! Got mine from ebay now. It took 10 days from Hong Kong")