

jamkiki72
-
Posts
17 -
Joined
-
Last visited
Posts posted by jamkiki72
-
-
SMR hard drives?
Google: smr disk drives raid problems
-
- Outcome of the update: SUCCESSFUL
- DSM version prior update: DSM 6.2.2-24922 Update 6
- Loader version and model: Jun's Loader v1.04b - DS918+
- Using custom extra.lzma: No
- Installation type: BAREMETAL - Lenovo E50-00 MB with J2900 CPU / i350-t2 LAN
- Additional comment : Created FRESH USB boot stick v1.04b -DS918+ without any
extra.lzma/extra2.lzma and executed recovery - 5 min. job. -
- Outcome of the update: UNSUCCESSFUL
- DSM version prior update: DSM 6.2.2-24922 Update 6
- Loader version and model: Jun's Loader v1.04b - DS918+
- Using custom extra.lzma: Yes - extra.lzma/extra2.lzma for loader 1.04b_mod ds918+ DSM 6.2.2 v0.8_syno
- Installation type: BAREMETAL - Lenovo E50-00 MB with J2900 CPU /with realtek LAN and with i350-t2 (RT disabled in BIOS)
- Additional comment : After reboot still unsuccessful. Creating new usb with same
extra.lzma/extra2.lzma + zImage and rd.gz from 6.2.3-25423 + execute rm -rf /usr/lib/modules/update/*
and rm -rf /usr/lib/firmware/i915/* before reboot -still unsuccessful. All of above
tried with Realtek MB LAN (8168) and Intel i350-T2
Look below how to resolve. -
21 minutes ago, fa2k said:
for you too, keep in mind that the ./hardware_check script will be executed after my_create_qnap_boot automaticly. As far as i know only while ./re_packing you can add custom values and these changes will be transfered
This is the last line that appears in PUTTY after executing: sudo ./my_create_qnap_boot without HW add/mod.
"Create QNAP boot disk successful 如需要请修改mymodel目录下的model文件后,执行 sudo cp -f ./mymodel/* ./initrd/etc/
再执行 sudo ./re_packing 完成启动盘制作 如不需要请重启系统 "Google translate:
"If necessary, please modify the "model" file in the "mymodel" directory,
execute sudo cp -f ./mymodel/* ./initrd/etc/
and then execute sudo ./re_packing to complete the boot disk production, if not, please restart the system"
Extracted QNAP-BOOT.img , sub-images ,and files to the last bit. Studied and in case of Chinese translated everything
in those files including obvious direction stated at the end of creating boot disk as noted above.Whatever the case may be, workflow of commands and modifications I stated above works for me.
Thanks for sharing this "QNAPology" find. -
First of all, I am very sorry for hijacking this thread and write in English but my German is a "bit" rusty.
Saw this thread and decided to give it a try for experimental sake.
Board used:
MB from Lenovo H30-00, integrated J1800 CPU, 2 SATA ports
- added to MB: mini PCI-E to 2 SATA ports controller with AsMedia ASM1061 chipset, that makes total of 4 SATA ports
- MB Realtek FE LAN disabled in BIOS, Intel i350-T2 used for connectivity
- 4 500GB empty SATA disks used (2 on MB, 2 on ASM1061 miniPCI-E to 2port SATA)MODEL that was emulated is: TS-453A
Tryed at least 10 times install, wipe, reinstall to make ASM1061 controller to work
For it lspci says: 02:00.0 Class 0106: 1B21:0612
Tryed to change Disk 3 and Disk 4 from DEV_BUS=B00:D19:FO to B02:D00:F0from this:
[System Disk 3]
DEV_BUS=B00:D19:FO (originally same on all "System Disk 1 to 4")
[System Disk 4]
DEV_BUS=B00:D19:FO (originally same on all "System Disk 1 to 4")to
[System Disk 3]
DEV_BUS=B02:D00:F0 (should be this for ASM1061)
[System Disk 4]
DEV_BUS=B02:D00:F0 (should be this for ASM1061)That was no go, only 2 MB connected disks recognized and usable.
After two days of experimenting with DEV_BUS to make ASM1061 and all 4 disks to work finaly found solution and it is as follows.When opening "/home/tc/mymodel/model.conf" among others for me it contains this:
[System Network 3]
DEV_BUS=B00:D28:F3 (- note this)
PCI_SWITCH_PORT = 7
DEV_PORT = 0
[System Network 4]
DEV_BUS=B00:D28:F3 (- note this)
PCI_SWITCH_PORT = 3
DEV_PORT = 0When I changed Disk 3 and Disk 4 from DEV_BUS=B00:D19:FO to B00:D28:F3 ,all disks are visible and usable!!
Tried just like this
[System Disk 3]
DEV_BUS=B00:D28:F3
[System Disk 4]
DEV_BUS=B00:D28:F3so, same DEV_BUS as for [System Network 3] and [System Network 4]
WITHOUT DELETING values or anything else of [System Network 3] and [System Network 4]Wiped everything and tried new install with changes as stated above but this time
DELETED THIS:[System Network 3]
DEV_BUS=B00:D28:F3 (- note this)
PCI_SWITCH_PORT = 7
DEV_PORT = 0
[System Network 4]
DEV_BUS=B00:D28:F3 (- note this)
PCI_SWITCH_PORT = 3
DEV_PORT = 0Everything working the OK.
--------------------------------------------------------------
Workflow for whom might this help
Hardware as stated above (adjust to yours), model emulated TS-453ACHOSE
(a)
OPEN TERMINAL (BOTTOM RIGHT) AND TYPE
ifconfig
TO FIND NAS IP ADDRESSCONNECT WITH PUTTY TO NAS IP
USER:
tc
PASS:
123456vi ./my_create_qnap_boot
i
DATA TO CHANGE FOR "TS-453A" IS AS FOLLOWS - IF YOU CHOSE ANOTHER MODEL, FILL ACCORDINGLY
QX850_QX670_12_10
TS-X53A_20200410-4.4.2.1270
https://download.qnap.com/Storage/TS-X53II/:wq
sudo ./my_create_qnap_boot
DON'T RESTART IF YOU NED TO ADD OR CHANGE HARDWARE - PROCEED AS FOLLOWS:cd /home/tc/mymodel/
vi ./model.conf
i
MAKE CHANGES YOU NEED - FOR MY CASE I CHANGED AND DELETED LINES STATED ABOVE
:wq
cd /home/tc/
sudo cp -f ./mymodel/* ./initrd/etc/
sudo ./re_packing
exit
RESTART FROM TINY CORE
------------------------------------------------------------
Connect to web GUI of the NAS with some browser (should be the same IP you used for PUTTY), if not, use qfinder app.
Follow on-screen instruction to install and configure NAS.When done it will lead you to web management and this is where some strange thing happens to me every time.
When yo click "go to web management" (or similar, cant remember) you are presented
with login screen where you put credentials, one that you created during web GUI install phase.For me this first logon always ends with endless loading screen after putting my username/password.
The solution for this is always the same and working:
- press power button on the "NAS" and wait till it shuts down
- optional but recommended - clear browser cache
- press power and wait till NAS boot - takes long time, just like original QNAP (have 2, 431 and 431p2)
and wait (again, takes long time, in my case at least 10min)From now on you can logon to web GUI without problems and finish setup.
Regards
-
 2
2
-
-
Try this:
https://xpenology.com/forum/topic/14122-trouble-with-install-on-hp-compaq-8300-sff/
-
- Outcome of the update: SUCCESSFUL
- DSM version prior update: DSM 6.2.2-24922-3
- Loader version and model: JUN'S LOADER v1.03b - DS3615xs
- Using custom extra.lzma: NO
- Installation type: BAREMETAL - HP Compaq Elite 8300 SFF , integrated Intel 82579LM NIC
- Additional comments: "HYBRID" partition table usb key, UEFI boot disabled in BIOS, reboot required -
- Outcome of the update: SUCCESSFUL
- DSM version prior update: DSM 6.2.2-24922-2
- Loader version and model: JUN'S LOADER v1.03b - DS3615xs
- Using custom extra.lzma: NO
- Installation type: BAREMETAL - HP Compaq Elite 8300 SFF , integrated Intel 82579LM NIC
- Additional comments: "HYBRID" partition table usb key, UEFI boot disabled in BIOS, reboot required -
https://www.synology.com/en-global/releaseNote/DS3615xs
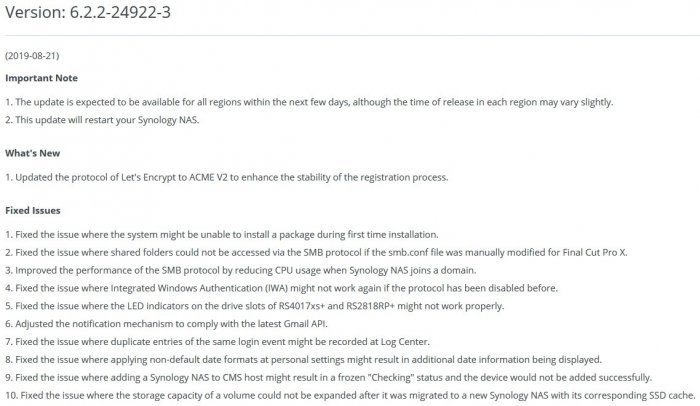
SpoilerVersion: 6.2.2-24922-3
(2019-08-21)Important Note
1.The update is expected to be available for all regions within the next few days, although the time of release in each region may vary slightly.
2.This update will restart your Synology NAS.What's New
1.Updated the protocol of Let's Encrypt to ACME V2 to enhance the stability of the registration process.
Fixed Issues
1.Fixed the issue where the system might be unable to install a package during first time installation.
2.Fixed the issue where shared folders could not be accessed via the SMB protocol if the smb.conf file was manually modified for Final Cut Pro X.
3.Improved the performance of the SMB protocol by reducing CPU usage when Synology NAS joins a domain.
4.Fixed the issue where Integrated Windows Authentication (IWA) might not work again if the protocol has been disabled before.
5.Fixed the issue where the LED indicators on the drive slots of RS4017xs+ and RS2818RP+ might not work properly.
6.Adjusted the notification mechanism to comply with the latest Gmail API.
7.Fixed the issue where duplicate entries of the same login event might be recorded at Log Center.
8.Fixed the issue where applying non-default date formats at personal settings might result in additional date information being displayed.
9.Fixed the issue where adding a Synology NAS to CMS host might result in a frozen "Checking" status and the device would not be added successfully.
10.Fixed the issue where the storage capacity of a volume could not be expanded after it was migrated to a new Synology NAS with its corresponding SSD cache. -
- Outcome of the update: SUCCESSFUL
- DSM version prior update: DSM 6.2.2-24922-1
- Loader version and model: JUN'S LOADER v1.03b - DS3615xs
- Using custom extra.lzma: NO
- Installation type: BAREMETAL - HP Compaq Elite 8300 SFF , integrated Intel 82579LM NIC
- Additional comments: "HYBRID" partition table usb key, UEFI boot disabled in BIOS, reboot required -

https://www.synology.com/en-global/releaseNote/DS3615xs
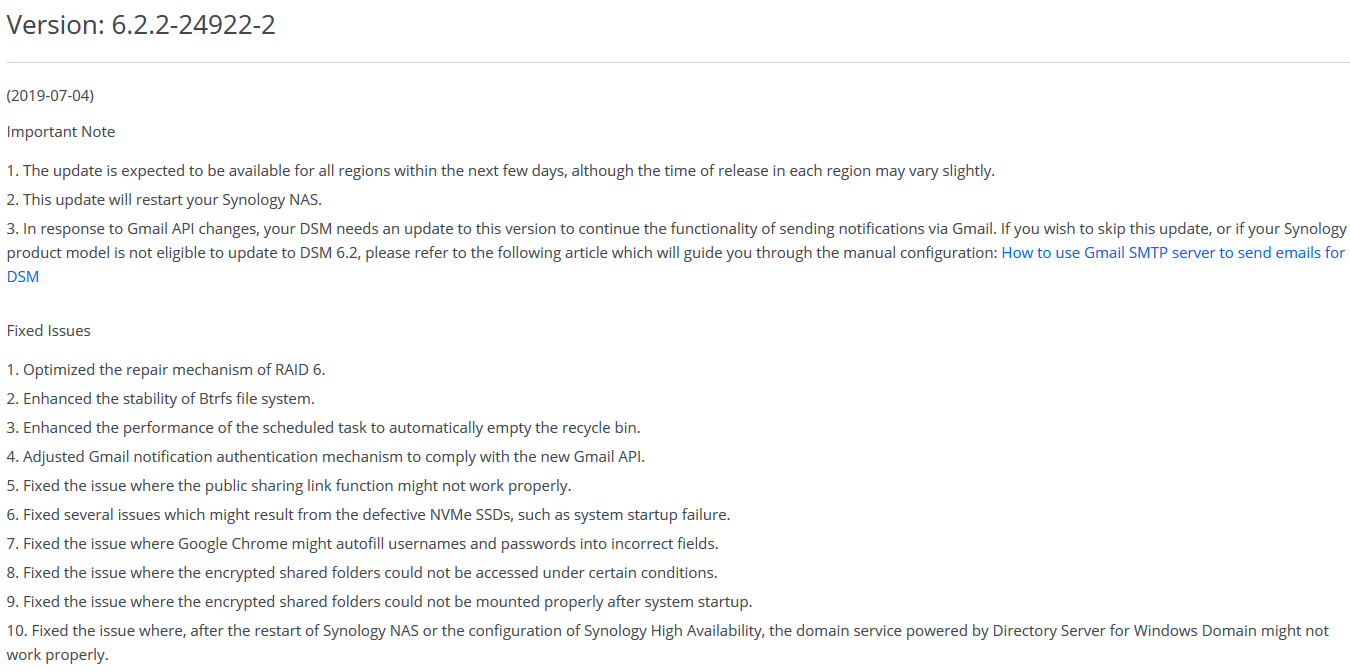
SpoilerVersion: 6.2.2-24922-2
(2019-07-04)Important Note
1.The update is expected to be available for all regions within the next few days, although the time of release in each region may vary slightly.
2.This update will restart your Synology NAS.
3.In response to Gmail API changes, your DSM needs an update to this version to continue the functionality of sending notifications via Gmail. If you wish to skip this update, or if your Synology product model is not eligible to update to DSM 6.2, please refer to the following article which will guide you through the manual configuration: How to use Gmail SMTP server to send emails for DSMFixed Issues
1.Optimized the repair mechanism of RAID 6.
2.Enhanced the stability of Btrfs file system.
3.Enhanced the performance of the scheduled task to automatically empty the recycle bin.
4.Adjusted Gmail notification authentication mechanism to comply with the new Gmail API.
5.Fixed the issue where the public sharing link function might not work properly.
6.Fixed several issues which might result from the defective NVMe SSDs, such as system startup failure.
7.Fixed the issue where Google Chrome might autofill usernames and passwords into incorrect fields.
8.Fixed the issue where the encrypted shared folders could not be accessed under certain conditions.
9.Fixed the issue where the encrypted shared folders could not be mounted properly after system startup.
10.Fixed the issue where, after the restart of Synology NAS or the configuration of Synology High Availability, the domain service powered by Directory Server for Windows Domain might not work properly. -
- Outcome of the update: SUCCESSFUL
- DSM version prior update: NONE - Clean Install
- Loader version and model: JUN'S LOADER v1.03b - DS3615xs
- Using custom extra.lzma: NO
- Installation type: BAREMETAL - Lenovo H30-00 Type:90C2 , J1800 CPU, additional PCI-e Intel i350-T2 NIC + miniPCI-e to 2 SATA controller ASM1061
- Additional comments: "HYBRID" partition table usb key, CSM boot enabled and favored in BIOS - otherwise, no network after reboot or no network before install -
- Outcome of the update: SUCCESSFUL
- DSM version prior update: DSM 6.2.2-24922
- Loader version and model: JUN'S LOADER v1.03b - DS3615xs
- Using custom extra.lzma: NO
- Installation type: BAREMETAL - HP Compaq Elite 8300 SFF , integrated Intel 82579LM NIC
- Additional comments: "HYBRID" partition table usb key, UEFI boot disabled in BIOS, reboot required -
Glad It worked for You!
Wrong CPU displayed is just cosmetic issue.
You can install or upgrade to the latest 6.2.2-24922 (I use it on 8300).If you asking about future updates - no one knows.
Keep eye on DSM update threads or if you feeling lucky, you can try for yourself and report to those threads.
Best way is to have one spare HDD and USB stick with DSM which is same as
your main syno box and when update comes unplug all disks and usb, put only that spare HDD and
USB and check if it works after update. If it does, replug main HDD(s) and USB then update that.
I do it that way. -
Been there. Elite 8300 PITA of a system to set up Xpenology.
Someone on the forum sugested Hybrid partition usb working.
Found it, credit goes to "Mitja"
https://xpenology.com/forum/topic/12867-user-reported-compatibility-thread-for-dsm-62/page/2/?tab=comments#comment-107653Use 1.03b ds3615 (maybe 3617 works, but 3615 is prefered).
You MUST create "HYBRID" partition bootable usb for HP Compaq Elite 8300.
Using it myself, update from 6.2.1 to 6.2.2 or clean install of latest 6.2.2 working perfect.Allow me to make it easyer for you:
-----------------------------------------------------------
PART 1. preparation:
-Download: "gdisk-windows-1.0.4.zip" (for windows) or appropriate one for other systems from here
https://sourceforge.net/projects/gptfdisk/files/gptfdisk/1.0.4/gdisk-binaries/-unzip content to folder (in the instructions bellow I unziped it in folder named "a" and copied that folder to root of a C disk)
-in the BIOS of the HP Compaq Elite 8300 turn OFF UEFI boot by going to boot menu and press (I think) "F5" while UEFI option is highlighted,
this will disable PC to default to UEFI boot on restart or powering on after power off.-in option ROM loading menu set all to legacy (storage, gpu, network)
-on the working pc create standard clean usb with 1.03b - ds3615xs as usual
leave it in the PC when done.
-go to computer manager/disk managment (right click "My Computer" or "This PC" select "Manage" then "disk managment")
- IMPORTANT - DATA LOSS POSIBLE IF YOU MAKE MISTAKE!!!
note your USB key disk number ( Disk 0 is usually system partition). Please be carefull and double check!
in the down listed commands the USB Key is "Disk 2" , copy/paste commands to lets say notepad, and CHANGE to match your situation
(including for folder "a" in a root off a C disk if you didnt do it that way).-----------------------------------------------------------
PART 2. creating HYBRID partition USB Key-
"gdisk-windows-1.0.4.zip" unziped to folder "a" in root of a C disk, USB KEY is "Disk 2" - !!!ALTER THIS TO MATCH YOUR SITUATION!!!first command "cd c:\a" - "a" represents folder named "a" and location in root (C:\) of a C disk - !!!ALTER THIS TO MATCH YOUR SITUATION!!!
second command: "gdisk64 2:" - nr.64 represents 64bit system is running on, if you use 32bit system use #gdisk32 2:"
-nr.2 represents Disk 2 on the system - !!!ALTER THIS TO MATCH YOUR SITUATION!!!-open command prompt as admin
List of commands as per situation above (64bit sys, gdisk in folder "a" root C, USB is "Disk 2") press ENTER after each one of course:--------------------------------------
cd c:\a

gdisk64 2:

r

o

h

1 2 3

n

"JUST PRESS ENTER - THIS SHOWING UP (DO NOT TYPE ANYTHING): Enter code (MBR partition #1):"

y

"JUST PRESS ENTER - THIS SHOWING UP (DO NOT TYPE ANYTHING): Enter code (MBR partition #2):"

n

"JUST PRESS ENTER - THIS SHOWING UP (DO NOT TYPE ANYTHING): Enter code (MBR partition #3):"

n

w

y

exit
--------------------------------------
Now window will probably pop up asking you to format the drive,
DO NOT DO IT!! Safely remove USB and put it in Elite 8300 and You are ready to go.This way created USB is harder to reformat and use again.
Best way I found is to use free version of "MiniTool Partition Wizard" , first rebuild MBR whitin the
program then delete partitions one by one (apply betwen each operation).
I am sure you manage it and find best way if you need to reformat and reuse USB Key.Sorry for my English, not native speaker....
Good Luck!!-
2
-
 5
5
-
-
- Outcome of the update: SUCCESSFUL
- DSM version prior update: DSM 6.1.7 UPDATE 3 - JUN'S LOADER v1.02b DS3615xs
- Loader version and model: JUN'S LOADER v1.03b - DS3615xs
- Using custom extra.lzma: NO
- Installation type: BAREMETAL - HP Compaq Elite 8300 SFF , integrated Intel 82579LM NIC- Additional comments: JUN'S LOADER v1.03b Hybrid partition table usb key created, UEFI boot disabled in BIOS

How can I transform a failed DS1815+ into an expansion unit?
in Hardware Modding
Posted
Tried this?