Leaderboard


Popular Content
Showing content with the highest reputation on 09/09/2021 in all areas
-
try this make CONFIG_VMXNET3=m CROSS_COMPILE=/root/build/apollolake-DSM-7.0-toolchain/x86_64-pc-linux-gnu/bin/x86_64-pc-linux-gnu- -C /root/build/apollolake-DSM-7.0-toolkit/build/ M=`pwd` modules vmxnet3.ko3 points
-
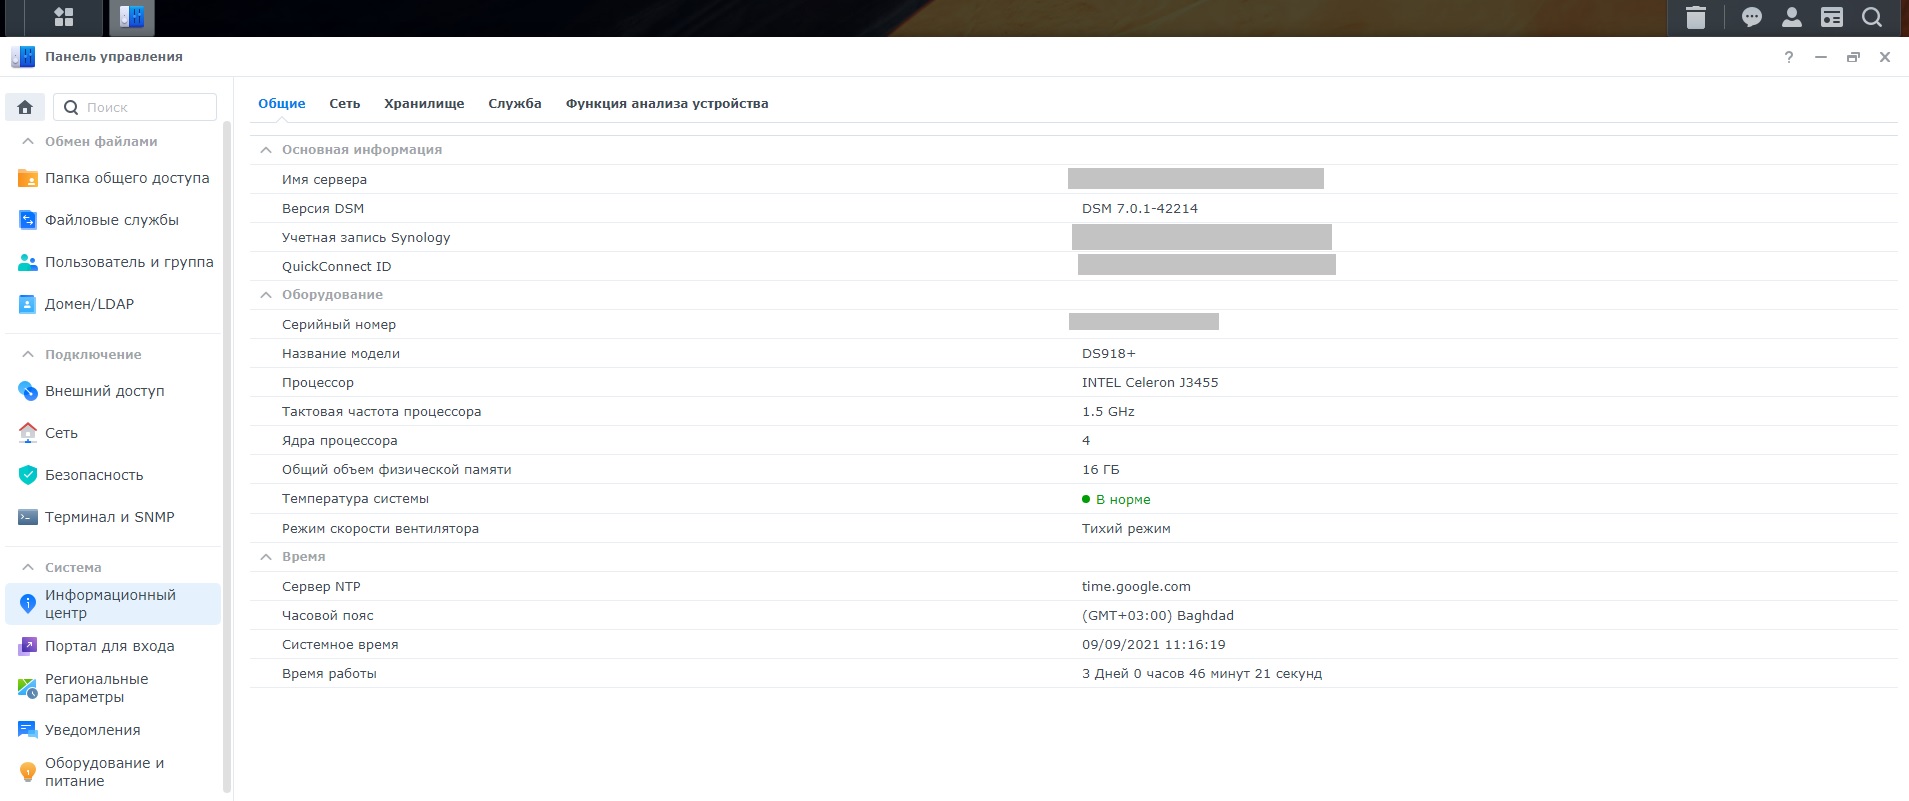
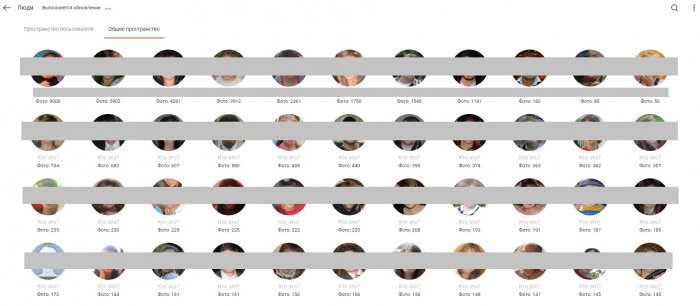
Friends, hello! The run out with a loader from tocinillo2 is already about 5 days. Everything works fine. Surprisingly, facial recognition has started to work. No changes were made. Asrock 4105, 3 HDD, 1 SSD, Build-in SATA ports, 16Gb RAM.
 2 points
 -
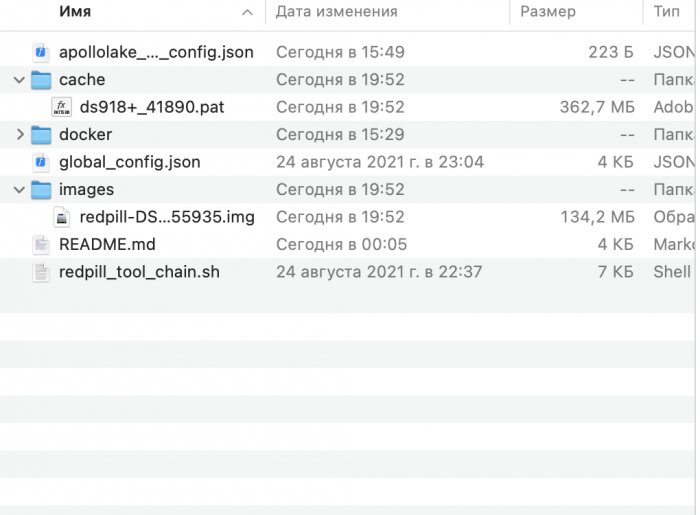
Thanks @ThorGroup for RedPill, and @haydibe for simple way to create image for bootloader with Docker. A little instruction how to use last version toolchain in macOS Big Sur 11.5.2 : 1. Install Xcode, Xcode command line tools, and Docker on Mac. Run Docker. Download last version toolchain, moved to Desktop and unzip. 2. Install HomeBrew in Terminal /bin/bash -c "$(curl -fsSL https://raw.githubusercontent.com/Homebrew/install/HEAD/install.sh)" 3. Instal jq and coreutils in Terminal brew install jq brew install coreutils 4. cd ~/Desktop/redpill-tool-chain_x86_64_v0.6 sudo chmod 777 redpill_tool_chain.sh 5. In Finder rewrite config in bromolow_user_config.json or apollolake_user_config.json for your setup. 6. After choosing config use the commands for: build toolchain image ./redpill_tool_chain.sh build bromolow-6.2.4-25556 ./redpill_tool_chain.sh build bromolow-7.0-41222 ./redpill_tool_chain.sh build apollolake-6.2.4-25556 ./redpill_tool_chain.sh build apollolake-7.0-41890 create redpill bootloader image ./redpill_tool_chain.sh auto bromolow-6.2.4-25556 ./redpill_tool_chain.sh auto bromolow-7.0-41222 ./redpill_tool_chain.sh auto apollolake-6.2.4-25556 ./redpill_tool_chain.sh auto apollolake-7.0-41890
 2 points
 -
That is what FixSynoboot is intended to correct (and does exactly what you show above) https://xpenology.com/forum/topic/28183-running-623-on-esxi-synoboot-is-broken-fix-available/ Synoboot devices are not required after install, until you want to do an upgrade. The loader storage is always modified by an upgrade. I realize that is getting ahead of things with regard to RedPill, but that's how it works.1 point
-
Do not use this in production, redpill is beta, dsm is beta, wait for stable release.1 point
-
Alright I got it to work. I solved the console problem by switching the virtual console port to COM1 inside the bios setup. Then I found out, I was modifying rd.gz from the EFI partition... which was wrong, so I modified the one from the fat partition and found out my drivers were there. Only my libphy.ko would segfault for some reason, I've the vanilla 3.10.108 kernel sources with the browlow config, but I think I did something wrong here. Using the ones from the tg3.7z archive posted here seems to work though. I've just loaded the PAT file for 7.0-41222 and it's working so far. I think a few points that would make life easier for beginners would be: - Make sure the first partition inside the image is set "active"/"bootable" so it actually boots right after flashing it - Add some templates/startup-scripts for loading your own kernel modules instead of having the manually hack the ramdisk - Add some documentation on how to build your own kernel modules, e.g. which kernel sources, config and toolchain you should use for a certain version.1 point
-
1 point
-
executed sudo ./redpill_tool_chain.sh auto apollolake-6.2.4-25556 ->1 point
-
I don't think that the telemetry suppression that RedPill has implemented applies to actually logging in with an Synology account. @ThorGroup? As always, consult the FAQ. Using Synology cloud services is discouraged.1 point
-
It's highly recommended that you do not. That way is easier for Synology to ban you if they care. ThroGroup said that all telemetry and stuff were removed etc... but as always you rather not.1 point
-
may be @ThorGroup could enhance first topic with some extra info ? link to latest version of haydibe docker image ? how to get ride of the blank info center sudo su - root sed -i 's/supportsystemperature="yes"/supportsystemperature="no"/g' /etc.defaults/synoinfo.conf sed -i 's/supportsystempwarning="yes"/supportsystempwarning="no"/g' /etc.defaults/synoinfo.conf acpi throttle sudo su - root vi /usr/local/etc/rc.d/S99Powersaving.sh and insert according to number of core Script-content: #!/bin/sh echo powersave > /sys/devices/system/cpu/cpu0/cpufreq/scaling_governor echo powersave > /sys/devices/system/cpu/cpu1/cpufreq/scaling_governor echo powersave > /sys/devices/system/cpu/cpu2/cpufreq/scaling_governor echo powersave > /sys/devices/system/cpu/cpu3/cpufreq/scaling_governor chmod +x /usr/local/etc/rc.d/S99Powersaving.sh sh /usr/local/etc/rc.d/S99Powersaving.sh1 point
-
Like i said i have compiled it and verified that the vmxnet driver works on DSM7.0/7.01 You should though put it in your loader /usr/lib/modules and modify linuxrc.syno.impl (of rd.gz) so it will be loaded during boot time. Best line number to add insmod /lib/modules/XXX.ko is 285 vmxnet3.7z1 point
-
Программ немало, вот одна из них в качестве примера - UFS Explorer Professional Recovery (вылеченная) https://yadi.sk/d/Ga_xMuJPy2yW8Q1 point
-
To make it easier, and you can now find this repository all jun's bootloaders with virtio/9p loaded for all dsm version: - synoboot_103b_ds3615xs_virtio_9p.img - synoboot_103b_ds3617xs_virtio_9p.img - synoboot_104b_ds918plus_virtio_9p.img HTH1 point