Leaderboard


Popular Content
Showing content with the highest reputation on 01/03/2019 in all areas
-
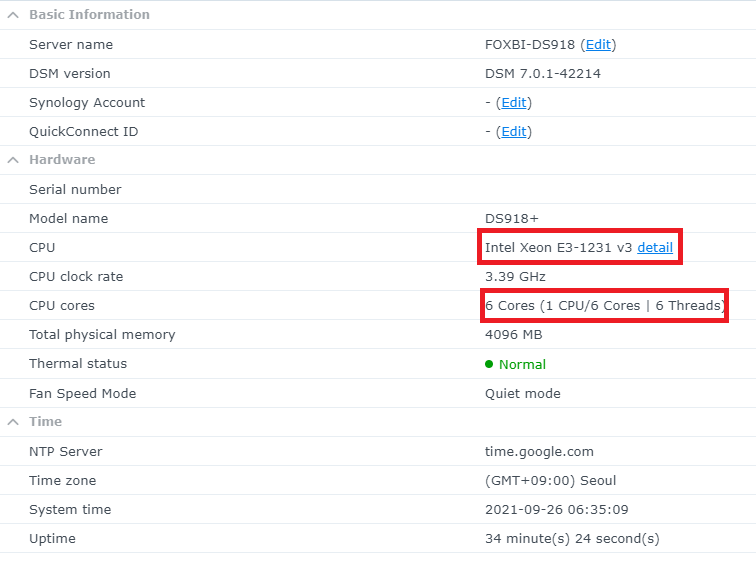
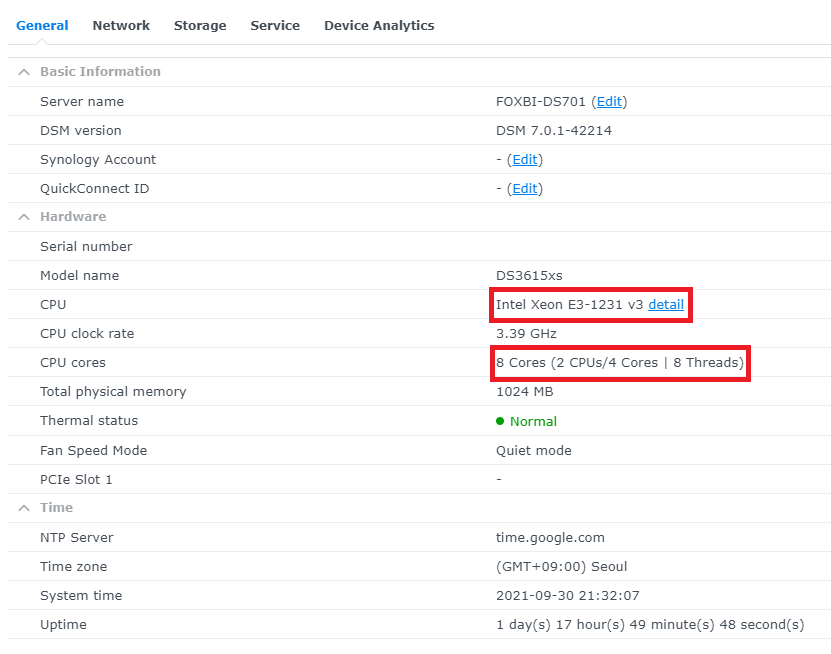
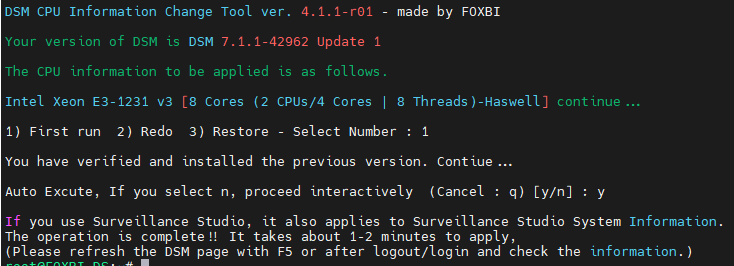
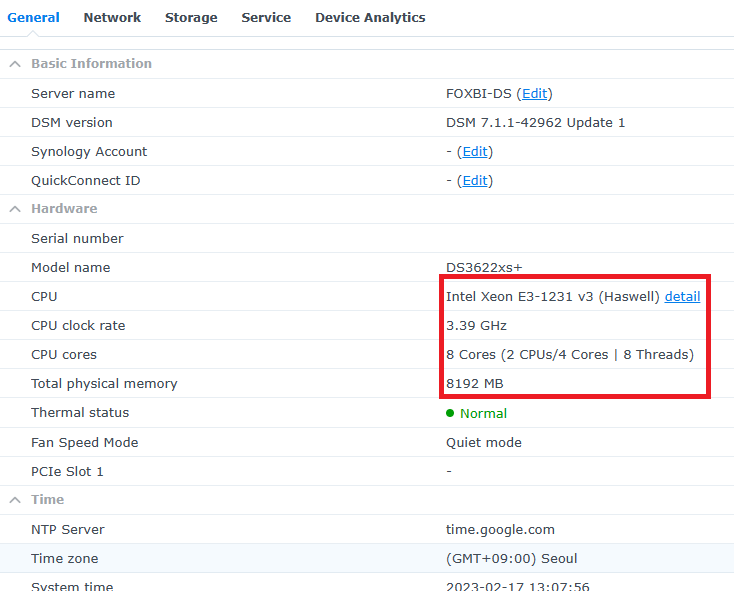
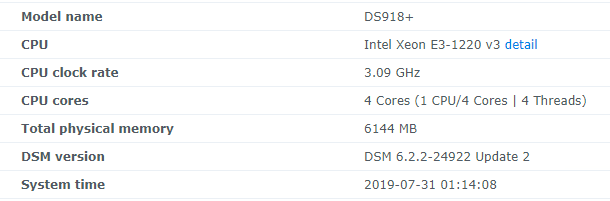
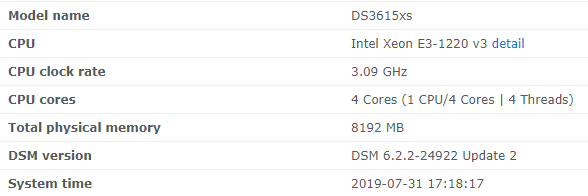
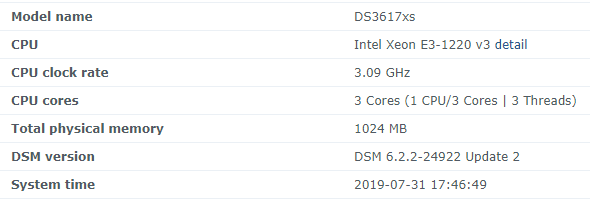
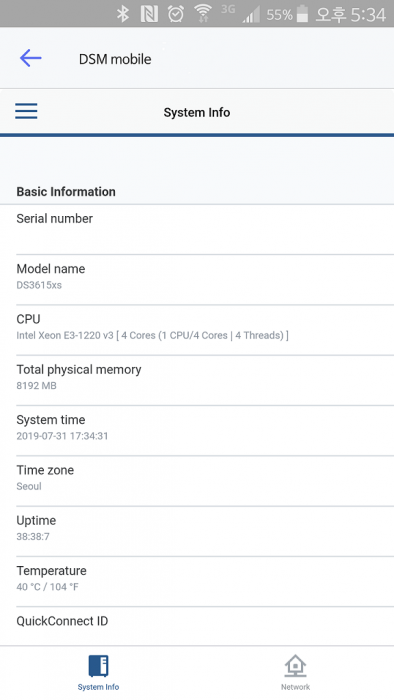
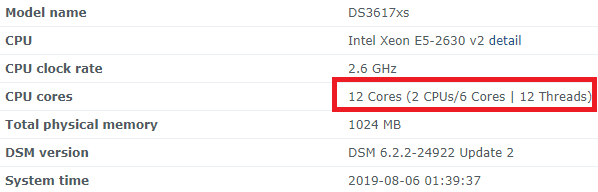
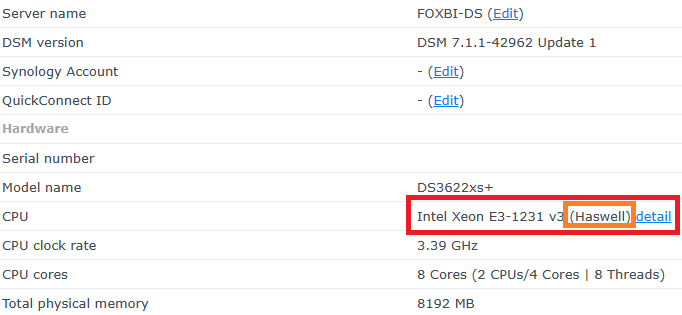
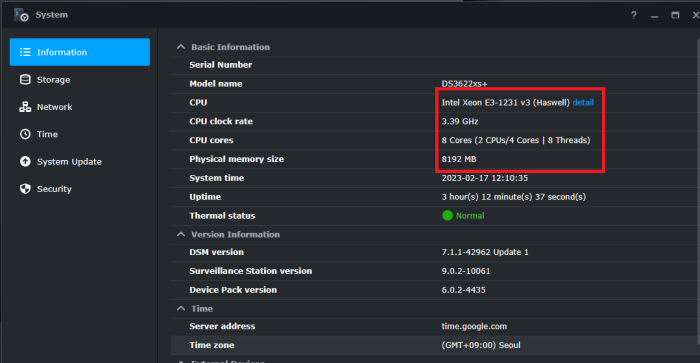
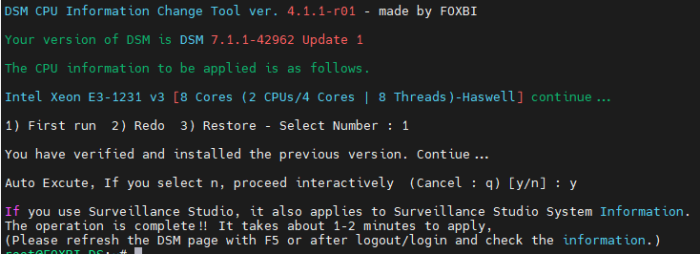
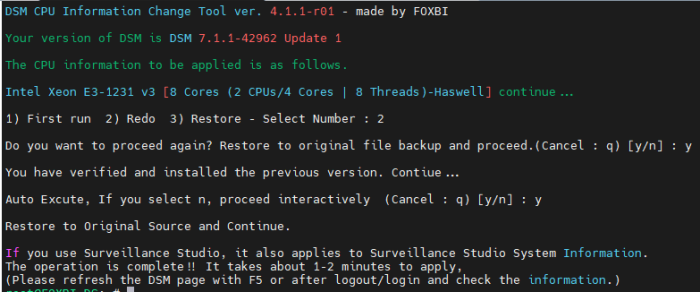
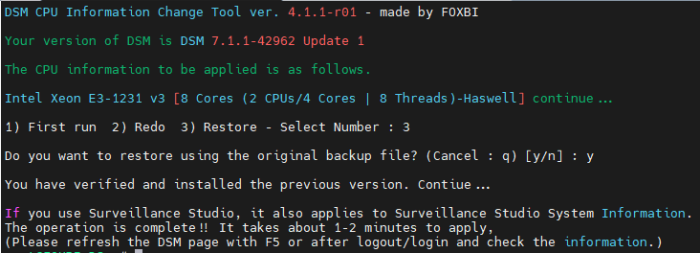
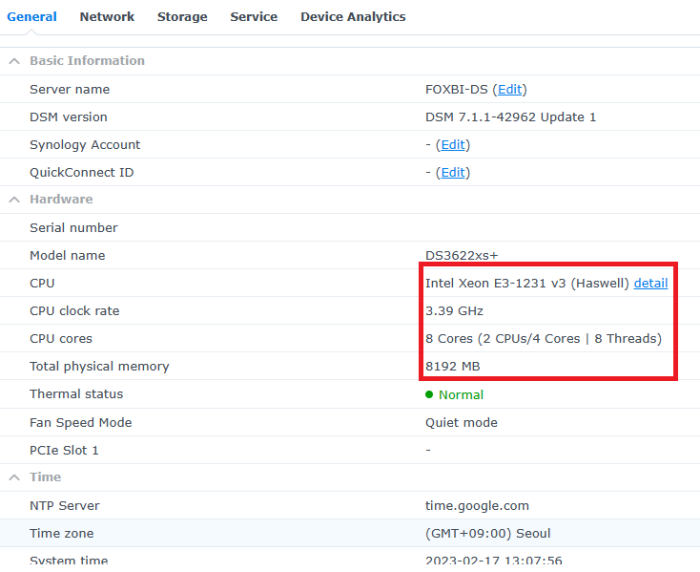
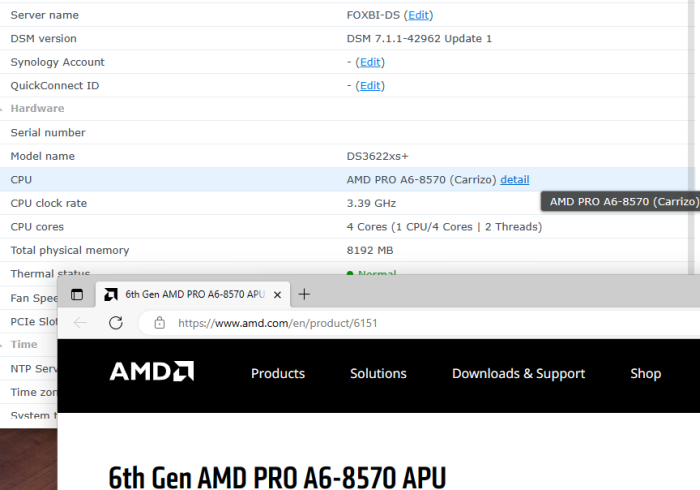
Hello! I am xpenology user. And I am an IT engineer who creates shell scripts as hobbies. Please understand that it is written by a google translate site. because i’m korean who is not fluent in English. I created a tool to change cpu information for Xpenology’s users. Modify the actual cpu name and cores of your pc or server. Howto Run ============================================================= 1. Download attached file on your PC (ch_cpuinfo.tar) (ch_cpuinfo_en.tar) / (ch_cpuinfo_kr.tar is file for korean) 2. Upload file to your DSM location (by filestation, sftp, webdav etc....) 3. Connect to ssh by admin account. (dsm > control panel > terminal & snmp > terminal > enable ssh check) 4. Switch user to root: sudo su - (input admin password) 5. Change directory to where ch_cpuinfo.tar file is located: cd /volume1/temp 5-1. in another way, Download ch_cpuinfo.tar with wget wget https://github.com/FOXBI/ch_cpuinfo/releases/download/ch_cpuinfo/ch_cpuinfo.tar 6. Decompress file & check file: tar xvf ch_cpuinfo.tar ls -lrt (check root’s run auth) 7. Run to Binary file ./ch_cpuinfo or ./ch_cpuinfo.sh (If you use busybox in DSM 5.x, you can use it as a source file) 8. When you execute it, proceed according to the description that is output. 9. Check your DSM’s CPU name, CPU cores at “information center” made a video of the how to run ch_cpuinfo. Extra Action If you want to use ch_cpuinfo in your language Modify and use the LANG.txt file in the same path as ch_cpuinfo. It is possible to use after changing the English content of each variable after translation and changing the value of CUSTLANG in line 8 to Y. Sample image(by Google trans) ==================================================== Addtional, Adjust binary to excute file made by shc(http://www.datsi.fi.upm.es/~frosal) The tool does not inclue worms, bad code. If you want to edit the CPU information yourself manually, please refer to the contents below. ——————————————————————————————————————————————————————————————— Location : /usr/syno/synoman/webman/modules/AdminCenter Source : admin_center.js / admin_center.js.gz(above 6.2) Add Before -> if(Ext.isDefined(h.cpu_vendor)&&Ext.isDefined(h.cpu_family)&&Ext.isDefined(h.cpu_series)){ o.push([_T("status","cpu_model_name"),String.format("{0} {1} {2}",h.cpu_vendor,h.cpu_family,h.cpu_series)])} if(Ext.isDefined(h.cpu_cores)){o.push([_T("status","cpu_cores"),h.cpu_cores])} Add contents: h.cpu_vendor="Intel";h.cpu_family="Xeon";h.cpu_series="E3-1220 V3";h.cpu_cores="4 Cores (1 CPU/4 Cores | 4 Threads)"; h.cpu_detail="<a href='https://ark.intel.com/content/www/us/en/ark/search.html?_charset_=UTF-8&q=E3-1220 V3' target=_blank>detail</a>" Change contens: String.format("{0} {1} {2}",h.cpu_vendor,h.cpu_family,h.cpu_series) to String.format("{0} {1} {2} {3}",h.cpu_vendor,h.cpu_family,h.cpu_series,h.cpu_detail) ——————————————————————————————————————————————————————————————— Finally, All descriptions are based on version 6.2, and the actual executable file supports 5.x, 6.x and 7.x Publish the source through github(https://github.com/FOXBI/ch_cpuinfo). For versions DSM 6.x and later, you can use the binary as before. If you use busybox in DSM 5.x, you can use it as a source file(ch_cpuinfo.sh). Please contact me by comment or bug report, i’ll respond to you as much as possible within my ability. Test & Made Environment ———————————————————————————————————— Base Server : HP ML310e v2 gen8 + VMware ESXi 6.0 + RDM DSM : DSM 6.2.3-25426 Update 3 (DS3615xs) Base Server : HP ML310e v2 gen8 + VMware ESXi 6.0 DSM : DSM 7.0.1-42214 (DS3615xs) Base Server : HP ML310e v2 gen8 + VMware ESXi 6.0 DSM : DSM 7.0.1-42214 (DS918+) Base Server : HP ML310e v2 gen8 + VMware ESXi 6.0 DSM : DSM 6.2.4-25556 (DS3615xs) Base Server : Intel E5-2630 v2 + VMware ESXi 6.7u2 DSM : 6.2.2-24922 Update 2 (DS3617xs) ———————————————————————————————————— Change Log Update new version (ch_cpuinfo ver 4.2.0-r01) 2023.02.18 - Application of AMD's CPU information collection function improvement - xpenlib(cpu_info.sh) refered https://github.com/FOXBI/xpenlib/blob/main/cpu_info.sh Update new version (ch_cpuinfo ver 4.2.1-r01) 2023.03.05 - Fixed error when users of previous version perform redo with version 4.2.0-r01 (Thanks for the @Mentat report.) I am sorry for not being able to actively respond to your inquiries due to busy life. Thank you!! Have a nice day!! Cheer up!! We can do it!! Reduce activity & Stay home & Wear a Mask!! Let's overcome COVID-19 !! Let's pray and support together for the two countries where the earthquake caused great damage and many deaths and missing people. ============================================= Download links: ch_cpuinfo ver 4.2.0-r01 - new version update -> ch_cpuinfo ver 4.2.1-r01 - new version update -> ch_cpuinfo.tar Reference images # 1.04b + DS918+ # 1.03b + DS3615xs # 1.03b + DS3617xs # Normal output is possible even when using more than 8core. # Support DSM 7.x


 2 points
 -
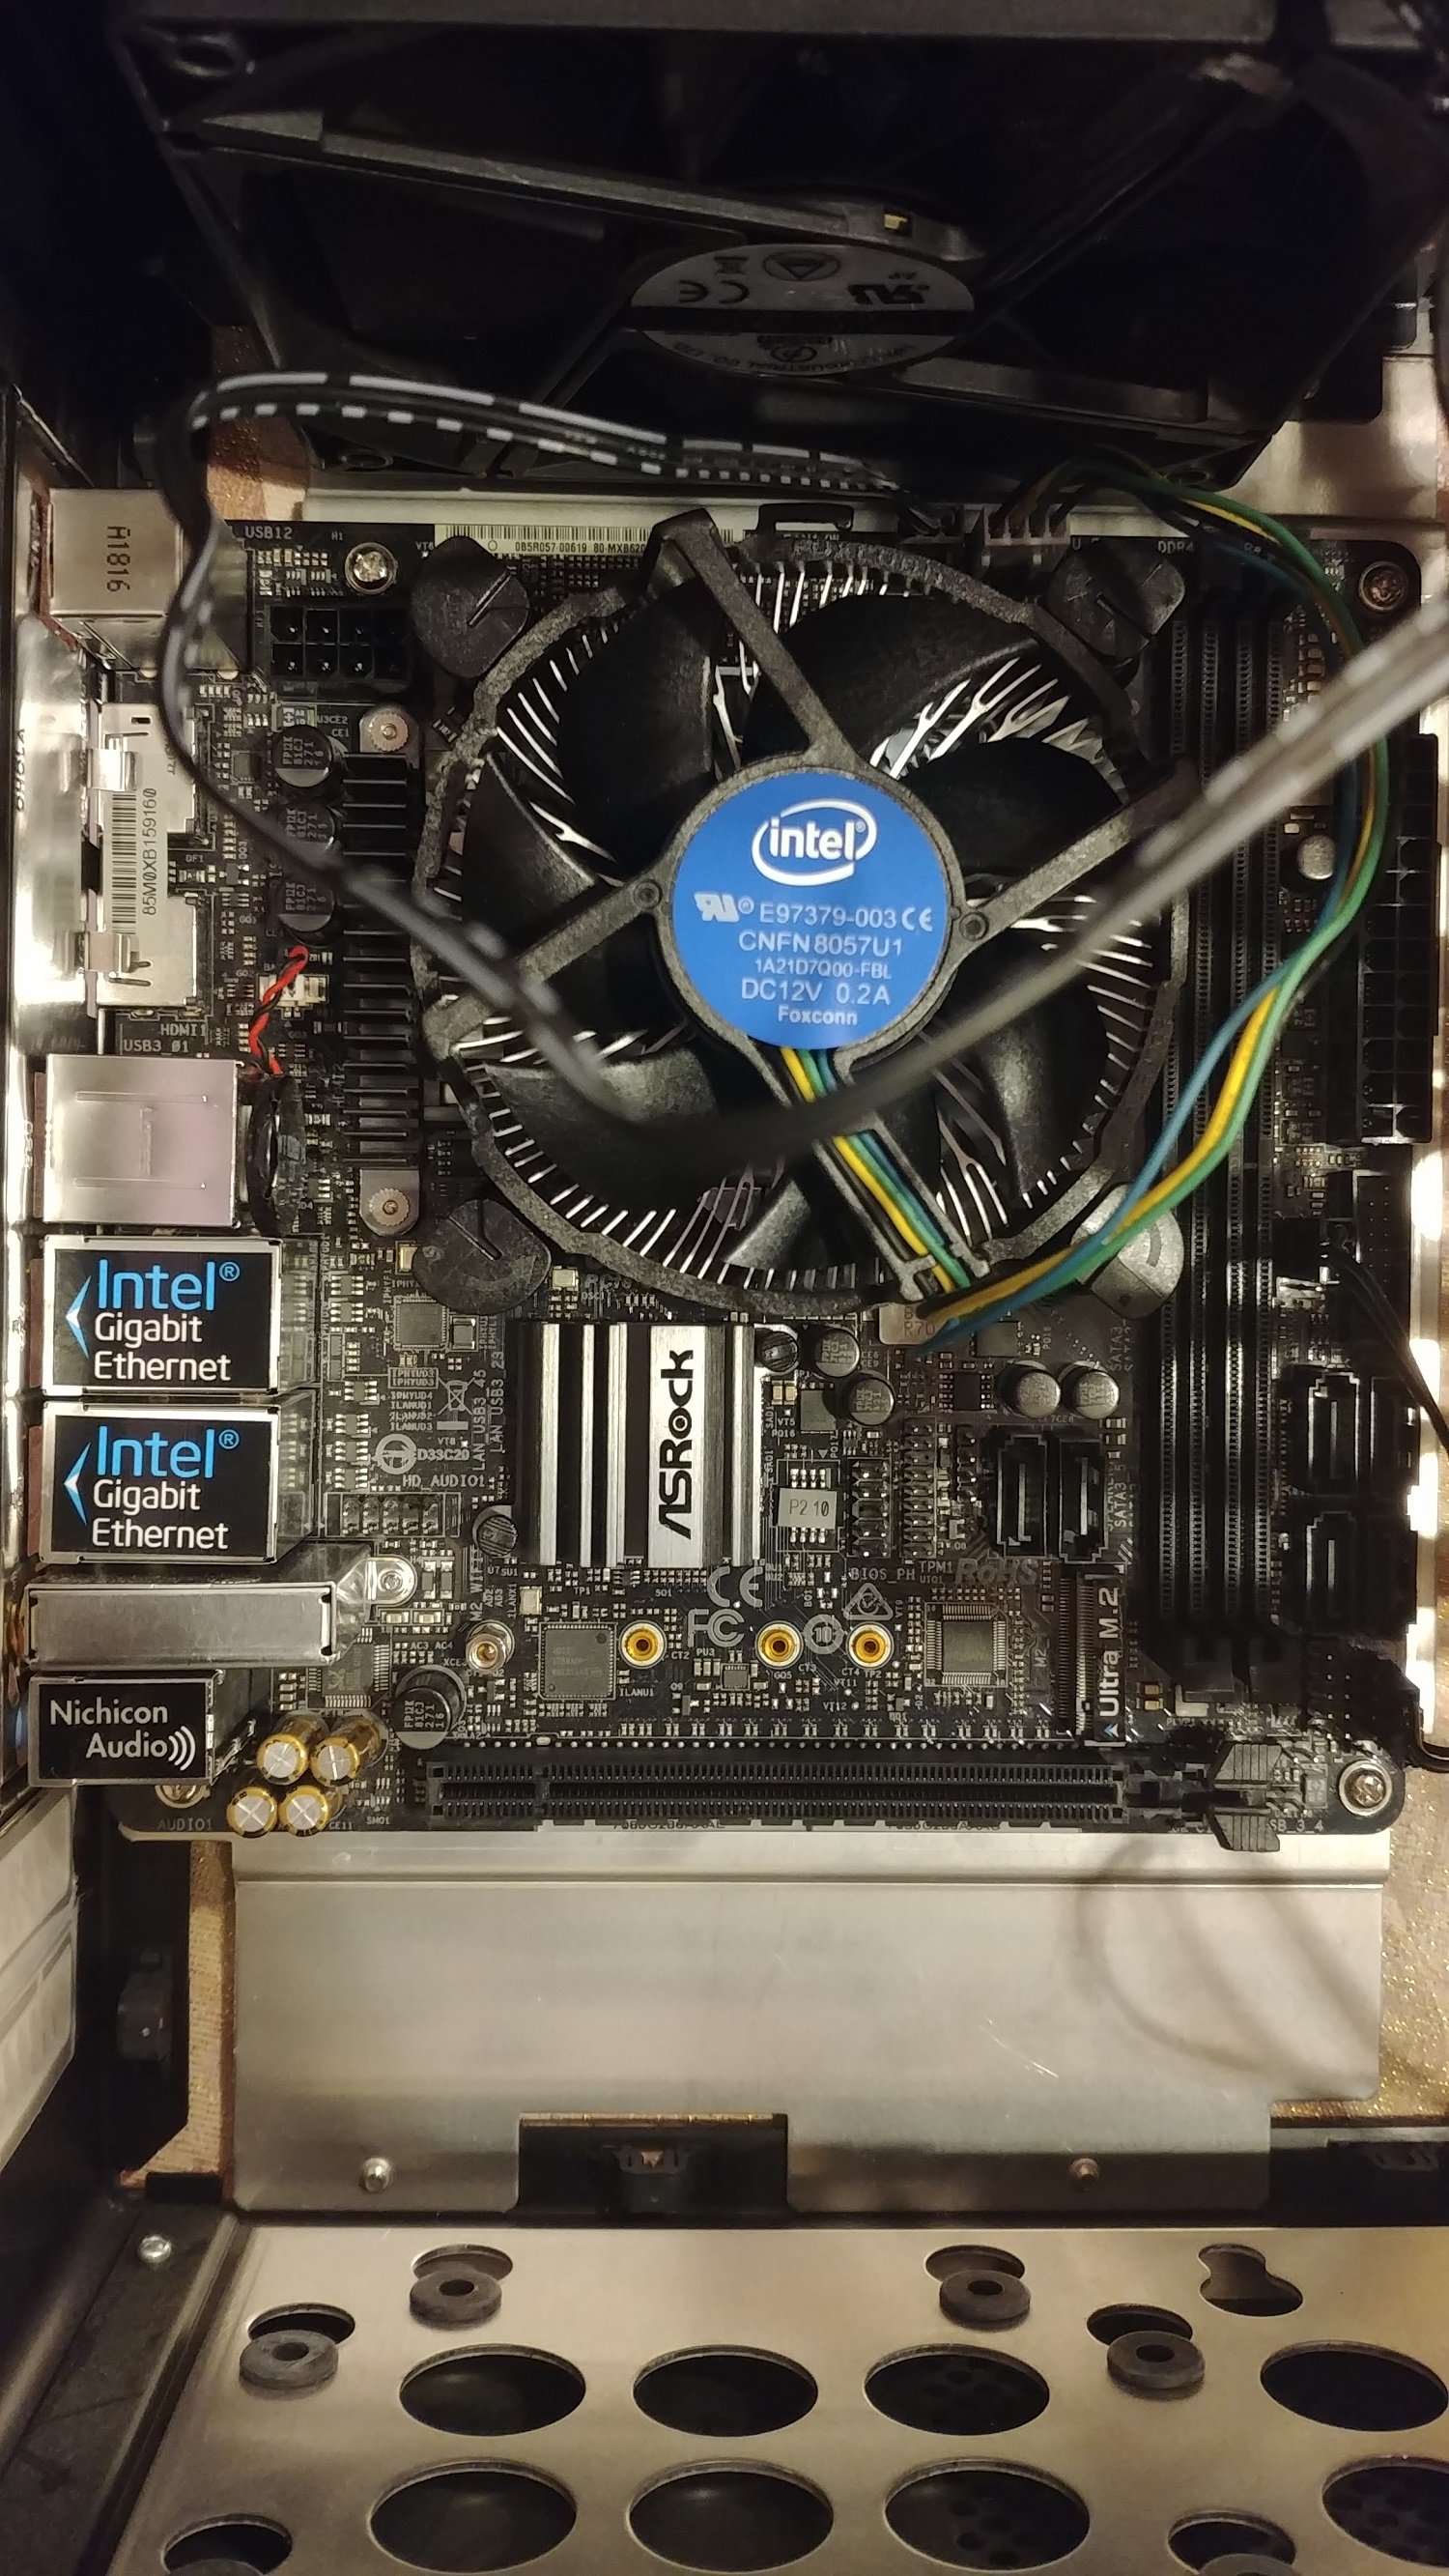
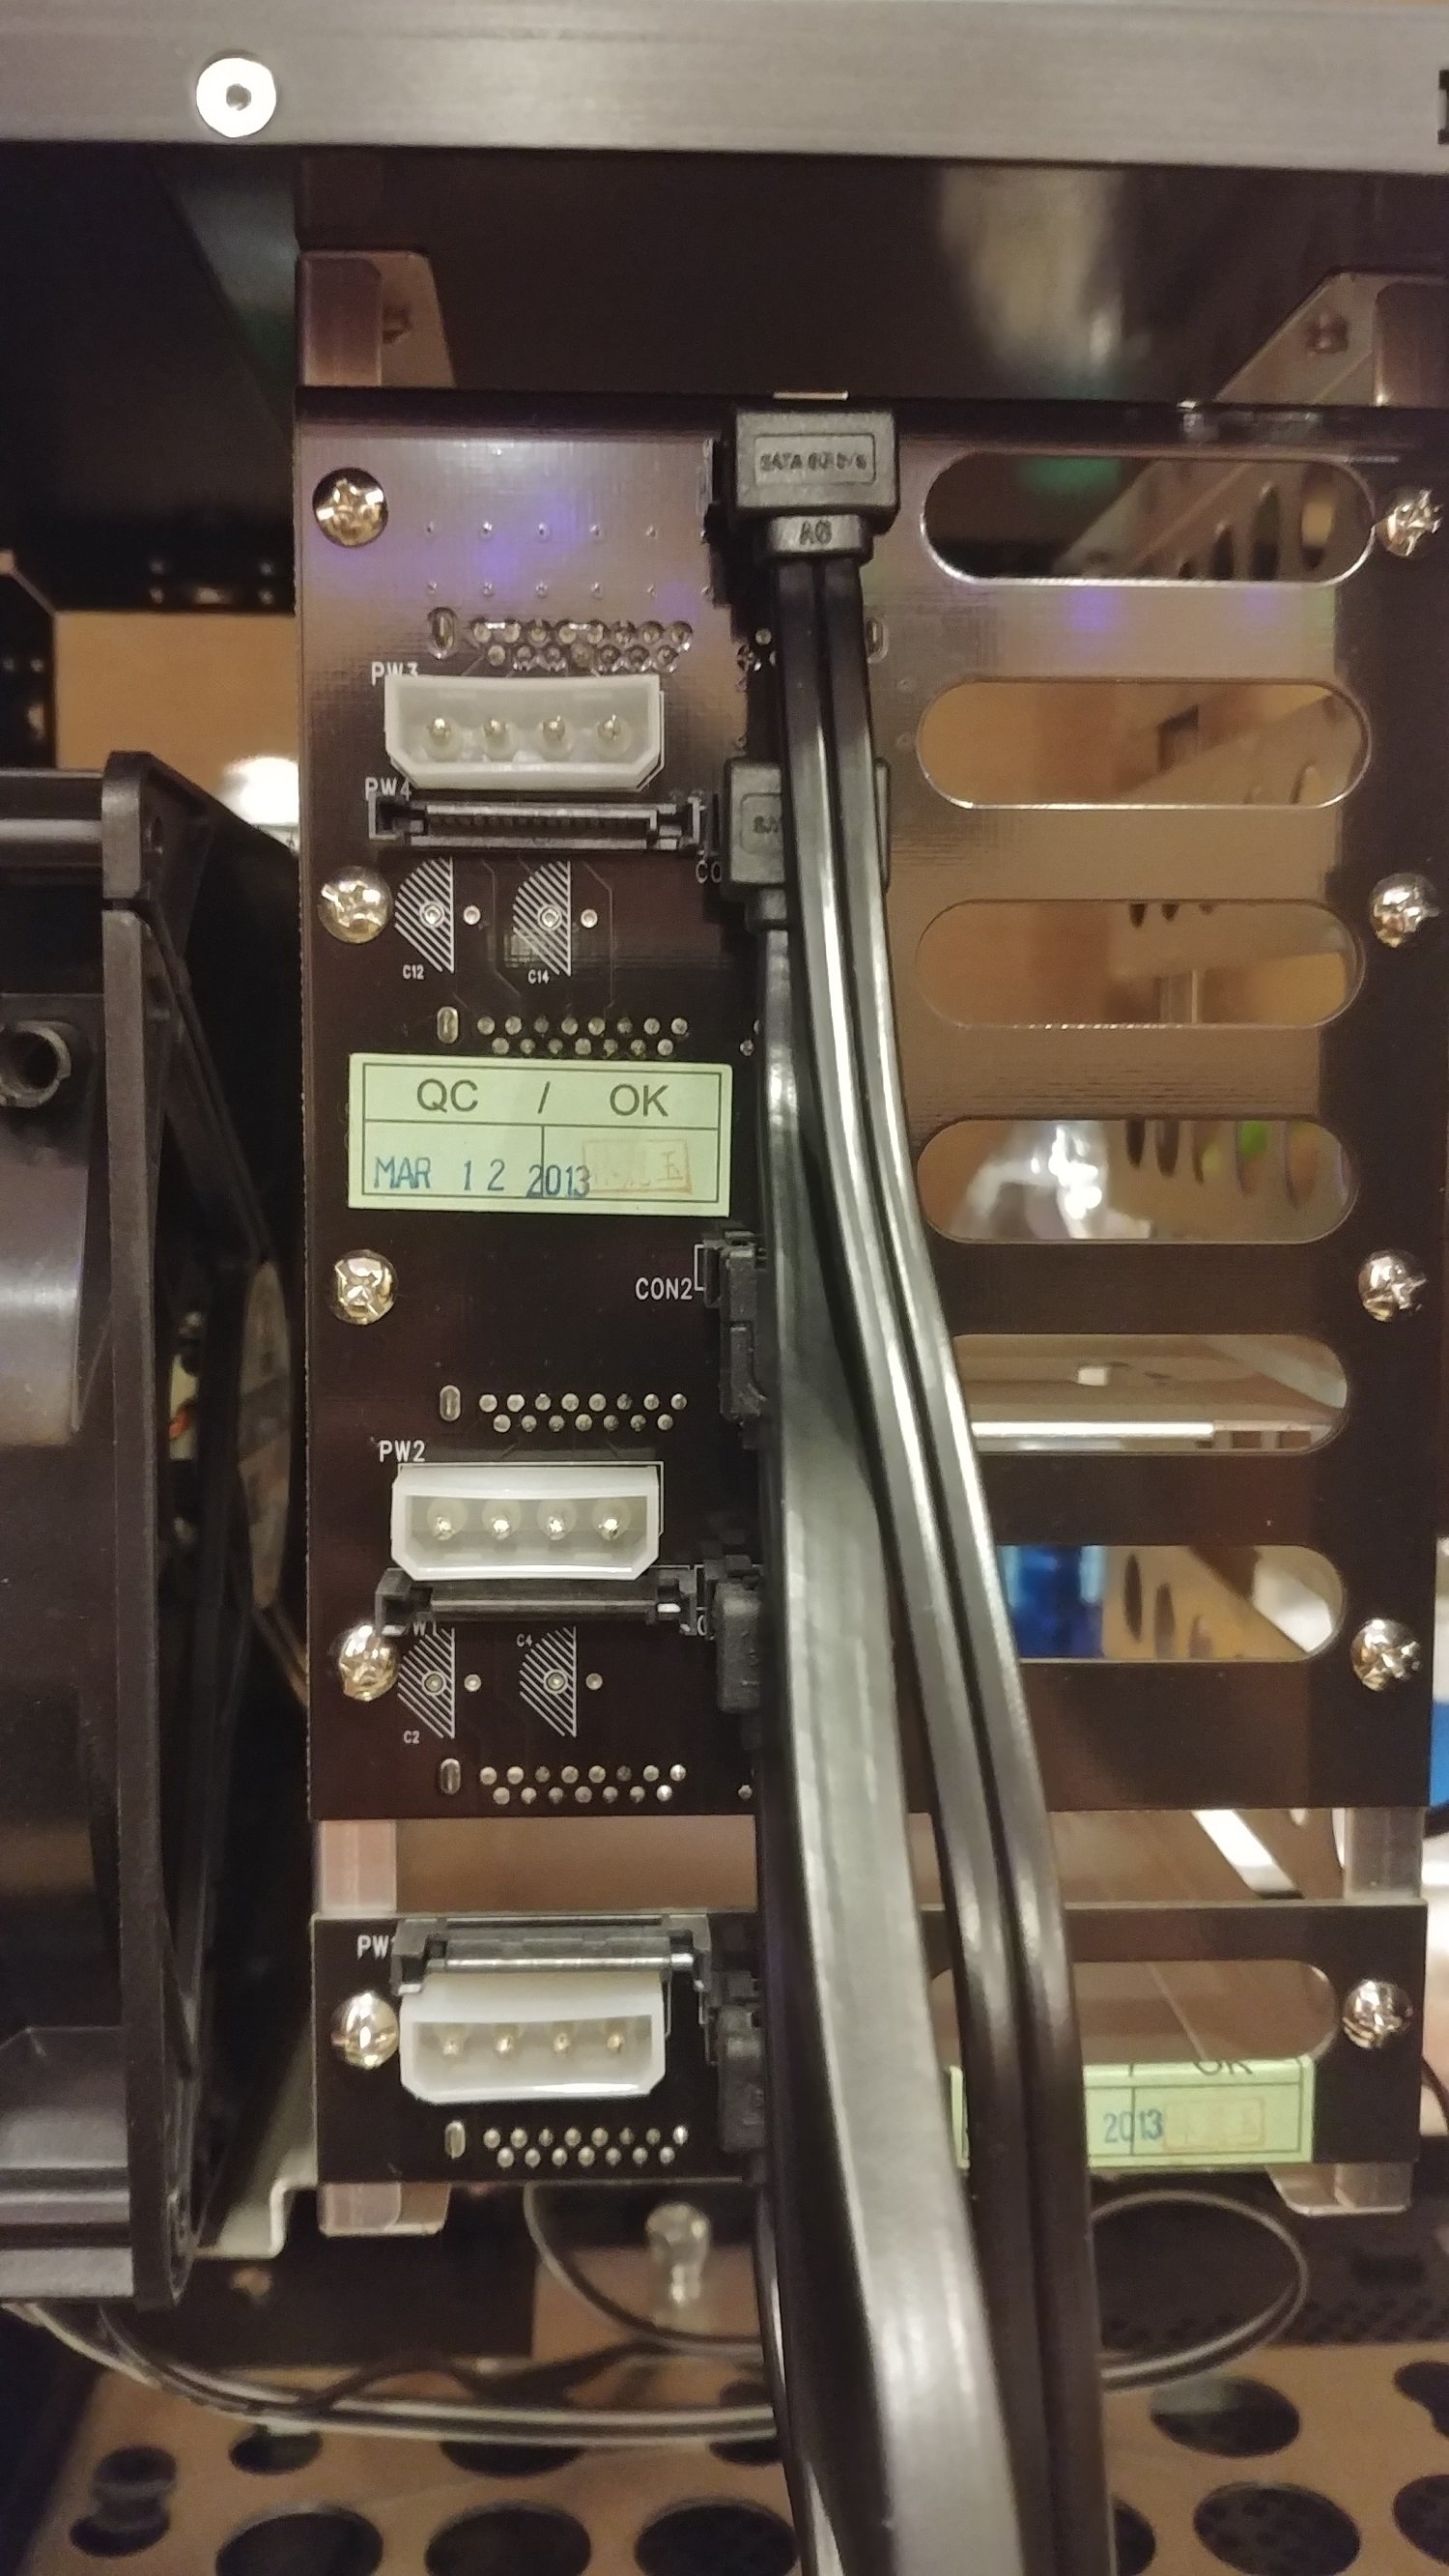
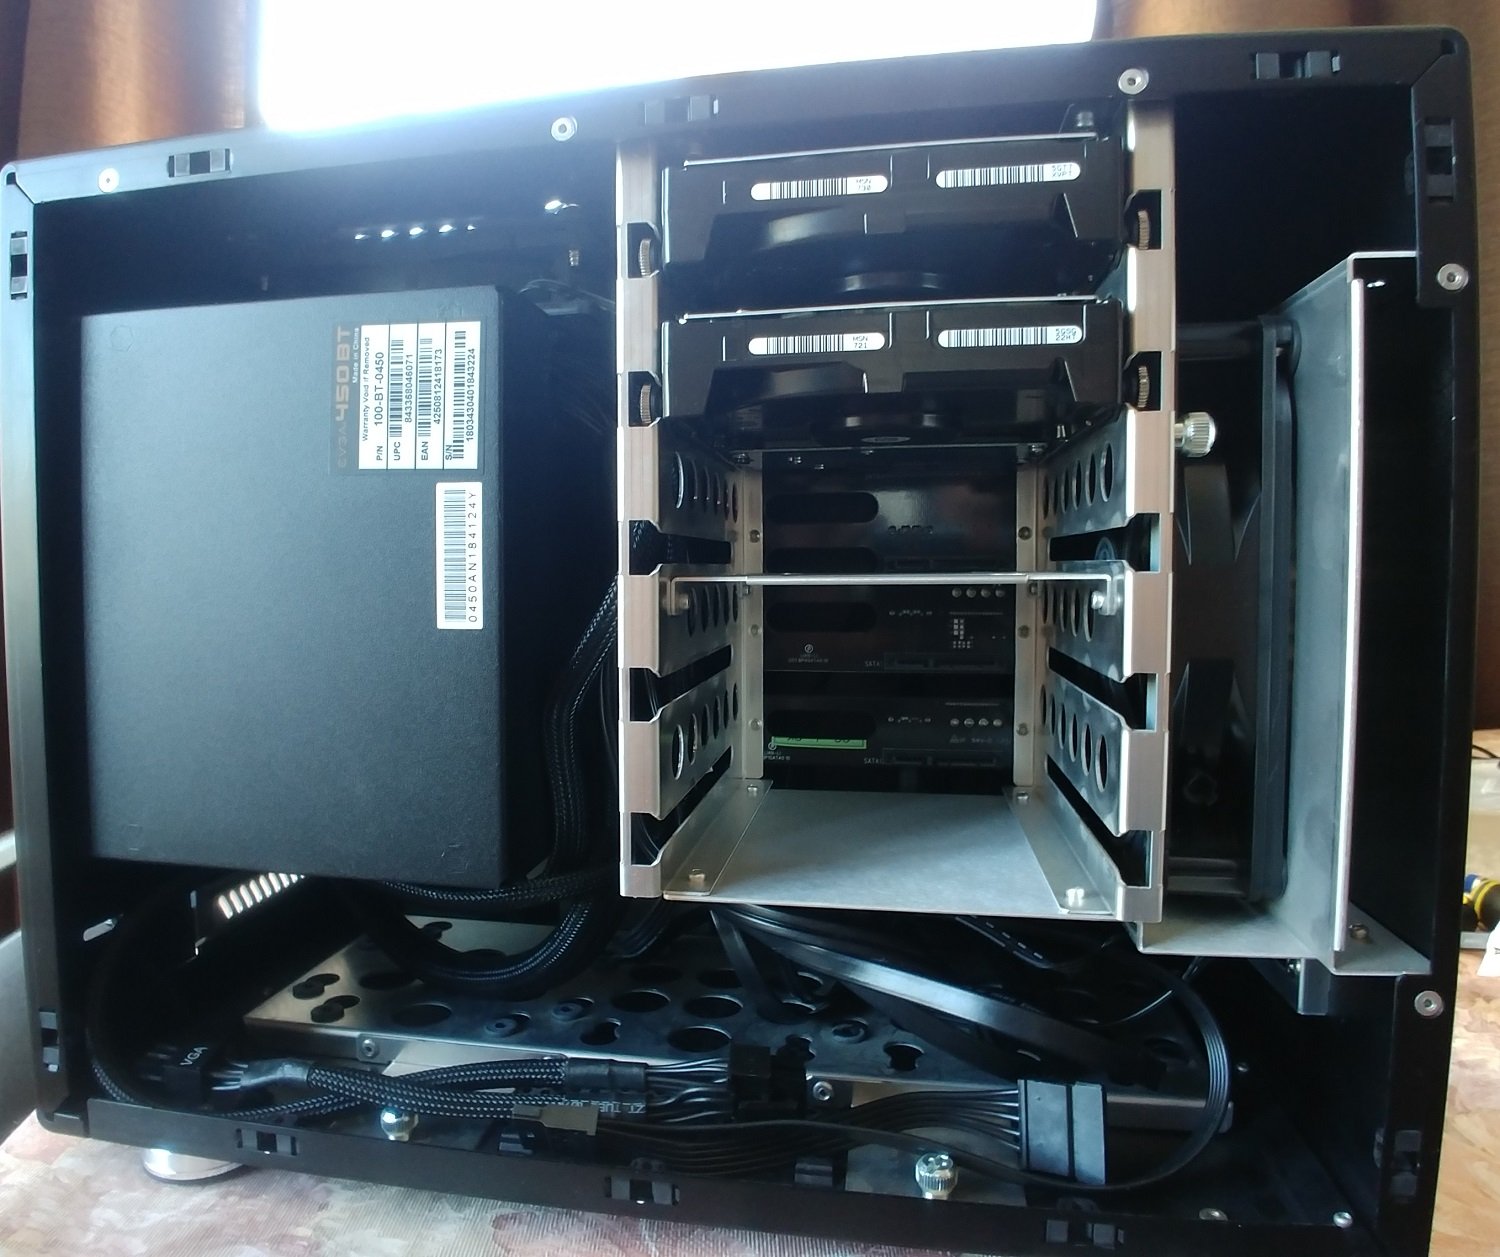
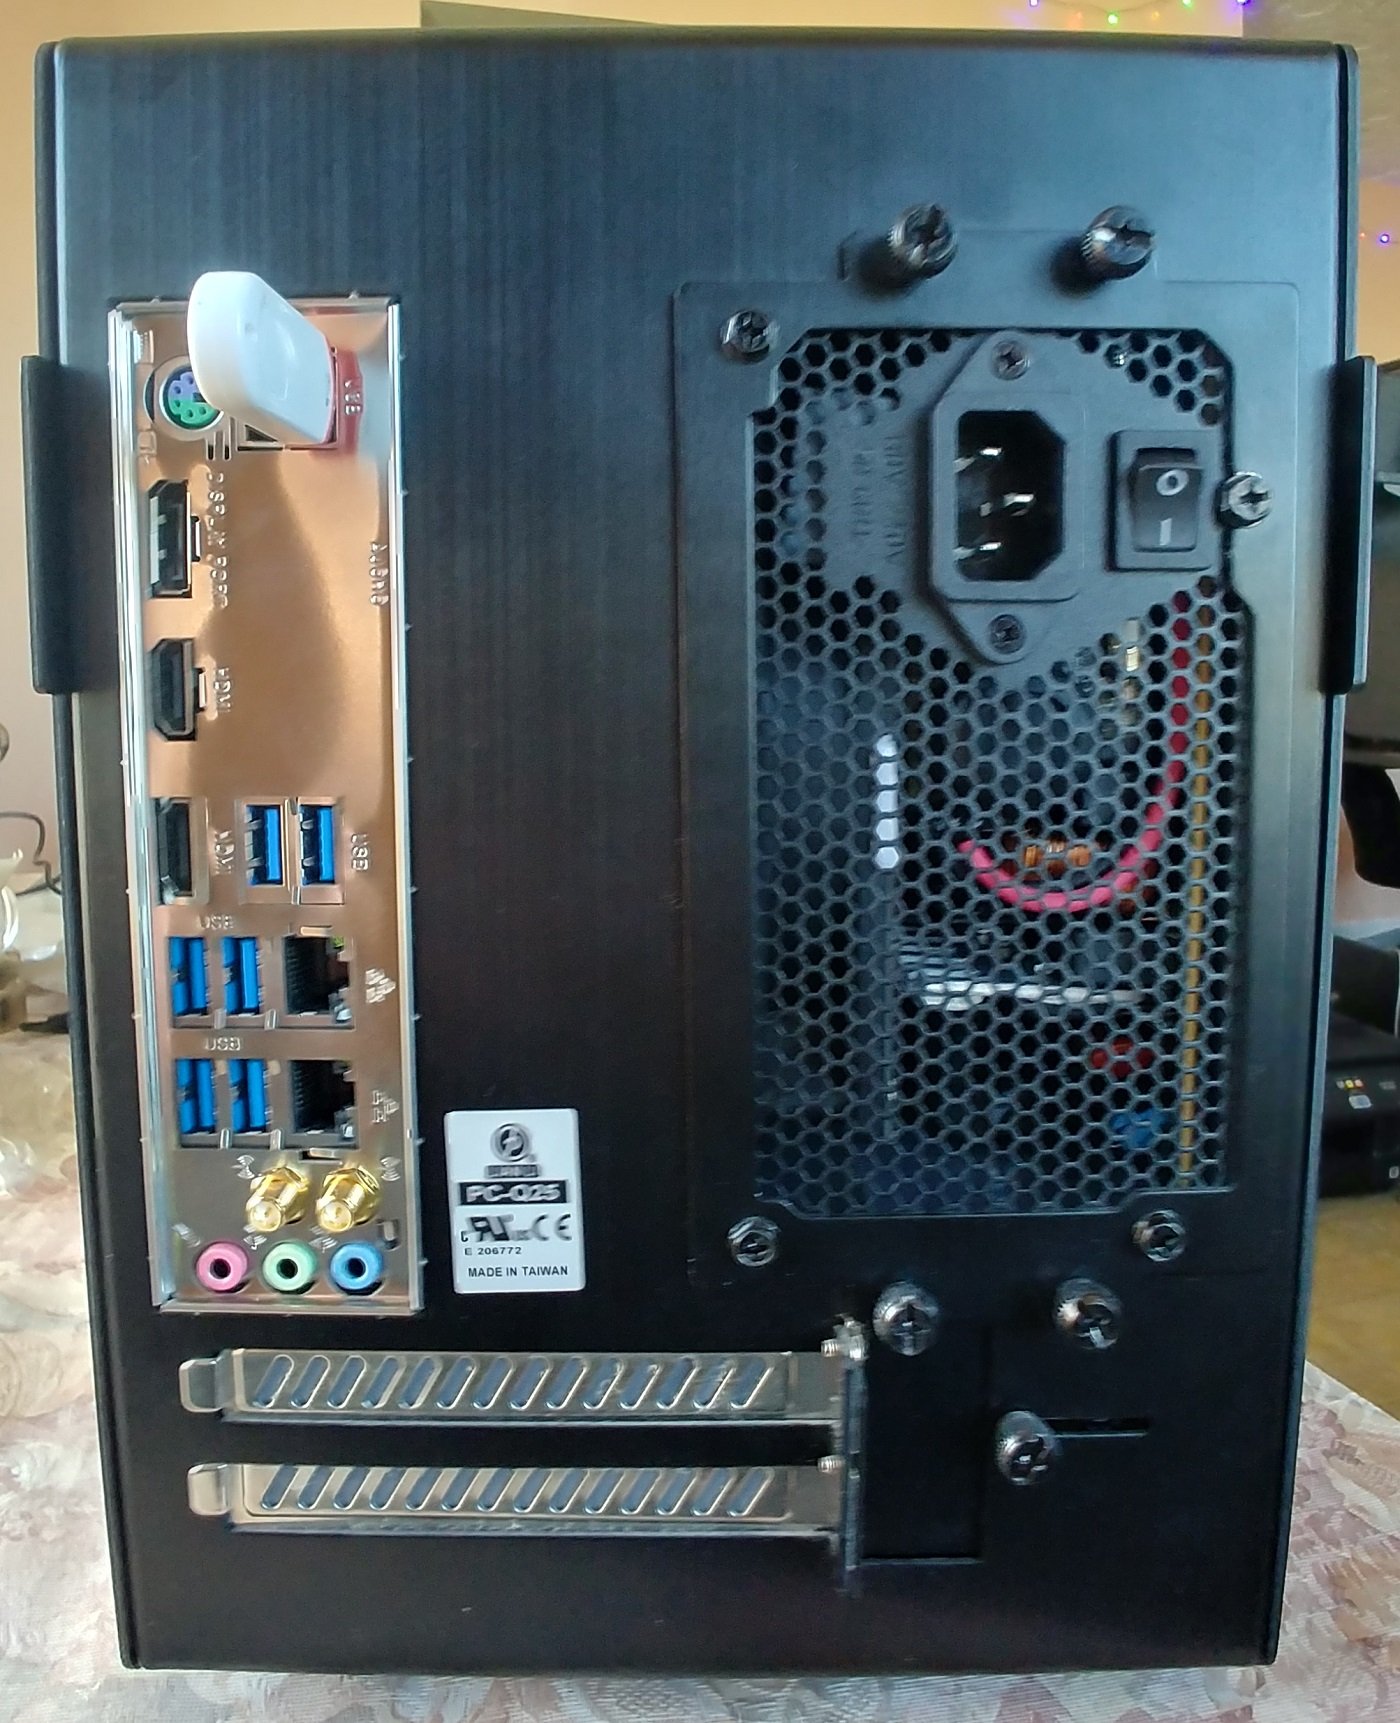
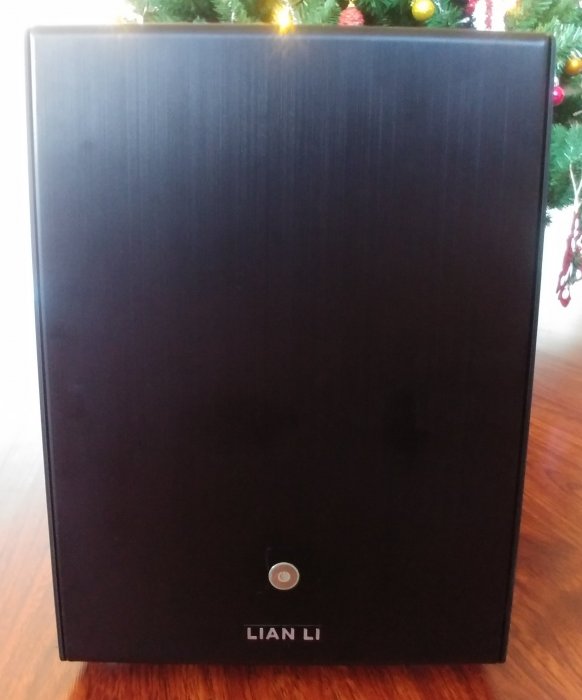
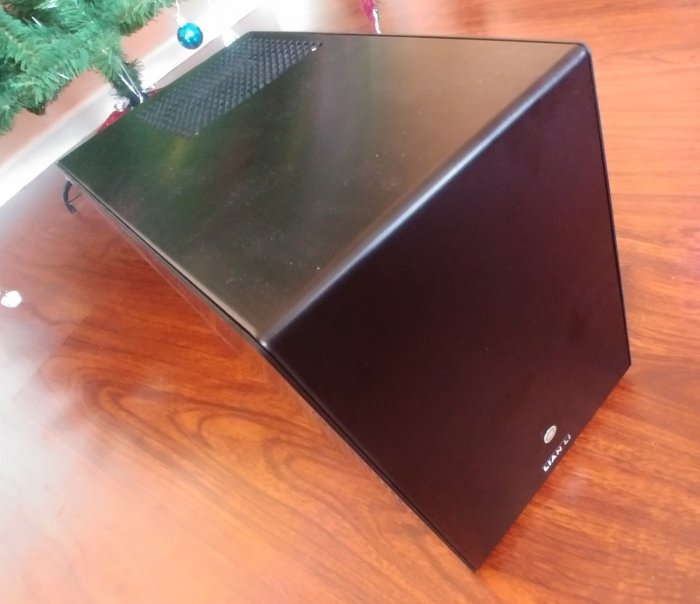
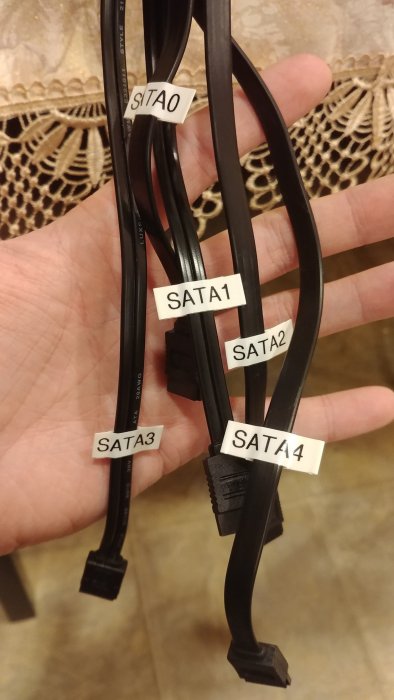
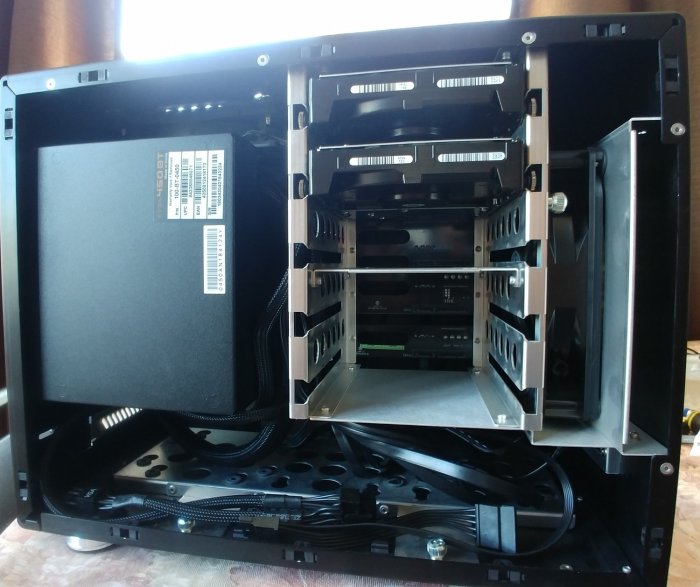
Let me introduce my build First of all Thank you guys for your help & advises. So I got my first NAS two years ago. (WD My cloud ex2 ultra) and couple months ago I got WD PR4100... Initially I choose WD just because I had no experience and I got a deal. I wasn't happy with that. I had many problems with almost everything. Customer support is terrible... Very poor OS and etc. Finally I decide to go to Synology and good for me I found this great website and project. Thanks! Parts list: 1. ASRock Motherboard Motherboards Z370M-ITX/AC ($95.90 + $8.87 Tax = $104.77) 2. Intel i7 8600k (I had 8700k but gave it to my friend on NY) = $259.89 3. EVGA 450 BT, 80+ Bronze 450W = $24.99 + $2.31 = $27.30 4. Patriot Viper Elite Series DDR4 8GB PC4-21300 2666 MHz Memory Module = $53.99 + $4.99 = $58.98 5. Lian-li q25b = $40 (Craiglist) = $490.94 1.03b + DSM 6.2 + DS3617XS. Especially want to mention MB. Happy with that. 6SATA + Mini ITX form-factor. Exactly what I want for my case. WIFI + 2 LAN ports. Good price also. I didn't include HDDs because it's all up to you. But I have 2x2TB Hitachi & 2xWD4TB Red NAS. Now I am testing the system Hitachi's HDD. Also I want copy/paste my post from my first thread about issues. I wasn't able to find NAS after first boot. I did 4 things and problem is gone. 1. Turn off Audio Controller 2. Change priority to onboard graphics. 3. Turnoff bluetooth controller. 4. Turn off wireless adapter. Please, see pictures. I will glad to know your feedback. P.S. English is second language. Post can (for sure) have linguistic/grammar mistakes.


 1 point
 -
1.02b is the loader for 6.1 through the latest, 6.1.7. It works fine with ESXi.1 point
-
Well done, congrats It's a nice NAS cabinet, but getting hard to find in some places. If I may suggest a minor "adjustment" you should find an USB bracket and connect to the USB-2 header on your mainbord, then you can "hide" your bootstick inside the cabinet. It will physically protect it, and make it look "cleaner".1 point
-
@d0nIf you study the layout of the slots, you will see that it's physically impossible to use both slots at the same time, with 2 cards, unless you use a flexible riser solution. Even then, I'm not sure if it can be done. Actually the RAC are using both at once, but that's a propritary card, so non-standard.1 point
-
Tutorial section: Tutorial: setup a DDNS in DSM https://xpenology.com/forum/index.php?/topic/7573-Tutorial%3A-setup-a-DDNS-in-DSM1 point
-
As result of this thread -1 point