Leaderboard


Popular Content
Showing content with the highest reputation on 06/16/2018 in all areas
-
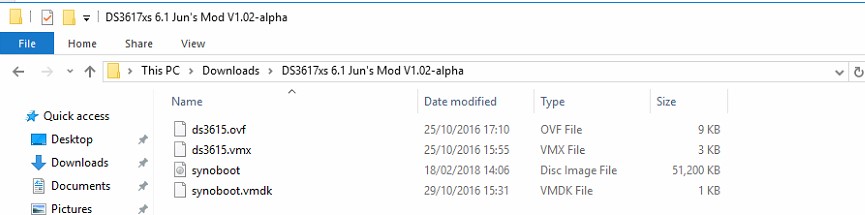
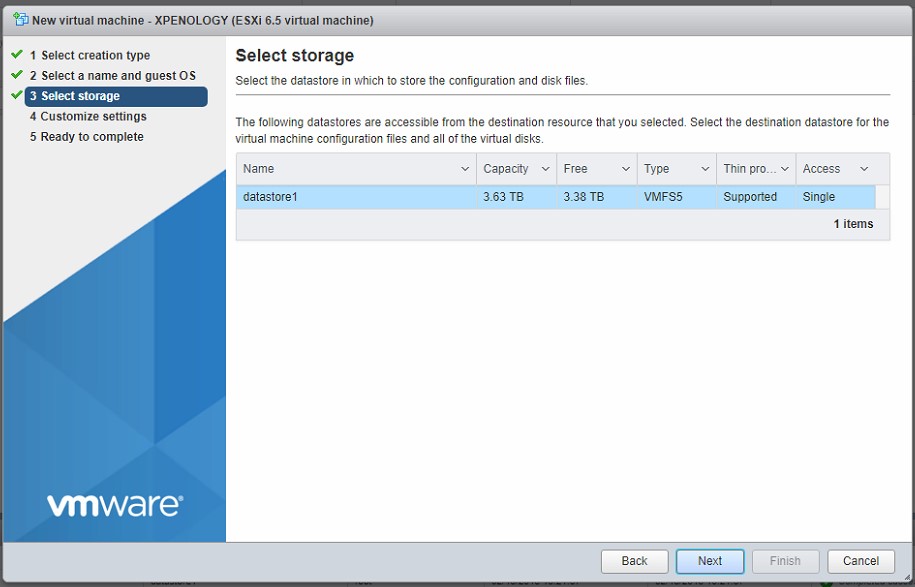
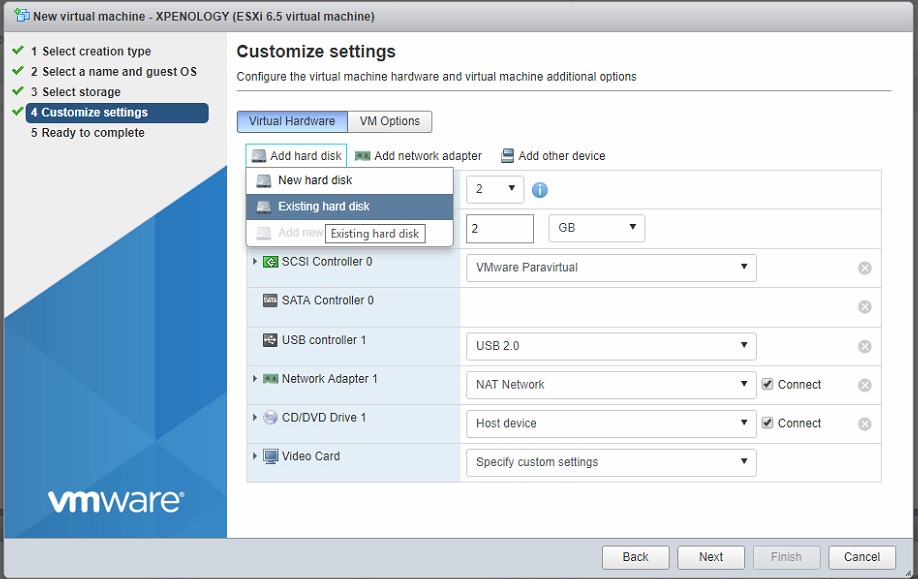
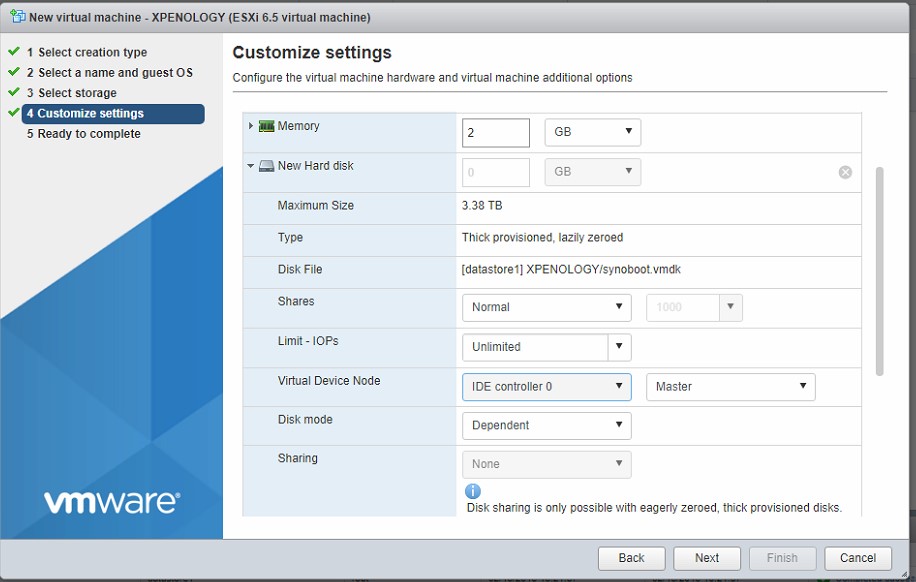
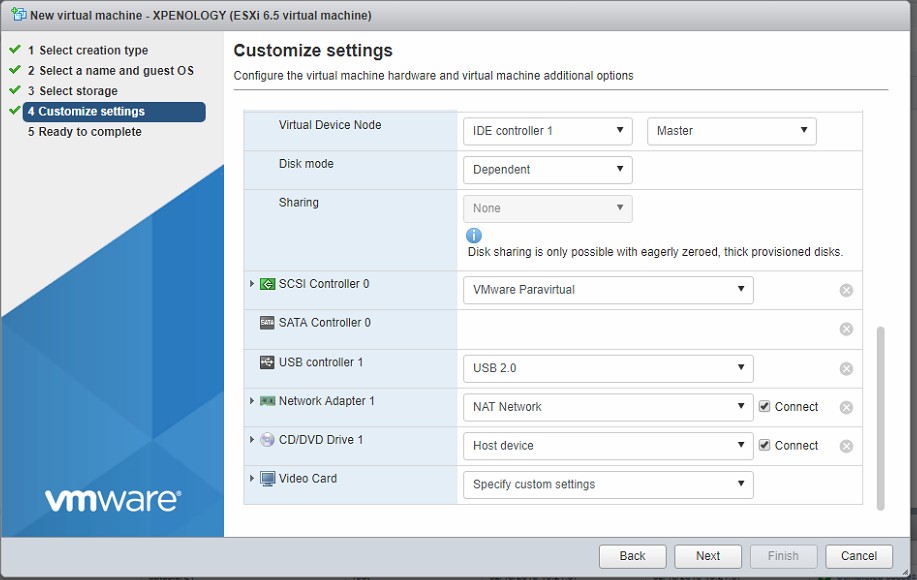
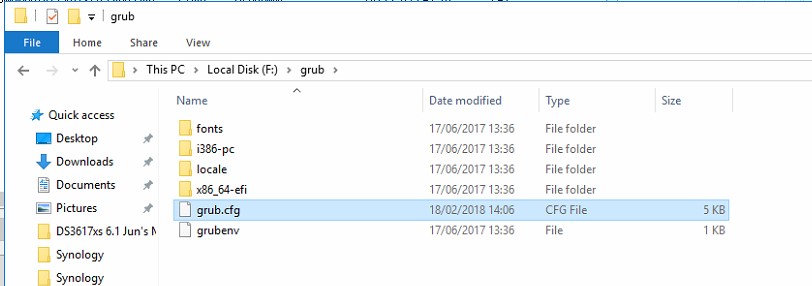
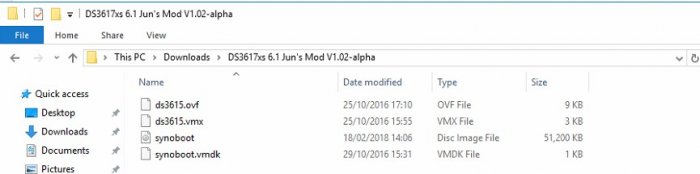
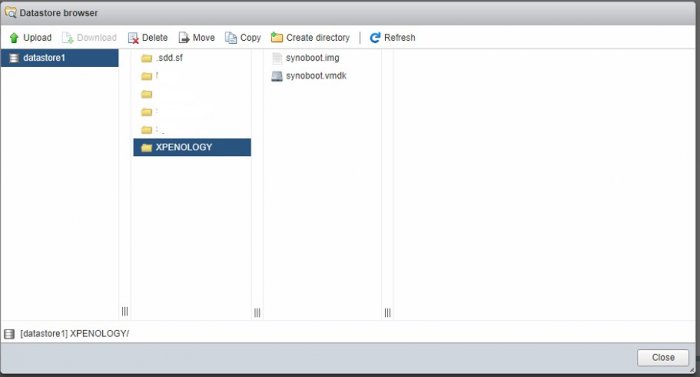
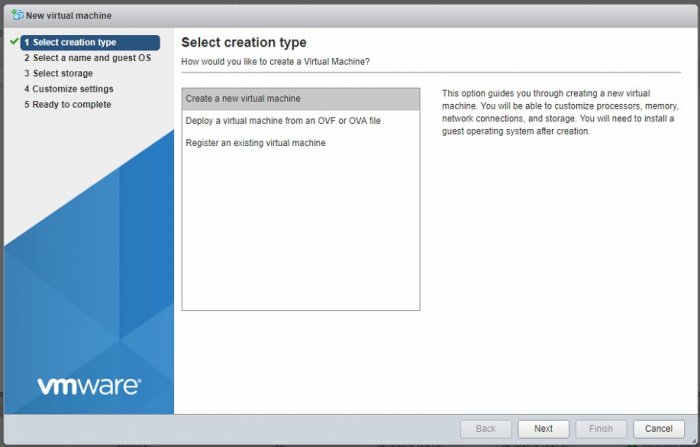
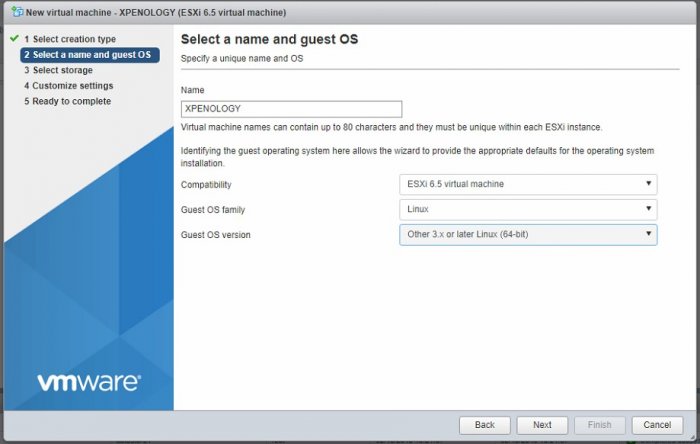
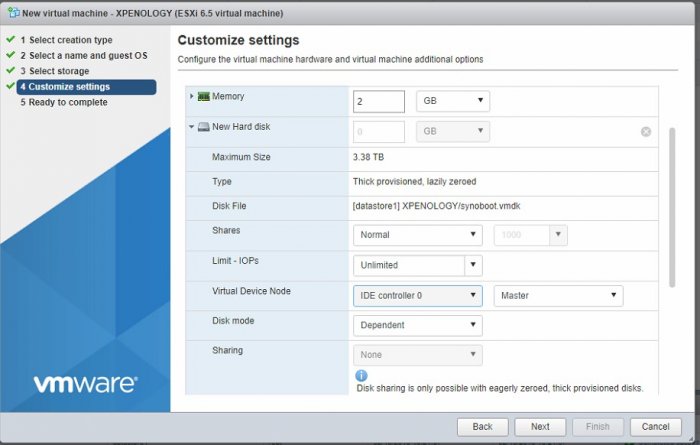
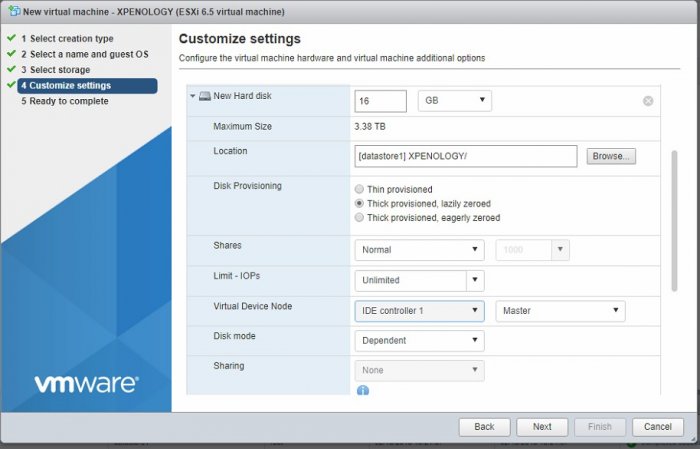
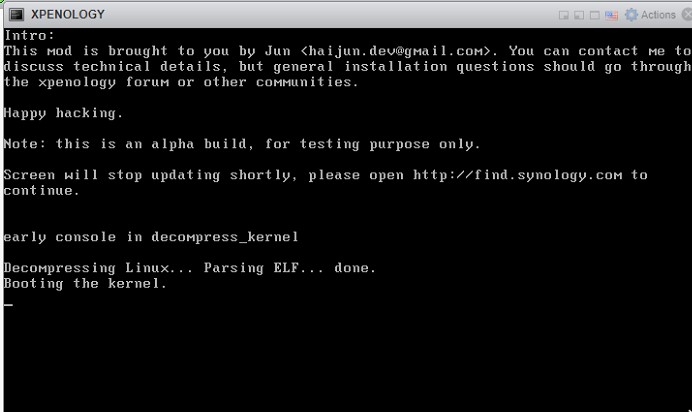
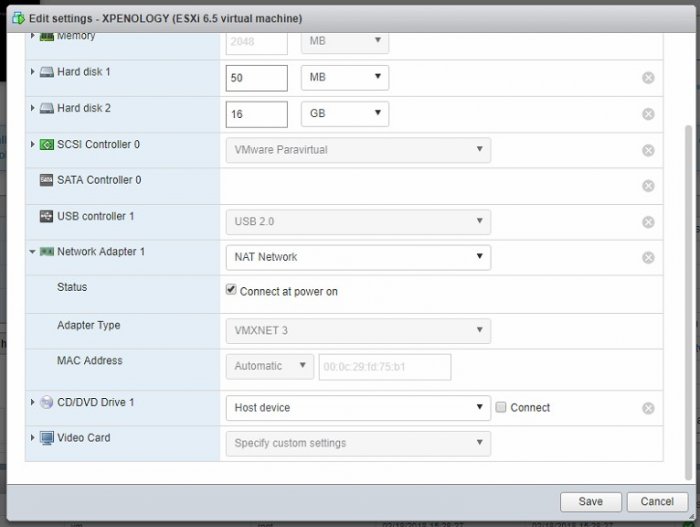
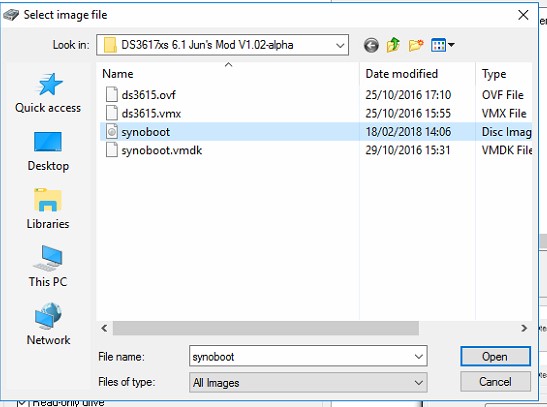
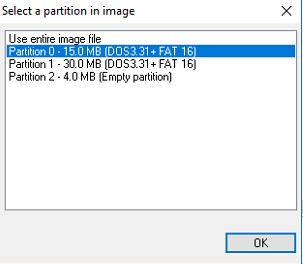
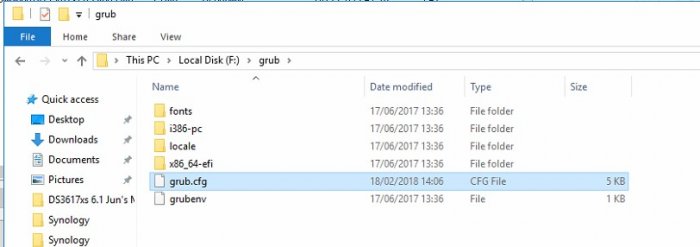
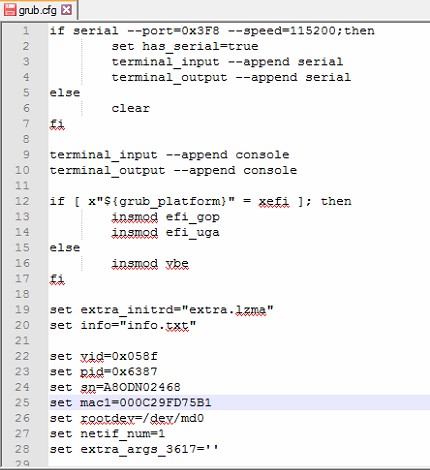
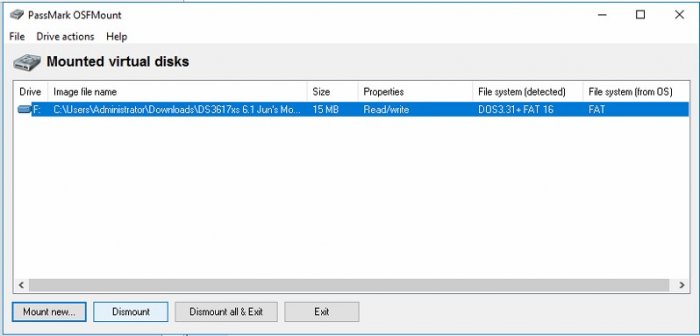
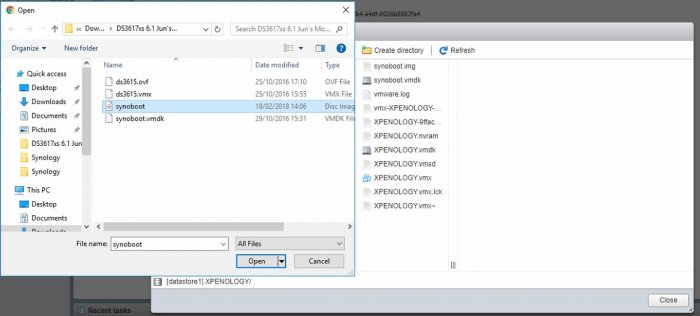
Hi everyone, This is a quick tutorial about installing DSM 6.1.5 on ESXi 6.5. I spent quite some time trying to make it work and I had to use different tutorials to find the match working on my system. That is why I uploaded this tutorial. One of the main problem I got was making my virtual interface getting an IP from my DHCP, I realised it was because of a mismatch between the mac address in the grub.cfg and the mac address of the virtual interface. The second issue, during the install, no disks were shown, it is because they were tagged to a scsi controller and it only work in IDE or SATA. (I choose IDE) The third issue was an error message I was getting during the installation of DSM: ”Failed to install the file. The file is probably corrupted. (13)”. This one because I was using the vmdk of V1.01 for DSM 6.0.2 from this link: ” https://mega.nz/#F!yQpw0YTI!DQqIzUCG2RbBtQ6YieScWg!LAZmSagJ” The tutorial: First, we need to download these 3 files: 1. DS3617xs 6.1 Jun’s Mod V1.02-alpha.zip https://mega.nz/#F!BtFQ2DgC!JgomNP3X8V9EuwxL4TXbng!5kcjyJ7R 2. synoboot.img https://mega.nz/#F!BtFQ2DgC!JgomNP3X8V9EuwxL4TXbng!R4VmQbaC 3. DSM_DS3617xs_15254 (Last DSM version) https://archive.synology.com/download/DSM/release/6.1.5/15254/ ------------------------------------------------------------------------------ Unzip DS3617xs 6.1 Jun’s Mod V1.02-alpha.zip and open the folder. Then, replace the file synoboot.img with the specifically downloaded before (It is 1.02b version) Remove the files DS3615.ovf and ds3615.vmx as we don’t need them. Upload the two files synoboot.img and synoboot.vmdk to the esxi. Create a new VM. The setting are : 2 CPU 2 GB Remove the default HDD and add an existing Hard Drive And select the synoboot.vmdk previously uploaded and put it as IDE Controller 0 and as Master Add a new Hard Drive, 16 GB, IDE Controller 1 as Master and with Thick provisioned, Eargerly zeroed (For better performances) Make sure your Network Adapter is mapped to your network. Click Next and finish. Wait for the VM to be created as it needs to setup a Thick HDD. We will need to power on the VM to get an IP and Mac Address. From now, you shouldn’t have a network working on the VM, the reason is because the mac address in your grub.cfg doesn’t match the one from your interface. We will need to edit this file. Go to the options after powered on and check the Mac address of the adapter. In our case: 000C29FD75B1 Shutdown the VM, go to your windows and install OSFMount: https://www.osforensics.com/tools/mount-disk-images.html Mount new, select the synoboot.img from the folder used before on the windows. Mount Partition 0, 15MB Make sure to uncheck Read-only drive Go to the mounted drive, Grub folder and edit grub.cfg with notepad++ We will need to input the mac1 address with the interface we got previously. Save Dismount the virtual disk and upload the new edited version of your synoboot.img to the esxi. Power on the VM. From your windows, open http://find.synology.com or install the synology assistant. https://www.synology.com/en-us/support/download/DS3617xs#utilities You should be able to find your DSM and process the installation. Select manual install and use the .pat previously downloaded. And that’s it. Your Synology should restart once and you should be able to setup your personal settings. The tutorial is finished. I hope it was enough clear for you and it will help. Kind regards, Digital


 1 point
 -
As DSM 6.2 finally released, I spent a few days to identify new kernel side validation mechanism, and got some ideas to work around it, the early-stage experiment seems work, so, the exciting part(for me) is done. A new loader will be released when it is ready.1 point
-
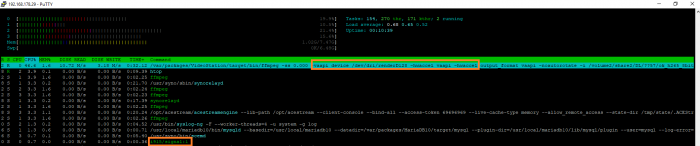
по поводу транкодинга, некоторые изыскания тестировалось на ASRock N3150DC-ITX загрузчик Jun версия 1.03а2 qc рабочий при чистой установке после 916 слетел postgresql а без него не устанавливались пакеты которые его пользуют как базу и в частости видеостейшн Не удалось запустить внутреннюю службу системы [pgsql]. Для получения помощи обратитесь в службу поддержки Synology. Невозможно установить "Synology-Anwendungsdienst". Не удалось установить пакет. поборол так rm -rf /var/services/pgsql/* и контрольный cp -a /volume1/@database/pgsql /volume1/@database/pgsql.32bit.`/bin/date +%s` rm -rf /volume1/@database/pgsql/* в итоге поднялось root@nas918:/# /usr/syno/etc.defaults/rc.sysv/pgsql.sh status pg_ctl: server is running (PID: 12058) /usr/bin/postgres "-D" "/var/services/pgsql" до установки видеостейшн папки /dev/dri не было! [drm] Initialized i915 [Sat Jun 16 13:14:33 2018] [drm] Initialized drm 1.1.0 20060810 [Sat Jun 16 13:14:33 2018] [drm] Memory usable by graphics device = 2048M [Sat Jun 16 13:14:33 2018] [drm] Supports vblank timestamp caching Rev 2 (21.10.2013). [Sat Jun 16 13:14:33 2018] [drm] Driver supports precise vblank timestamp query. [Sat Jun 16 13:14:33 2018] vgaarb: device changed decodes: PCI:0000:00:02.0,olddecodes=io+mem,decodes=io+mem:owns=io+mem [Sat Jun 16 13:14:33 2018] ACPI: Video Device [GFX0] (multi-head: yes rom: no post: no) [Sat Jun 16 13:14:33 2018] acpi device:09: registered as cooling_device4 [Sat Jun 16 13:14:33 2018] input: Video Bus as /devices/LNXSYSTM:00/LNXSYBUS:00/PNP0A08:00/LNXVIDEO:00/input/input3 [Sat Jun 16 13:14:33 2018] [drm] Initialized i915 1.6.0 20160919 for 0000:00:02.0 on minor 0 [Sat Jun 16 13:14:33 2018] i915 0000:00:02.0: fb0: inteldrmfb frame buffer device Hide root@nas918:/dev/dri# ls card0 controlD64 renderD128 кодеки активируются при первом проигрывании видео или утилитой сино так: synocodectool --activate_codec h264_dec --pkgname videostation где по очереди вместо h264_dec потставляем нужный кодек "mpeg4part2_dec","aac_dec","aac_enc","vc1_dec","vc1_enc","hevc_dec" root@nas918:/# cat /usr/syno/etc/codec/activation.conf {"success":true,"activated_codec":["hevc_dec","h264_dec","h264_enc","aac_dec","aac_enc","vc1_dec","vc1_enc","mpeg4part2_dec"],"token":"b8 Но! при проигрывании видео (какого не понял пока но в основном где транкодинг работает), dsm уходит в перегруз!
 1 point
 -
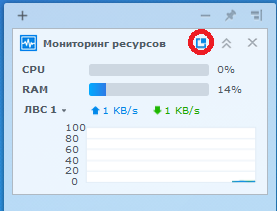
Нажимаем на обведенную кнопочку и оно там Hide
 1 point
 -
только что поставил 916 как VM в 9181 point
-
Great topic and thanks for sharing your experience. I moved the topic to the Hardware Modding section where it is more suited.1 point
-
Thank you everyone but the one doing all loader work here is Jun not me. So thanks to him on the loaders.1 point